

Who doesn’t love the irresistible taste of Kinder Bueno? That creamy hazelnut filling, the smooth chocolate coating, and the perfect crunch—it’s pure joy in every bite. Now, imagine all of that goodness packed into a homemade cookie. Sounds like a dream? With this Kinder Bueno Cookies Recipe, you can turn that dream into reality right in your kitchen.
Whether you’re baking for a party, impressing friends, or just treating yourself, this recipe is a guaranteed crowd-pleaser. And the best part? You don’t even need to be a pro baker to make these delightful treats.
Let’s dive into how to create these magical cookies from scratch, step-by-step.
What Makes Kinder Bueno Cookies So Special?
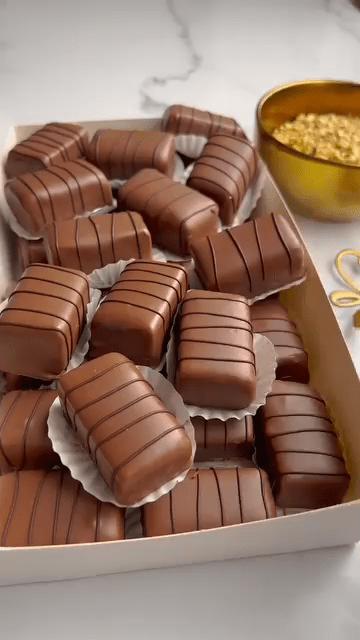
These cookies are rich, creamy, and perfectly crunchy. The base is made from Maria cookies and toasted hazelnuts mixed with buttery goodness. The filling is a luscious blend of mascarpone and hazelnut cream that mimics the core of Kinder Bueno. And to top it off, they’re dipped in a glossy milk chocolate glaze and decorated with dark chocolate lines—just like the real thing!
This recipe is perfect if you’re craving something indulgent and unique. Plus, it yields 40 cookies, so you’ll have plenty to share—or not. No judgment.
Ingredients You’ll Need
Before we get started, let’s make sure you’ve got everything prepped and ready:
For the Cookie Dough
150 g Maria cookies
50 g chopped and toasted hazelnuts
150 g unsalted butter
For the Filling
250 g mascarpone
250 g hazelnut cream (like Nutella or a similar spread)
For the Glaze
400 g milk chocolate
25 ml sunflower oil
For Decoration
50 g dark chocolate
These ingredients are easy to find and come together to create an extraordinary texture and flavor combination.
Step-by-Step Instructions
Step 1: Prepare the Cookie Dough Base
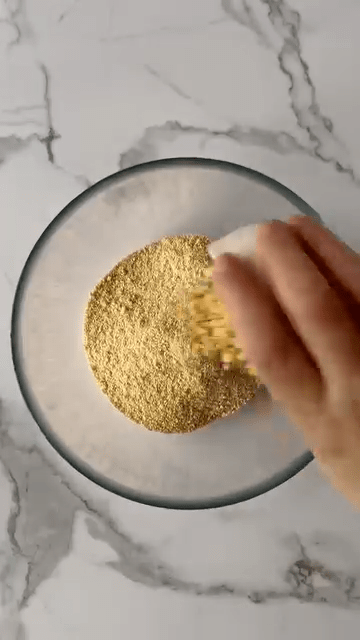
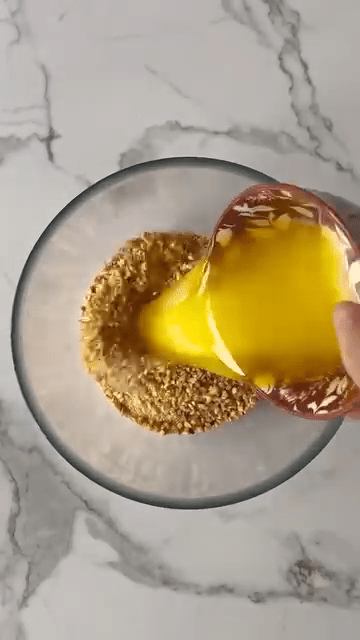
Start by melting the butter over low heat until completely smooth. While it melts, crush the Maria cookies in a food processor until you get fine crumbs. You want the texture to resemble sand. Transfer the crumbs into a mixing bowl.
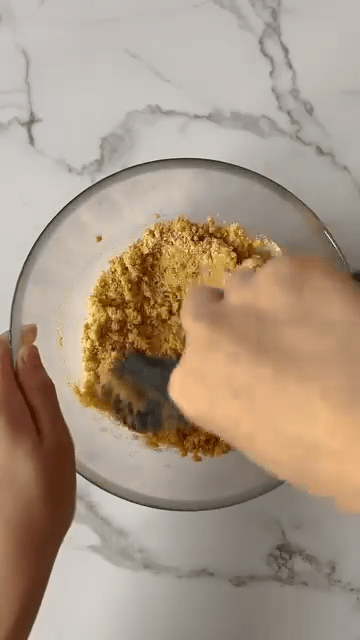
Now, add the chopped, toasted hazelnuts to the bowl. Toasting them enhances their flavor, giving your cookies that signature nutty aroma. Pour in the melted butter and mix everything until it’s fully combined and holds together when pressed.
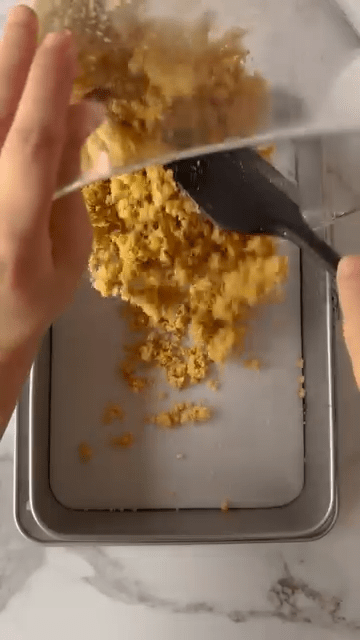
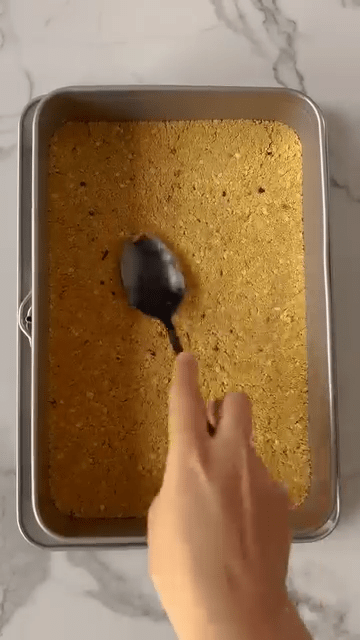
Line a baking tin with parchment paper and press the cookie dough mixture firmly into the bottom. Use the back of a spoon or a flat spatula to even it out. Refrigerate the base while you prepare the filling.
 |  |  |  |  |
Step 2: Whip Up the Creamy Filling
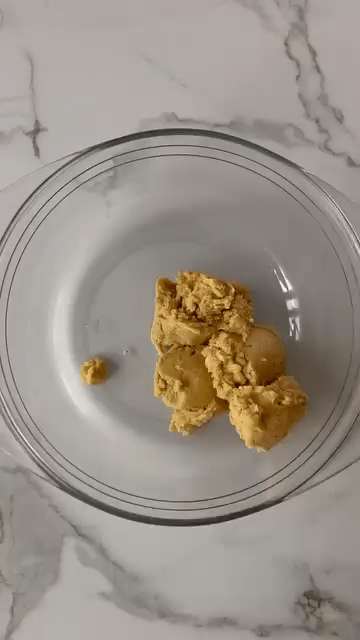
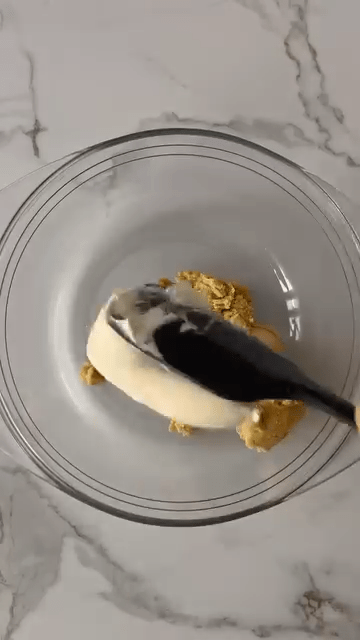
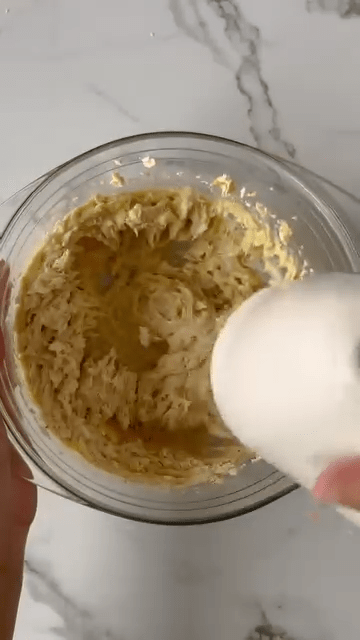
In a clean bowl, mix mascarpone and hazelnut cream together until you get a silky, smooth mixture. This filling is the heart of the cookie, echoing the creamy center of a Kinder Bueno bar.
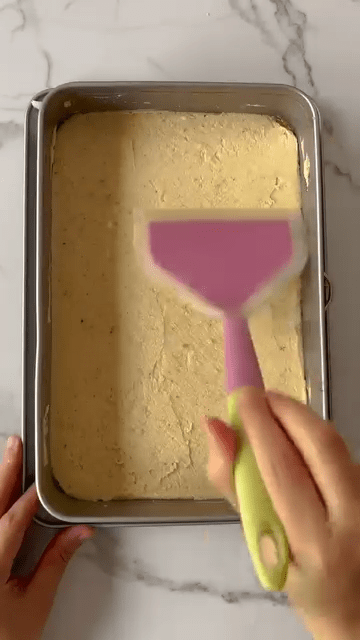
Take the chilled cookie base out of the fridge and spread the filling evenly over it. Smooth it out with a spatula for a neat finish. Now, place the tray in the freezer so it can firm up before glazing.
 |  |  |  |
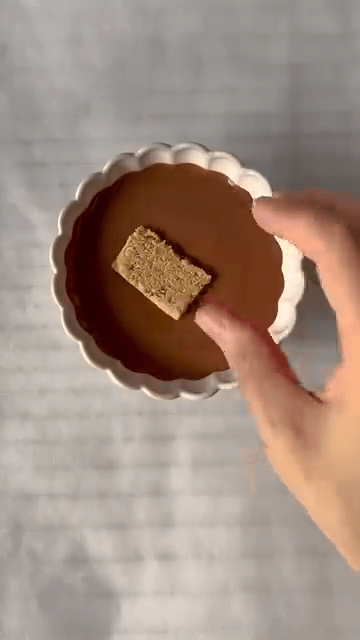
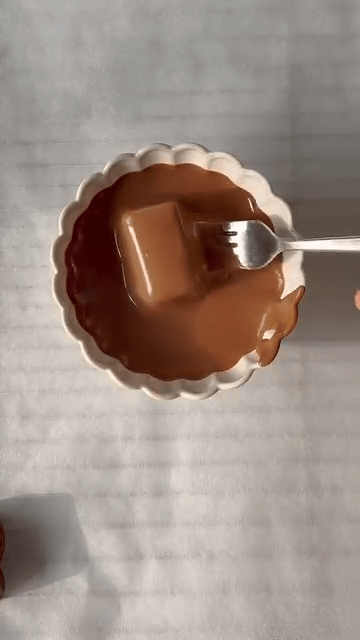
Step 3: Glaze and Dip
While your cookies are setting in the freezer, it’s time to prepare the glaze. In a water bath, melt the milk chocolate with the sunflower oil. Stir gently until you get a smooth, shiny consistency. The sunflower oil gives the glaze a beautiful glossy finish and makes it easier to work with.
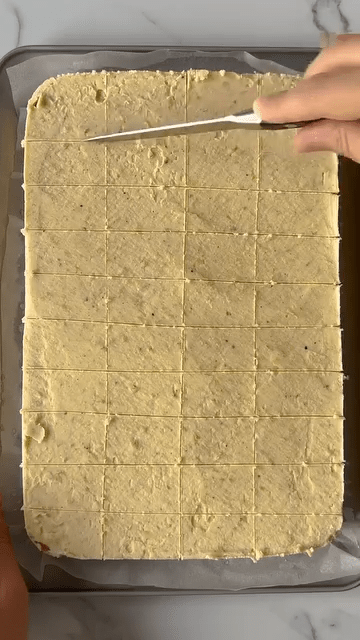
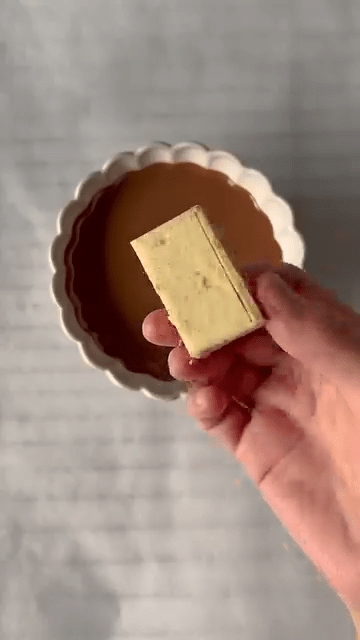
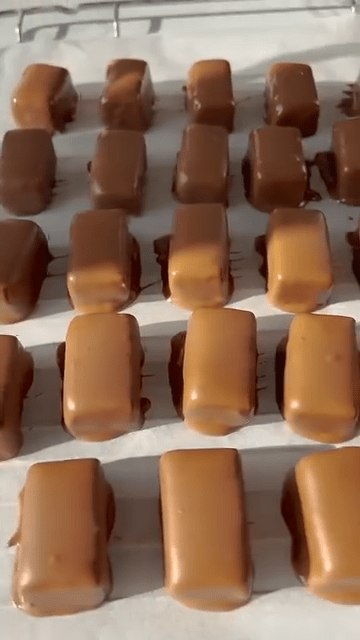
Once the cookies are firm, cut them into pieces (ideally, rectangles or squares). Dip each piece into the melted chocolate glaze, coating them fully. Place them on a rack lined with parchment paper so any excess chocolate can drip off.
 |  |  |  |  |
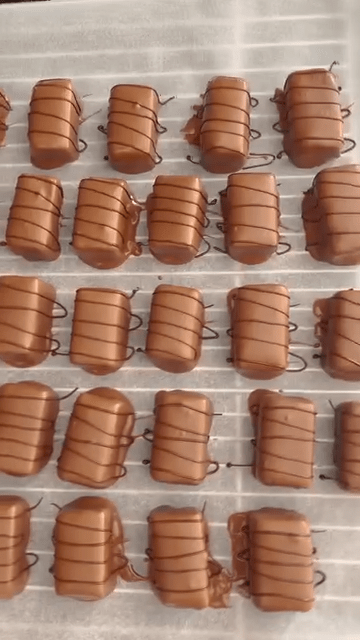
Step 4: Add That Final Kinder Touch
Melt the dark chocolate separately and pour it into a pastry bag (or a ziplock bag with the corner snipped). Drizzle thin lines across the glazed cookies to mimic the signature decoration found on Kinder Bueno bars.
These chocolate lines not only add visual appeal but also give the cookies that final authentic flair.
Step 5: Chill and Serve
Place all your decorated cookies in the refrigerator and let them chill until the chocolate glaze is set. This step is essential—it helps all the layers bind together and makes the cookies easier to handle.
Once they’re set, it’s time to dig in!
Tips for Perfect Kinder Bueno Cookies
Use high-quality chocolate for both the glaze and decoration to enhance the flavor.
Don’t skip chilling—this helps the layers hold and makes dipping in chocolate less messy.
Try variations by swapping hazelnut cream with white chocolate spread or adding wafer bits inside the filling for extra crunch.
Keep them stored in an airtight container in the fridge; they stay delicious for up to a week.
Why This Recipe is Worth It
These Kinder Bueno Cookies are a real showstopper. They bring together the best parts of a no-bake dessert, the joy of hazelnut and chocolate, and a beautiful homemade presentation. Every bite is rich, creamy, crunchy, and completely addictive.
Whether you’re baking for kids, family gatherings, or just need an excuse to indulge, this recipe will never disappoint. It combines nostalgia and luxury in one cookie—what more could you want?
So go ahead, give this Kinder Bueno Cookies Recipe a try and wow everyone at your next event—or treat yourself to something truly extraordinary.
Final Thoughts
Homemade cookies don’t get much better than this. With simple ingredients, a little effort, and a lot of love, you’ll be serving up a dessert that tastes straight out of a gourmet bakery. These Kinder Bueno Cookies are everything you didn’t know you needed—and more.
Now, what are you waiting for? Grab those ingredients, roll up your sleeves, and start creating some cookie magic today!

Must Try Pistachio Cream Cake Recipe
FAQs
Q1: Can I freeze Kinder Bueno Cookies?
Yes, you can! Just wrap them in cling film and freeze for up to 2 months. Let them thaw in the fridge before serving.
Q2: What can I use instead of mascarpone?
Cream cheese works in a pinch, but mascarpone gives a much smoother, richer taste.
Q3: Can I make this recipe gluten-free?
Absolutely—just use gluten-free Maria cookies or any other gluten-free biscuit.
Q4: How long do they last in the fridge?
Up to one week in an airtight container, though they’re usually gone long before that!
Q5: Can I skip the decoration step?
Sure! But the dark chocolate drizzle adds a beautiful finish and that classic Kinder Bueno look.
Kinder Bueno Cookies Recipe
Irresistible Kinder Bueno Cookies recipe with creamy hazelnut filling, chocolate glaze, and crunchy base.
Type: Dessert, Cookies
Cuisine: European, Fusion
Keywords: Kinder Bueno Cookies, hazelnut cookies, no-bake cookies, chocolate cookies, mascarpone dessert
Recipe Yield: 40 cookies
Calories: 180 per cookie (based on standard ingredients)
Preparation Time: 30 minutes
Cooking Time: 0 minutes (no-bake)
Total Time: 1 hour 30 minutes (including chilling time)
Recipe Ingredients:
- 150 g Maria cookies
- 50 g hazelnuts (chopped and toasted)
- 150 g unsalted butter
- 250 g mascarpone
- 250 g hazelnut cream
- 400 g milk chocolate
- 25 ml sunflower oil
- 50 g dark chocolate
Recipe Instructions:
Prepare the Cookie Dough Base:
- Start by melting the butter over low heat until completely smooth. While it melts, crush the Maria cookies in a food processor until you get fine crumbs. You want the texture to resemble sand. Transfer the crumbs into a mixing bowl. Now, add the chopped, toasted hazelnuts to the bowl. Toasting them enhances their flavor, giving your cookies that signature nutty aroma. Pour in the melted butter and mix everything until it’s fully combined and holds together when pressed. Line a baking tin with parchment paper and press the cookie dough mixture firmly into the bottom. Use the back of a spoon or a flat spatula to even it out. Refrigerate the base while you prepare the filling.
Whip Up the Creamy Filling:
- In a clean bowl, mix mascarpone and hazelnut cream together until you get a silky, smooth mixture. This filling is the heart of the cookie, echoing the creamy center of a Kinder Bueno bar. Take the chilled cookie base out of the fridge and spread the filling evenly over it. Smooth it out with a spatula for a neat finish. Now, place the tray in the freezer so it can firm up before glazing.
Glaze and Dip:
- While your cookies are setting in the freezer, it’s time to prepare the glaze. In a water bath, melt the milk chocolate with the sunflower oil. Stir gently until you get a smooth, shiny consistency. The sunflower oil gives the glaze a beautiful glossy finish and makes it easier to work with. Once the cookies are firm, cut them into pieces (ideally, rectangles or squares). Dip each piece into the melted chocolate glaze, coating them fully. Place them on a rack lined with parchment paper so any excess chocolate can drip off.
Add That Final Kinder Touch:
- Melt the dark chocolate separately and pour it into a pastry bag (or a ziplock bag with the corner snipped). Drizzle thin lines across the glazed cookies to mimic the signature decoration found on Kinder Bueno bars. These chocolate lines not only add visual appeal but also give the cookies that final authentic flair.
Chill and Serve:
- Place all your decorated cookies in the refrigerator and let them chill until the chocolate glaze is set. This step is essential—it helps all the layers bind together and makes the cookies easier to handle. Once they’re set, it’s time to dig in!