

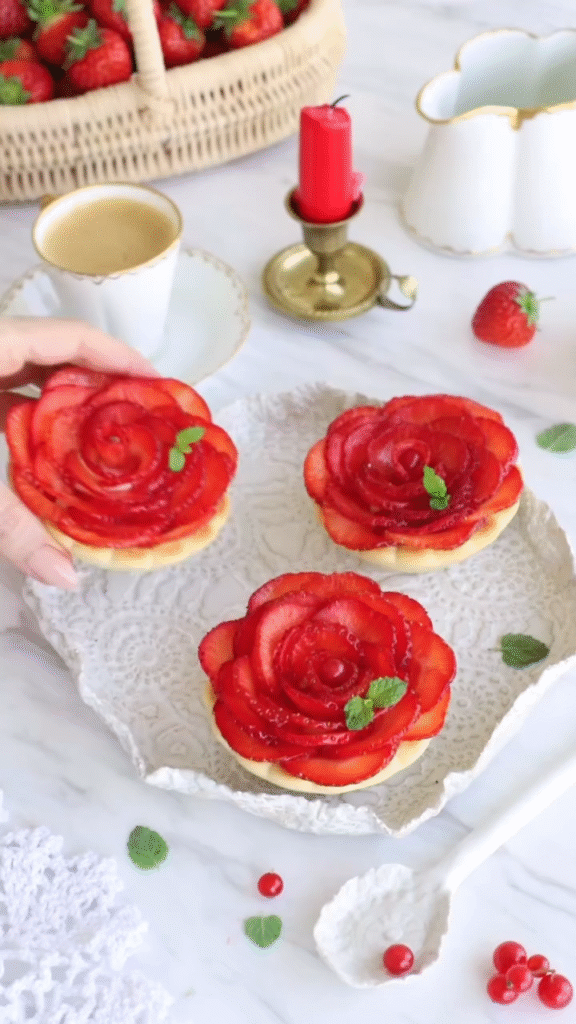
Strawberry Rose Tarts are as delicious as they are beautiful. Delicate layers of fresh strawberries are arranged like rose petals atop a smooth vanilla pastry cream, all held together by a crisp, buttery tart shell. These elegant little desserts are the perfect way to showcase fresh strawberries in a way that feels both luxurious and homey.
Whether you’re preparing for a dinner party, a holiday gathering, or just looking to elevate your baking game, this recipe is sure to impress. The combination of textures and flavors is pure perfection. Let’s dive into how to make this stunning treat from scratch.
Step-by-Step Process
Making the Tart Crust
To begin, combine the flour, icing sugar, and a pinch of salt in a food processor. Pulse the mixture a few times to evenly mix the dry ingredients. Next, add very cold, cubed unsalted butter. Pulse until the mixture becomes crumbly and resembles fine breadcrumbs. The cold butter is essential for achieving a flaky texture in the tart crust.
Once you reach that crumbly stage, add the room-temperature egg. Pulse again until the dough starts to come together. You don’t want to overmix—just enough for the dough to form into a cohesive ball.
Turn the dough out onto a floured surface and gently shape it into a ball. Flatten it slightly, then roll it out between two pieces of baking paper until it’s about 4mm thick. Place the rolled-out dough in the refrigerator for at least one hour to chill.
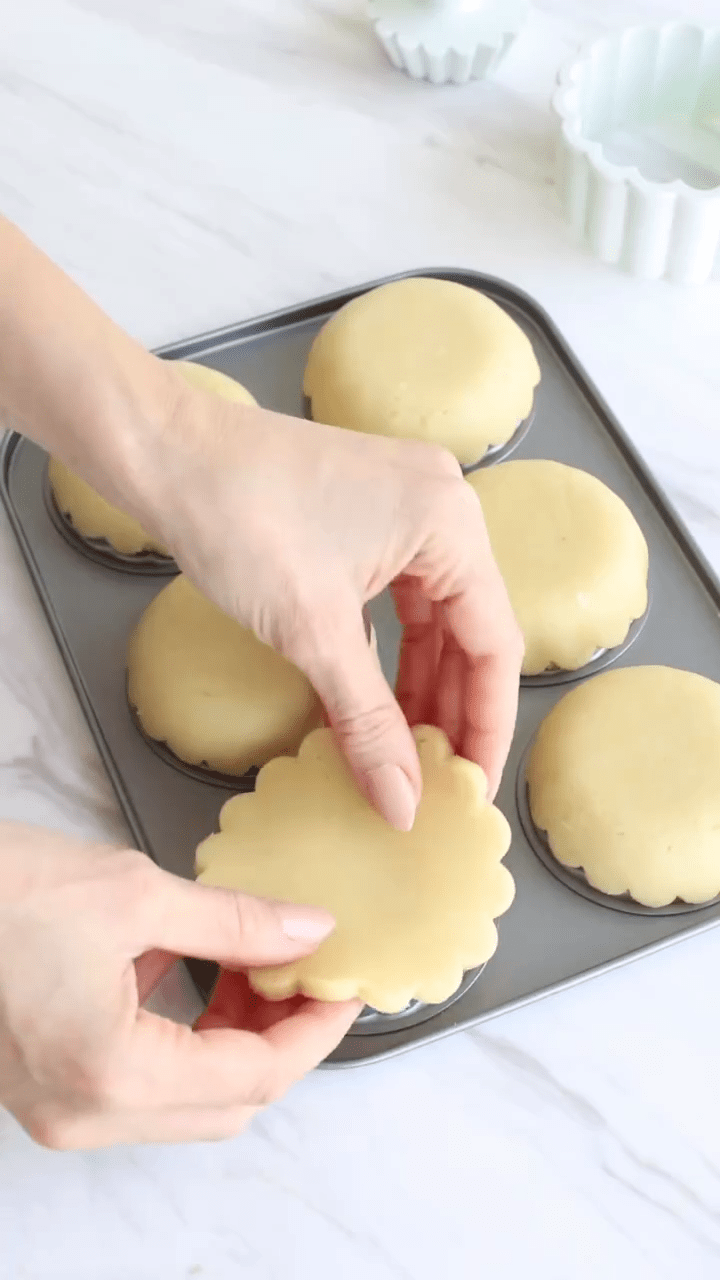
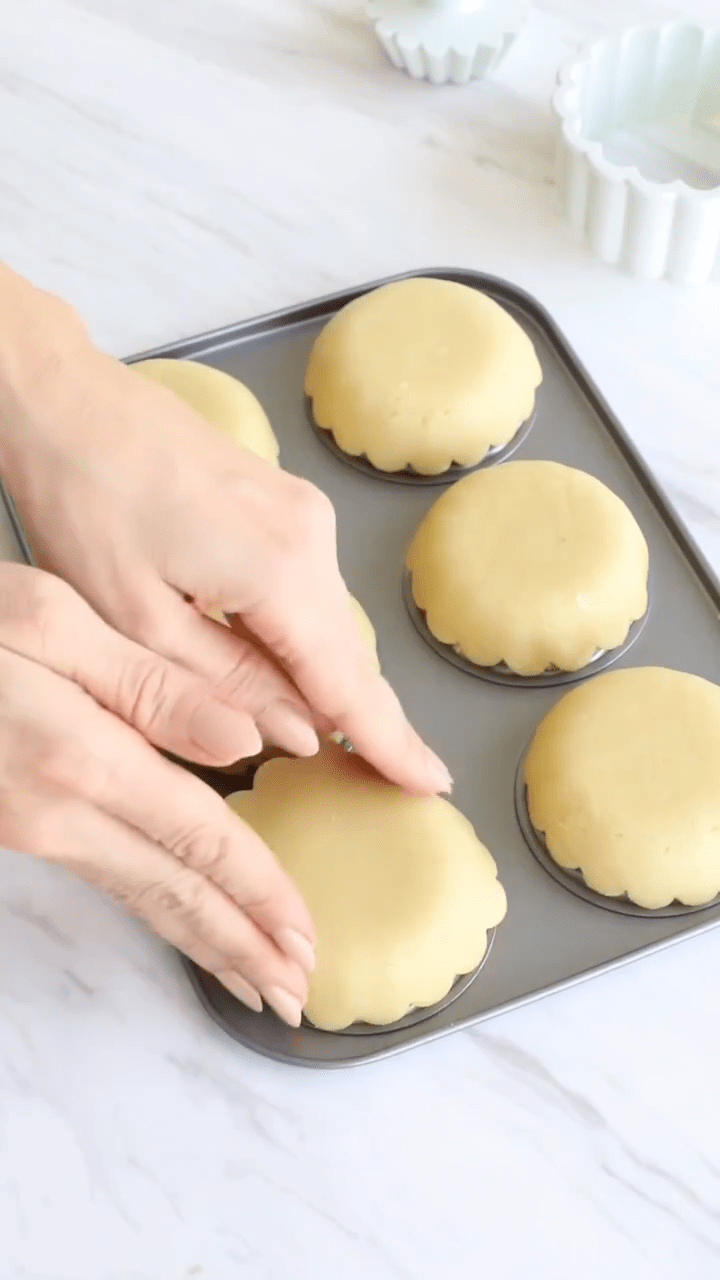
Prepare your tart molds by lightly greasing the outer sides with butter. After chilling, remove the dough from the refrigerator. Use a cookie cutter to create six evenly sized discs of dough, just large enough to fit your molds.
Carefully line each mold with a dough disc, gently pressing it into the sides and bottom. Once done, freeze the tart molds for one hour. This step helps prevent the dough from shrinking during baking.
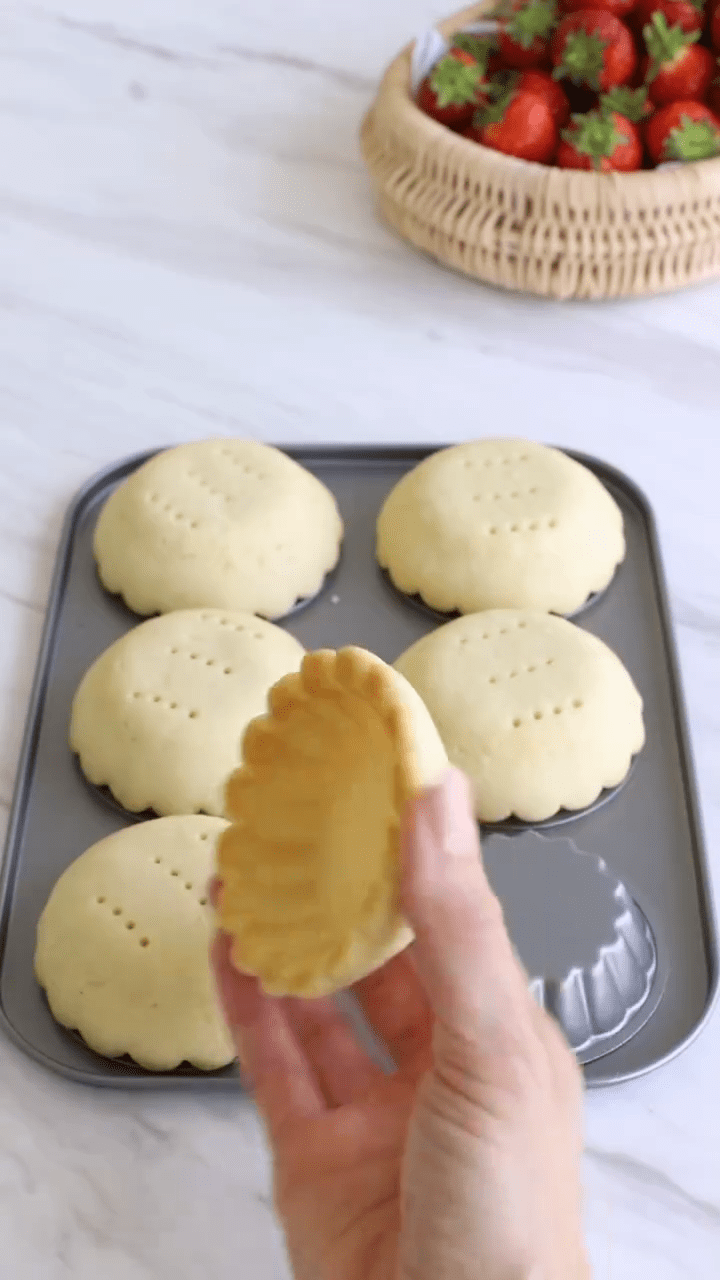
Preheat your oven to 160°C (320°F). When ready, place the frozen tart molds directly into the oven. Bake for 20 to 30 minutes, or until the crusts turn a light golden brown. Remove from the oven and allow them to cool completely before adding any filling.
 |  |  |
Preparing the Vanilla Pastry Cream
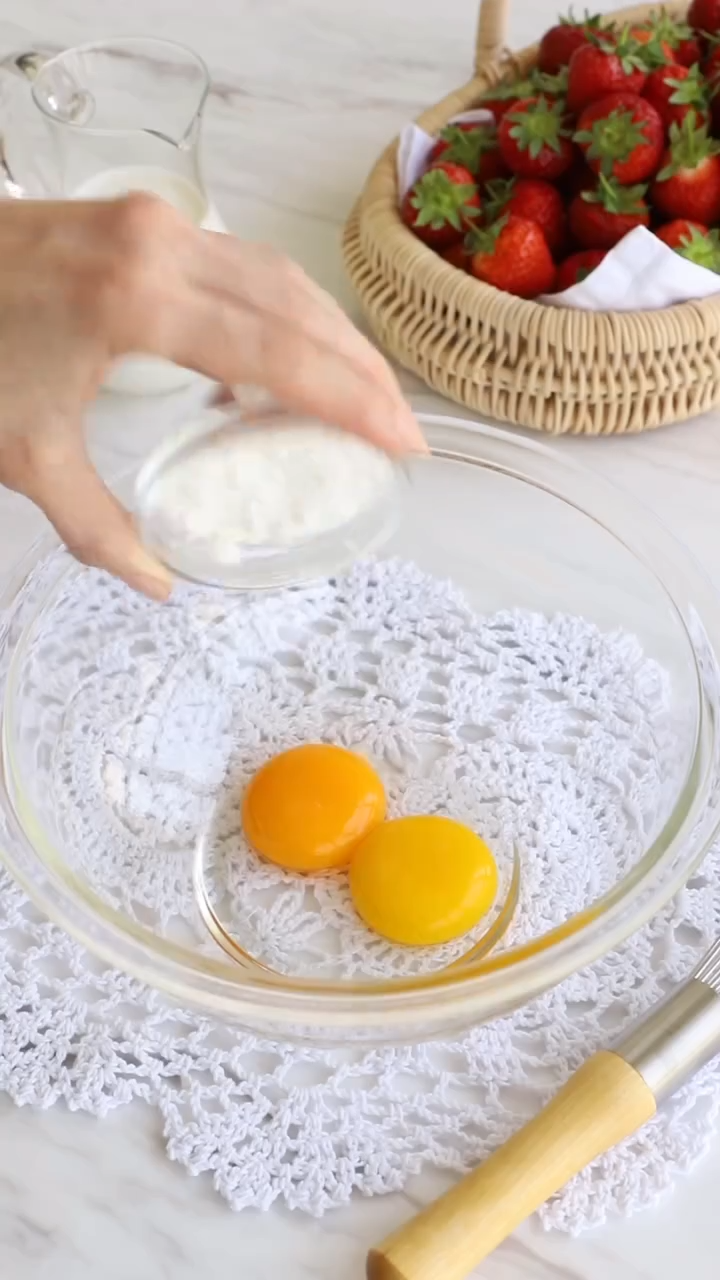
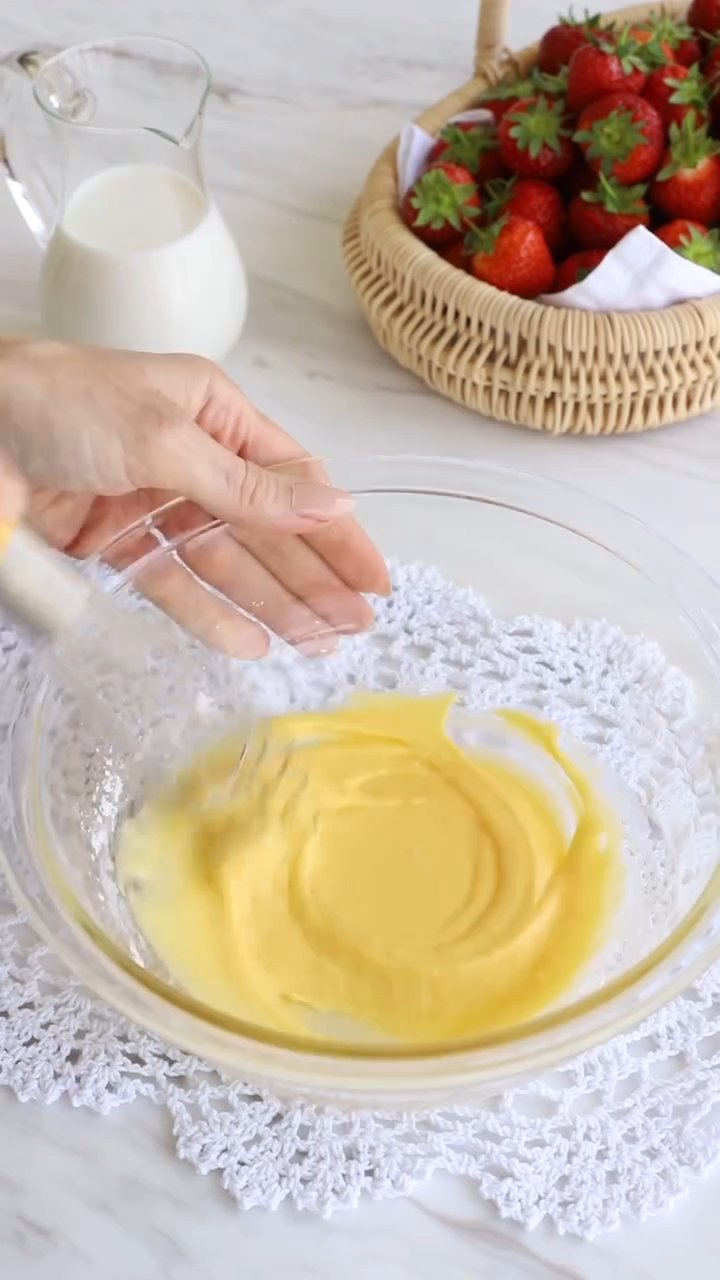
In a medium bowl, whisk together the egg yolks and sugar until the mixture becomes pale and slightly thick. Add the cornstarch to the egg mixture and whisk until smooth and lump-free. Set aside.
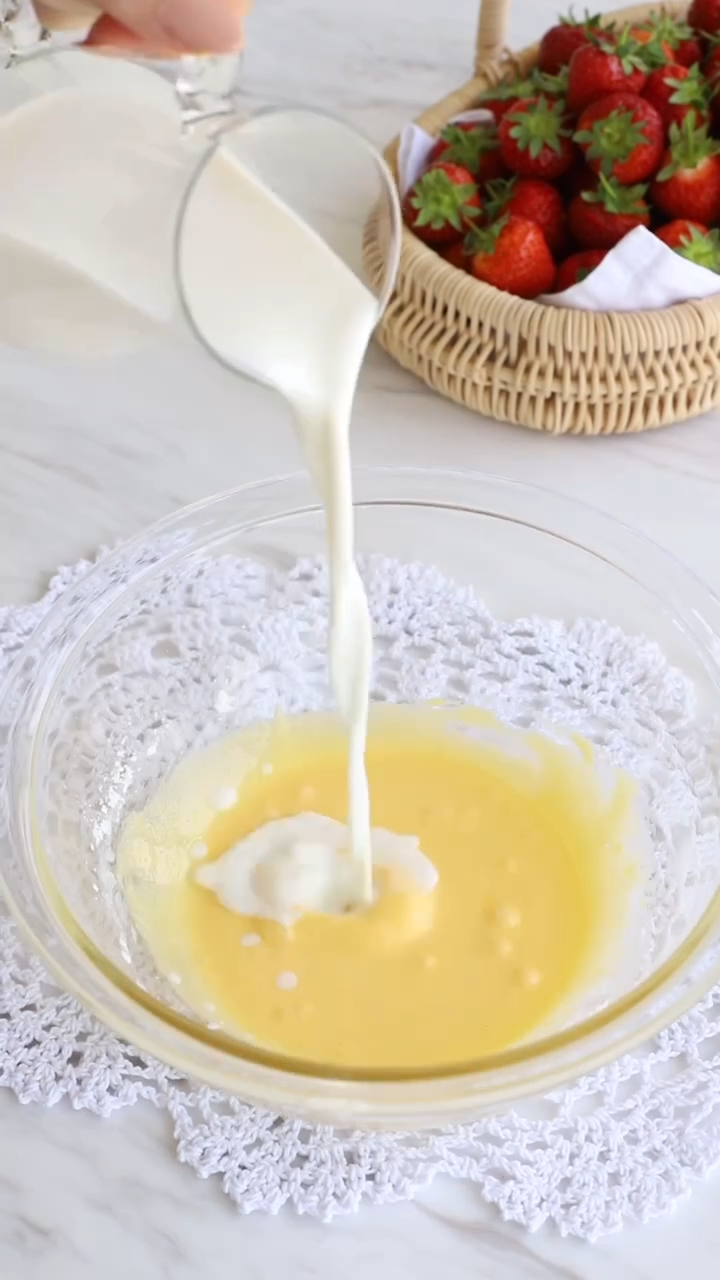
In a saucepan, heat the milk and vanilla bean paste over medium heat. Watch closely and heat until the milk just begins to simmer but does not boil.
Once the milk is hot, slowly pour it into the egg mixture while whisking continuously. This step, known as tempering, prevents the eggs from scrambling.
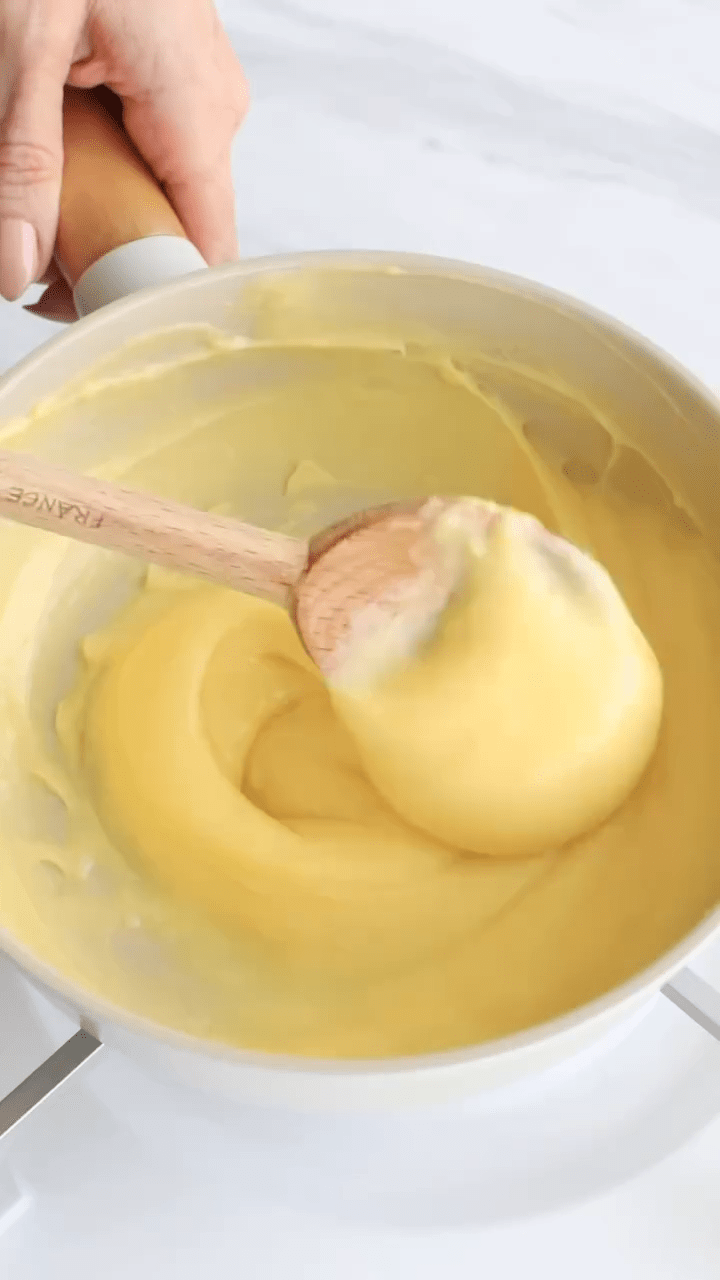
After fully combining the hot milk with the egg mixture, return the entire mixture to the saucepan. Cook it over low heat, whisking constantly, until the mixture thickens into a smooth, glossy custard. When the pastry cream starts to bubble, let it boil for about 30 seconds while still whisking.
Remove the saucepan from heat. Transfer the pastry cream to a clean bowl. Immediately cover it with plastic wrap, making sure the wrap touches the surface of the cream. This prevents a skin from forming. Refrigerate the cream for at least two hours or until completely chilled.
 |  |  |  |
Slicing and Preparing the Strawberries
Begin by washing the fresh strawberries thoroughly. Hull them by removing the green tops, then slice each berry in half.
Using a very sharp knife or mandoline slicer, cut the strawberry halves into paper-thin slices. Thin slices are easier to work with when arranging the roses and will give you a smoother, more delicate design.
Set the slices aside on a plate or baking sheet. If you’re preparing the strawberries ahead of time, you can lightly cover them with plastic wrap and keep them in the refrigerator until you’re ready to assemble the tarts.
Assembling the Strawberry Rose Tarts
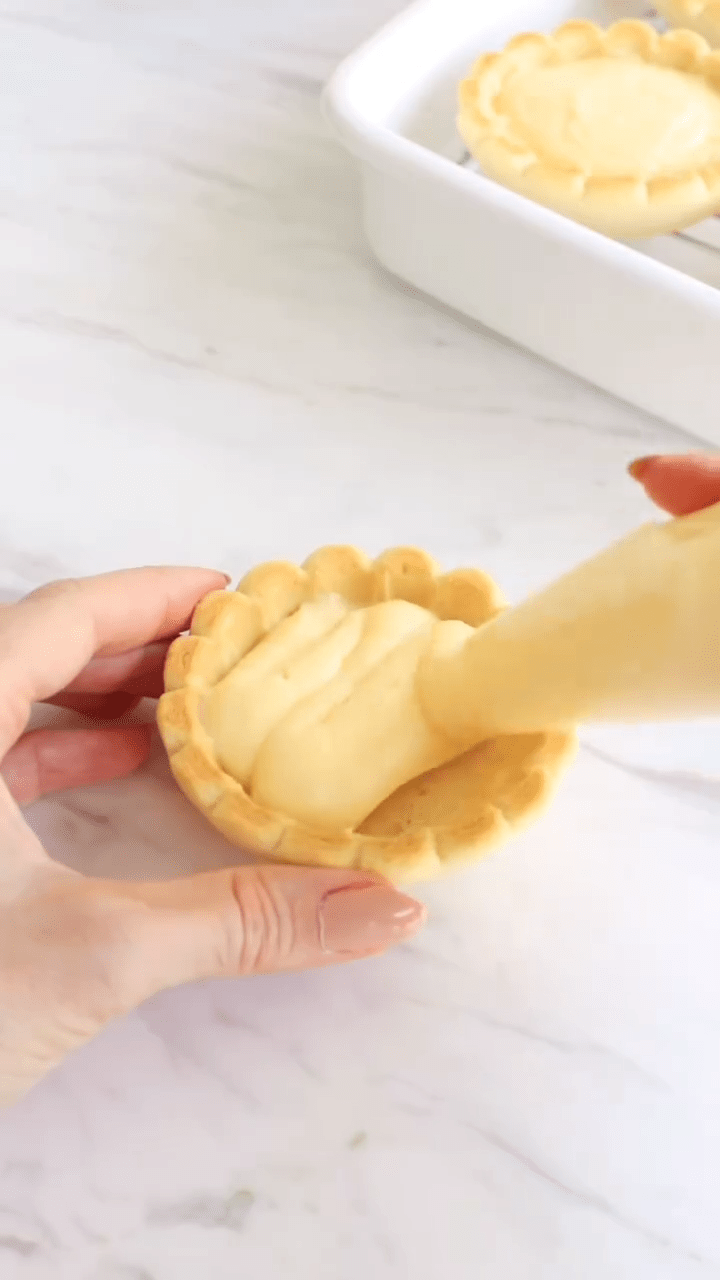
Ensure your tart crusts are completely cool and your vanilla pastry cream is chilled and set. Take a spoon and spread a generous amount of pastry cream into each tart shell. Smooth the top with the back of the spoon or a small spatula.
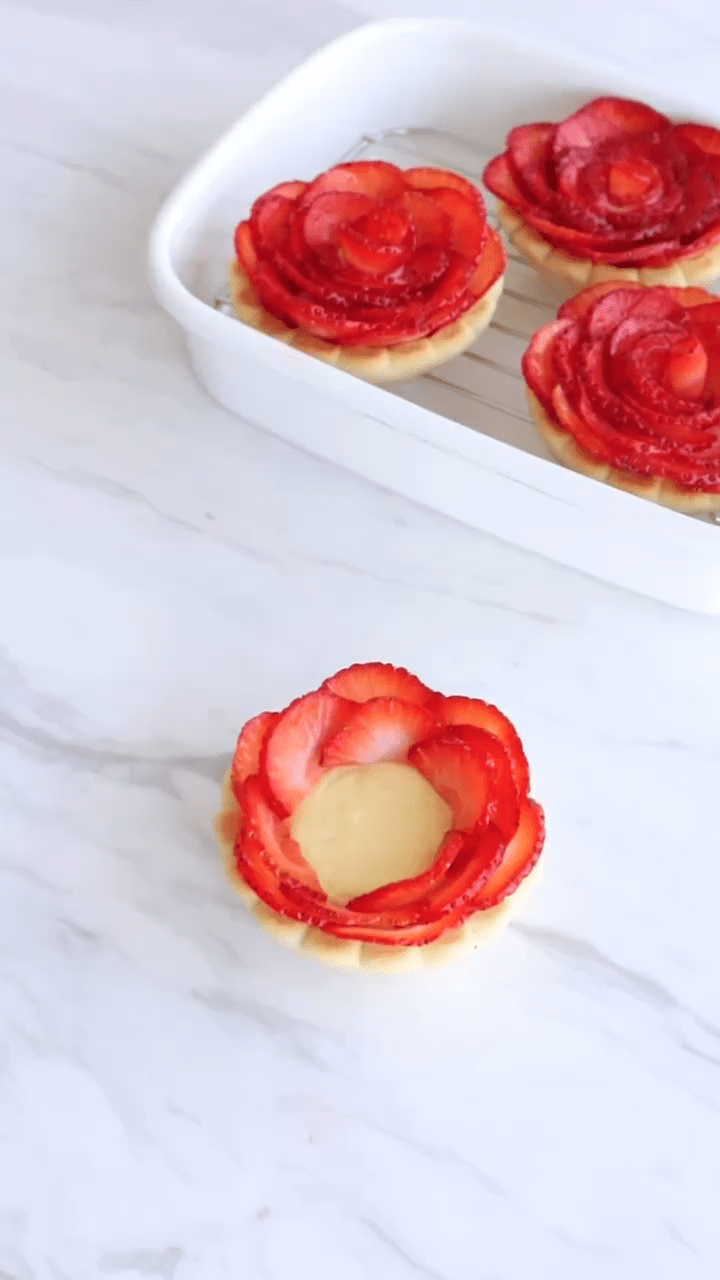
Now it’s time to build the rose. Begin placing the strawberry slices along the outer edge of the tart, overlapping each slice slightly. This creates the look of flower petals. Work your way around the edge, gradually spiraling inward with each new layer of strawberry slices.
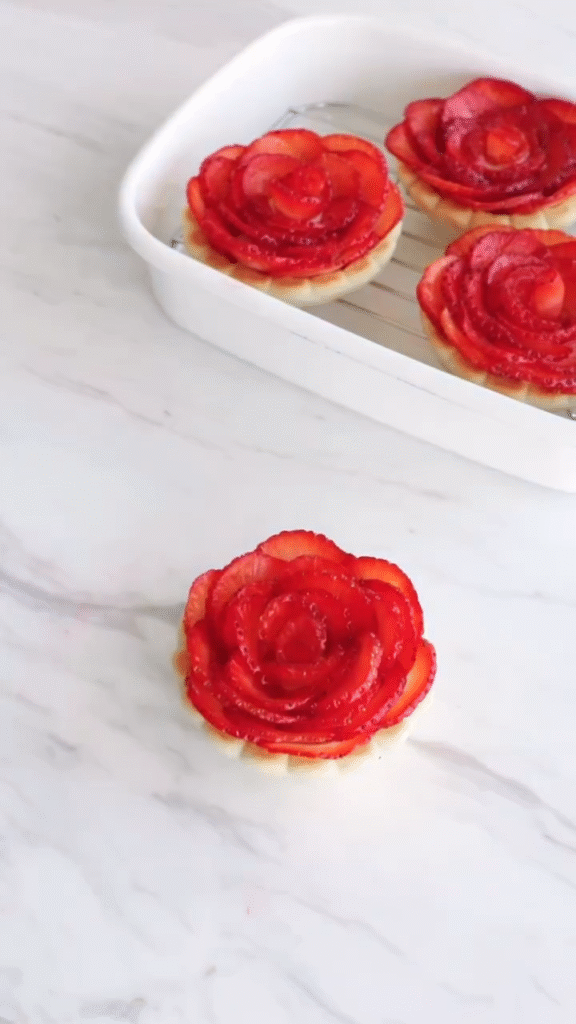
As you get closer to the center, switch to smaller strawberry slices to keep the rose shape looking proportional. Finish the design with a tightly curled small slice right in the middle, mimicking a rosebud.
If desired, lightly brush the strawberries with a bit of warmed apricot jam to give them a glossy finish. This adds visual appeal and also helps preserve the fruit’s freshness.
 |  |
Serving and Storing Your Tarts
Strawberry Rose Tarts are best served chilled. After assembling, place them in the refrigerator for about 30 minutes before serving. This helps the pastry cream firm up slightly and allows the flavors to meld.
If you’re making these ahead of time, store them in the refrigerator for up to 24 hours. Keep them in an airtight container to prevent the strawberries from drying out.
These tarts are best enjoyed within a day for the freshest texture and flavor.
Final Thoughts
Strawberry Rose Tarts may look like something from a high-end patisserie, but they’re surprisingly simple when broken down into clear steps. The tart crust offers a buttery crunch, the vanilla pastry cream is rich and silky, and the strawberry rose topping adds the perfect finishing touch—both in flavor and presentation.
What makes this dessert truly special is the combination of technique and creativity. You’re not just baking; you’re building a floral masterpiece. With a little patience and some careful slicing, anyone can turn fresh fruit into edible art.
Now that you’ve mastered the method, don’t be afraid to experiment. Add a touch of lemon zest to the pastry cream, infuse the milk with lavender, or swap strawberries for mango slices to create golden rose designs.
No matter how you make them, these Strawberry Rose Tarts are guaranteed to turn heads and delight taste buds. Ready to impress? Your next masterpiece awaits in your kitchen.
Must Try Vegan Avocado Lime Cake Recipe
Strawberry Rose Tarts Recipe

Delight in the beauty and flavor of strawberry rose tarts with this easy recipe featuring a buttery crust and vanilla pastry cream.
Type: Dessert
Cuisine: French-inspired
Keywords: strawberry rose tarts, tart recipe, vanilla pastry cream, strawberry tart, elegant dessert
Recipe Yield: 6 individual tarts
Calories: Approximately 320 per tart (may vary based on size and ingredients)
Preparation Time: 1 hour 30 minutes
Cooking Time: 30 minutes
Total Time: 2 hours
Recipe Ingredients:
- 1 2/3 cups all-purpose flour
- 1/2 cup icing sugar
- Pinch of salt
- 1/2 cup unsalted butter (very cold, cubed)
- 1 egg (at room temperature)
- 2 cups milk
- 1/2 tsp vanilla bean paste
- 1/4 cup cornstarch
- 1/3 cup sugar
- 2 large egg yolks
- Fresh strawberries (hulled and sliced thin)
Recipe Instructions:
Making the Tart Crust:
- To begin, combine the flour, icing sugar, and a pinch of salt in a food processor. Pulse the mixture a few times to evenly mix the dry ingredients. Next, add very cold, cubed unsalted butter. Pulse until the mixture becomes crumbly and resembles fine breadcrumbs. The cold butter is essential for achieving a flaky texture in the tart crust. Once you reach that crumbly stage, add the room-temperature egg. Pulse again until the dough starts to come together. You don't want to overmix—just enough for the dough to form into a cohesive ball. Turn the dough out onto a floured surface and gently shape it into a ball. Flatten it slightly, then roll it out between two pieces of baking paper until it’s about 4mm thick. Place the rolled-out dough in the refrigerator for at least one hour to chill. Prepare your tart molds by lightly greasing the outer sides with butter. After chilling, remove the dough from the refrigerator. Use a cookie cutter to create six evenly sized discs of dough, just large enough to fit your molds. Carefully line each mold with a dough disc, gently pressing it into the sides and bottom. Once done, freeze the tart molds for one hour. This step helps prevent the dough from shrinking during baking. Preheat your oven to 160°C (320°F). When ready, place the frozen tart molds directly into the oven. Bake for 20 to 30 minutes, or until the crusts turn a light golden brown. Remove from the oven and allow them to cool completely before adding any filling.
Preparing the Vanilla Pastry Cream:
- In a medium bowl, whisk together the egg yolks and sugar until the mixture becomes pale and slightly thick. Add the cornstarch to the egg mixture and whisk until smooth and lump-free. Set aside. In a saucepan, heat the milk and vanilla bean paste over medium heat. Watch closely and heat until the milk just begins to simmer but does not boil. Once the milk is hot, slowly pour it into the egg mixture while whisking continuously. This step, known as tempering, prevents the eggs from scrambling. After fully combining the hot milk with the egg mixture, return the entire mixture to the saucepan. Cook it over low heat, whisking constantly, until the mixture thickens into a smooth, glossy custard. When the pastry cream starts to bubble, let it boil for about 30 seconds while still whisking. Remove the saucepan from heat. Transfer the pastry cream to a clean bowl. Immediately cover it with plastic wrap, making sure the wrap touches the surface of the cream. This prevents a skin from forming. Refrigerate the cream for at least two hours or until completely chilled.
Slicing and Preparing the Strawberries:
- Begin by washing the fresh strawberries thoroughly. Hull them by removing the green tops, then slice each berry in half. Using a very sharp knife or mandoline slicer, cut the strawberry halves into paper-thin slices. Thin slices are easier to work with when arranging the roses and will give you a smoother, more delicate design. Set the slices aside on a plate or baking sheet. If you're preparing the strawberries ahead of time, you can lightly cover them with plastic wrap and keep them in the refrigerator until you're ready to assemble the tarts.
Assembling the Strawberry Rose Tarts:
- Ensure your tart crusts are completely cool and your vanilla pastry cream is chilled and set. Take a spoon and spread a generous amount of pastry cream into each tart shell. Smooth the top with the back of the spoon or a small spatula. Now it’s time to build the rose. Begin placing the strawberry slices along the outer edge of the tart, overlapping each slice slightly. This creates the look of flower petals. Work your way around the edge, gradually spiraling inward with each new layer of strawberry slices. As you get closer to the center, switch to smaller strawberry slices to keep the rose shape looking proportional. Finish the design with a tightly curled small slice right in the middle, mimicking a rosebud. If desired, lightly brush the strawberries with a bit of warmed apricot jam to give them a glossy finish. This adds visual appeal and also helps preserve the fruit’s freshness.