

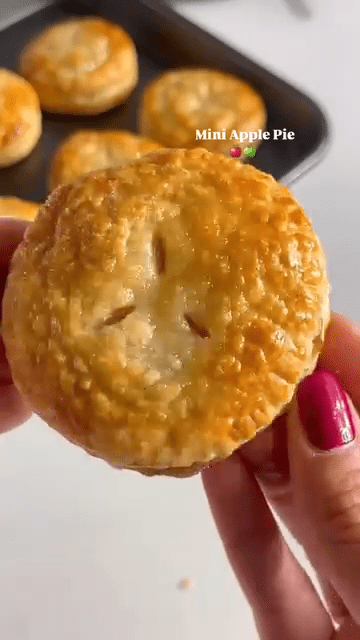
There’s something deeply comforting about the warm aroma of apples, cinnamon, and buttery pastry baking in the oven. And when you combine all of that into cute, handheld pies, you get the ultimate dessert experience—mini apple pies. These individual treats are not only irresistibly delicious, but they’re also perfect for parties, gifting, or a cozy evening with a hot cup of tea. If you’re someone who loves classic apple pie but wants a quicker, easier version that doesn’t skimp on flavor, this mini apple pies recipe will become your go-to.
In this post, we’ll walk you through each step of making these golden delights, starting from the flavorful apple filling to the buttery puff pastry crust, and finish with tips to perfect your mini pies every single time.
Why Mini Apple Pies Are the Best Dessert Option
Mini desserts are trending for all the right reasons. These mini apple pies strike a balance between portion control and indulgence. They are easier to serve, quicker to bake, and incredibly adorable to present. Whether you’re preparing for a brunch buffet or packing lunchbox treats, these pies will make an impression.
They’re also super customizable. You can adjust the sweetness, try different apples, or even experiment with pie crust styles. Not to mention, the filling can be made ahead of time—making this recipe a real time-saver.
Ingredients That Make These Mini Apple Pies Irresistible
Let’s break down what you need for this delicious recipe. This mini apple pies recipe yields 6 delightful mini pies that are sure to vanish quickly from any table.
Apple Filling:
80g peeled and chopped apple (1–2 apples such as Honeycrisp, Cosmic, or Granny Smith)
30g (2 tablespoons) light brown sugar
½ teaspoon cinnamon powder
½ teaspoon vanilla extract
30g (2 tablespoons) butter (non-dairy butter works fine)
½ teaspoon cornstarch (mixed with 2 tsp water)
Lemon juice (to prevent apple oxidation)
Pie Crust:
1 sheet store-bought puff pastry (thawed) or your preferred homemade pie dough
A little milk for sealing
Maple syrup for brushing
Turbinado or cane sugar for topping
How to Make the Apple Filling
The heart of this mini apple pies recipe is the filling. You want the apples to be soft but not mushy, flavored with cinnamon and sugar, and thick enough not to leak during baking.
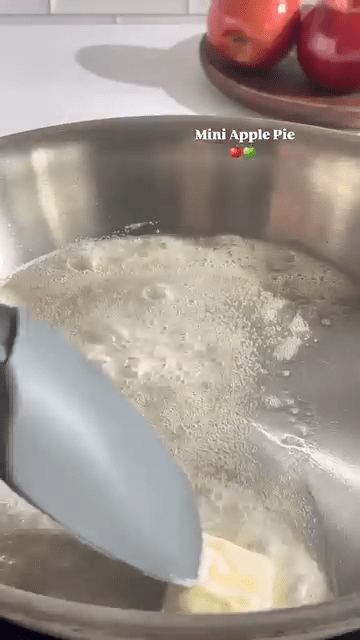
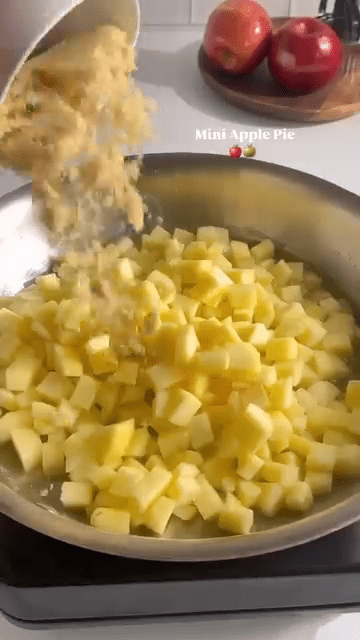
Start by peeling and chopping the apples into small chunks. Mix them with a bit of lemon juice to prevent browning. In a medium saucepan over medium heat, melt the butter until it starts to bubble. Then, add the chopped apples, light brown sugar, cinnamon powder, and vanilla extract. Stir well.
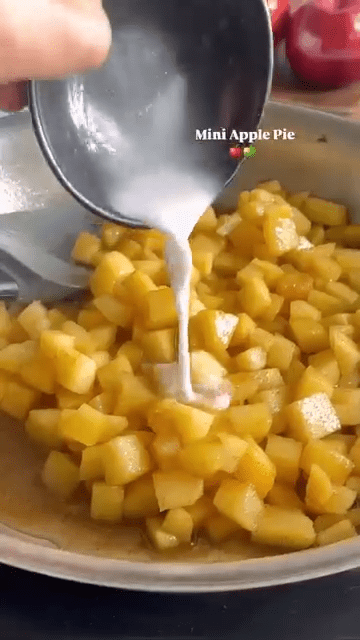
Let this mixture cook for about 7 to 8 minutes, until the apples are tender but still hold their shape. Now add the cornstarch slurry (cornstarch mixed with water) and stir it in. Let it come to a gentle boil, thickening the filling slightly. Once done, remove from heat and let it cool to room temperature.
This mixture can be made a day ahead and stored in the refrigerator, making pie assembly quicker the next day.
 |  |  |  |
Assembling the Mini Apple Pies
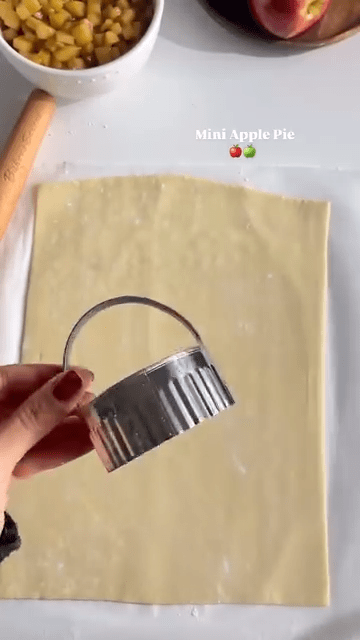
Pie assembly is where the magic happens. First, lightly flour your work surface and roll out the puff pastry dough to about ⅛-inch thick. Keep the shape rectangular and try to keep the dough cold throughout the process. Cold dough puffs up better and holds its shape nicely while baking.
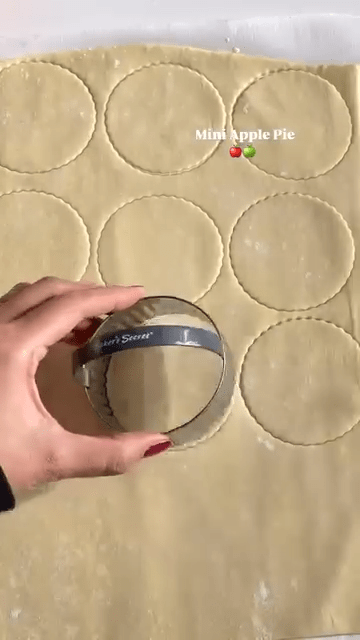
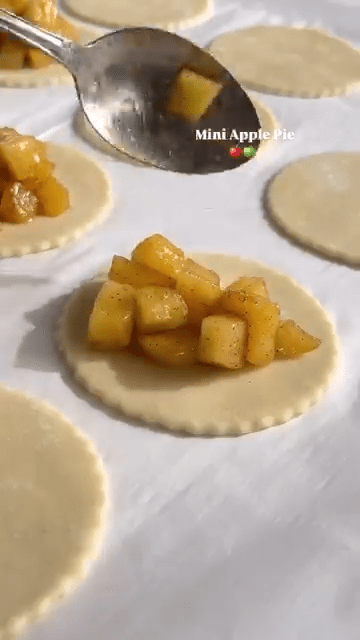
Using a cookie cutter, cut out 12 discs, each 3 inches wide. Place these on a baking tray lined with parchment paper. Spoon about 2 tablespoons of the cooled apple filling onto 6 of these discs, leaving some room around the edges for sealing.
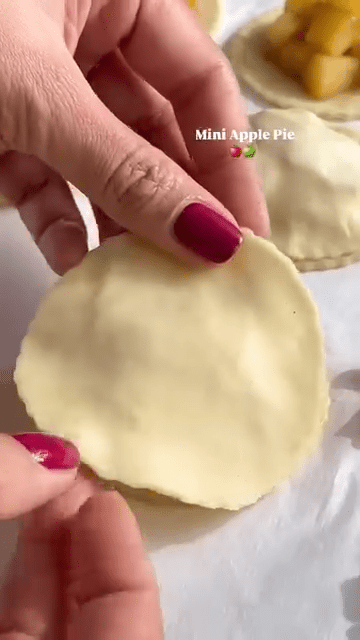
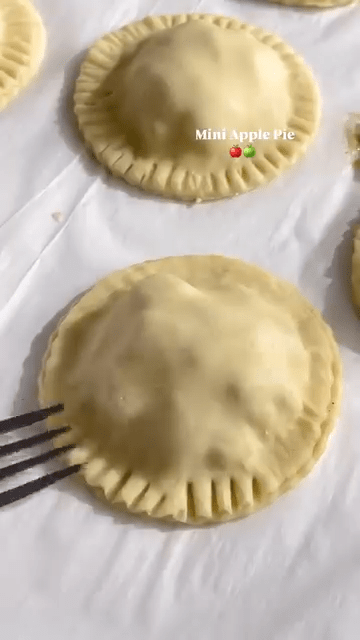
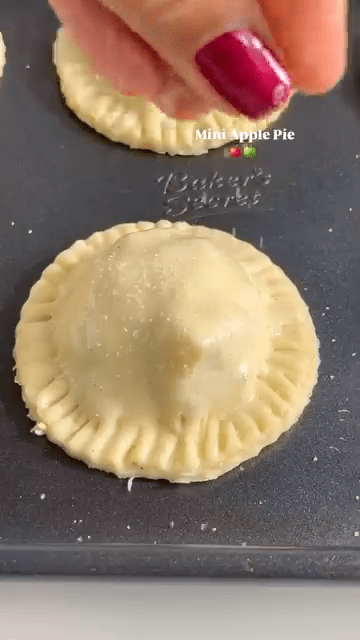
Brush the edges with milk, then top each filled disc with one of the remaining dough discs. Press the edges with a fork to seal, and ensure they’re tightly closed so no filling escapes. Use a sharp knife to cut three tiny slits on the top of each pie—this allows steam to escape while baking and keeps the pastry crisp.
 |  |  |  |  |  |
Baking Your Mini Apple Pies to Golden Perfection
Once all pies are assembled, brush the tops lightly with maple syrup. This not only adds flavor but also helps achieve a beautiful golden color. Sprinkle some turbinado or cane sugar on top for extra crunch and a bakery-style finish.
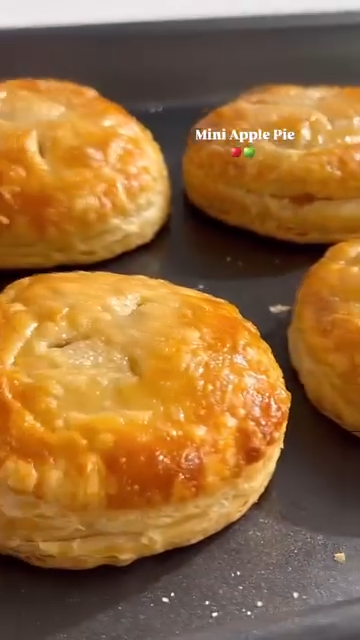
Bake in a preheated oven at 375°F (190°C) for about 15–17 minutes. You’ll know they’re ready when they’ve puffed up and turned a beautiful golden brown.
Let them cool slightly before serving. You can enjoy them warm, at room temperature, or even chilled the next day.
 |  |
Serving Ideas and Variations
These mini apple pies are perfect as-is, but you can elevate them with a few extra touches. Serve with a scoop of vanilla ice cream or a drizzle of caramel sauce for a decadent dessert. You could also serve them with whipped cream or yogurt for a lighter option.
Want to get creative? Try these variations:
Add chopped nuts like pecans or walnuts to the filling for a nutty crunch.
Mix in a few raisins or dried cranberries for a festive twist.
Use a mix of apple varieties for a more complex flavor.
Tips for Perfect Mini Apple Pies
Keep the dough cold: Cold dough is easier to work with and produces flakier results.
Don’t overfill: While tempting, too much filling can cause the pies to burst open during baking.
Use the right apples: Granny Smith gives a tart contrast, while Honeycrisp and Cosmic offer natural sweetness.
Pre-cook your filling: This ensures the apples are tender and the filling isn’t watery.
Why You’ll Love This Mini Apple Pies Recipe
This recipe is all about balance—sweet, spicy, soft, and crisp in one delightful bite. Whether you’re a baking novice or a seasoned pastry lover, this easy and flexible mini apple pies recipe guarantees great results every time. It’s also a fun activity to do with kids or friends, especially when the holidays roll around.
Plus, since they’re individually portioned, you don’t have to worry about slicing and serving like traditional pies. You can bake a batch, pack them in a box, and bring homemade warmth to any gathering.
Final Thoughts
These mini apple pies are the definition of small but mighty. Bursting with flavor, wrapped in flaky crust, and perfect for any occasion, they’ll quickly become a family favorite. The best part? You don’t need fancy equipment or tons of time. Just some good apples, quality pastry, and a bit of love.

So next time you’re in the mood for something sweet and satisfying, try this mini apple pies recipe—you won’t regret it.
Must Try Pecan Pie Cake Recipe
Mini Apple Pies Recipe

Easy and delicious mini apple pies recipe with cinnamon apple filling and flaky pastry—perfect for snacks, parties, or cozy desserts!
Type: Dessert
Cuisine: American
Keywords: mini apple pies, apple pie recipe, easy apple dessert, puff pastry apple pies, individual apple pies
Recipe Yield: 6 mini pies
Calories: Approximately 180–220 per pie (depending on puff pastry and sugar used)
Preparation Time: 20 minutes
Cooking Time: 17 minutes
Total Time: 37 minutes
Recipe Ingredients:
- 80g peeled & chopped apple (Honeycrisp, Cosmic, or Granny Smith)
- 30g (2 tbsp) light brown sugar
- ½ tsp cinnamon powder
- ½ tsp vanilla extract
- 30g (2 tbsp) butter (non-dairy option works)
- ½ tsp cornstarch mixed with 2 tsp water
- 1 sheet store-bought puff pastry (thawed) or homemade pie dough
- Lemon juice (to prevent apple browning)
- Milk (for sealing edges)
- Maple syrup (for brushing tops)
- Turbinado or cane sugar (for topping)
Recipe Instructions:
How to Make the Apple Filling:
- The heart of this mini apple pies recipe is the filling. You want the apples to be soft but not mushy, flavored with cinnamon and sugar, and thick enough not to leak during baking. Start by peeling and chopping the apples into small chunks. Mix them with a bit of lemon juice to prevent browning. In a medium saucepan over medium heat, melt the butter until it starts to bubble. Then, add the chopped apples, light brown sugar, cinnamon powder, and vanilla extract. Stir well. Let this mixture cook for about 7 to 8 minutes, until the apples are tender but still hold their shape. Now add the cornstarch slurry (cornstarch mixed with water) and stir it in. Let it come to a gentle boil, thickening the filling slightly. Once done, remove from heat and let it cool to room temperature. This mixture can be made a day ahead and stored in the refrigerator, making pie assembly quicker the next day.
Assembling the Mini Apple Pies:
- Pie assembly is where the magic happens. First, lightly flour your work surface and roll out the puff pastry dough to about ⅛-inch thick. Keep the shape rectangular and try to keep the dough cold throughout the process. Cold dough puffs up better and holds its shape nicely while baking. Using a cookie cutter, cut out 12 discs, each 3 inches wide. Place these on a baking tray lined with parchment paper. Spoon about 2 tablespoons of the cooled apple filling onto 6 of these discs, leaving some room around the edges for sealing. Brush the edges with milk, then top each filled disc with one of the remaining dough discs. Press the edges with a fork to seal, and ensure they’re tightly closed so no filling escapes. Use a sharp knife to cut three tiny slits on the top of each pie—this allows steam to escape while baking and keeps the pastry crisp.
Baking Your Mini Apple Pies to Golden Perfection:
- Once all pies are assembled, brush the tops lightly with maple syrup. This not only adds flavor but also helps achieve a beautiful golden color. Sprinkle some turbinado or cane sugar on top for extra crunch and a bakery-style finish. Bake in a preheated oven at 375°F (190°C) for about 15–17 minutes. You’ll know they’re ready when they’ve puffed up and turned a beautiful golden brown. Let them cool slightly before serving. You can enjoy them warm, at room temperature, or even chilled the next day.