

If you’re searching for a light, airy dessert that looks as magical as it tastes, the Cloud Jelly Roll Cake is your answer. With its fluffy sponge cake wrapped around layers of creamy, jelly goodness, this recipe not only offers delightful textures but also a visual treat that feels straight out of a fairy tale. Whether you’re impressing guests or just treating yourself, this dreamy roll cake blends soft biscuit, smooth milk jelly, tropical coconut jelly, and a soft cloud of cream into one stunning dessert.

In this blog post, you’ll find everything you need to know to make this whimsical cake come to life—starting from the ingredients to a simplified, easy-to-follow step-by-step process. The best part? It only takes three core steps to assemble this beauty.
Ingredients You’ll Need
Before diving into the method, let’s take a quick look at the ingredients for each layer of this gorgeous dessert. You’ll need a 10×10-inch square pan for baking the sponge cake.
Biscuit Roll Cake
2 egg whites
50g caster sugar
2 egg yolks
50g cake flour
10g cornstarch
Icing sugar for dusting
(Bake at 180°C for 8-10 minutes after sifting icing sugar on top)
Milk Jelly
250ml milk
80ml water
1 tsp agar agar powder
50g condensed milk
20g sugar
Coconut Jelly
300ml coconut juice
100ml water
6g agar agar powder
50g sugar
Food coloring (optional for visual flair)
Cream
60g whipping cream
5g icing sugar
Food coloring (optional)
(Note: You can adjust the amount of cream. While 100g was used in one version, 60g is more balanced.)
Step-by-Step Process
Now, let’s walk through the magical process of creating this Cloud Jelly Roll Cake. Each step is simplified into paragraph form so you can enjoy a smooth baking experience.
Step 1: Make the Biscuit Roll Cake Base
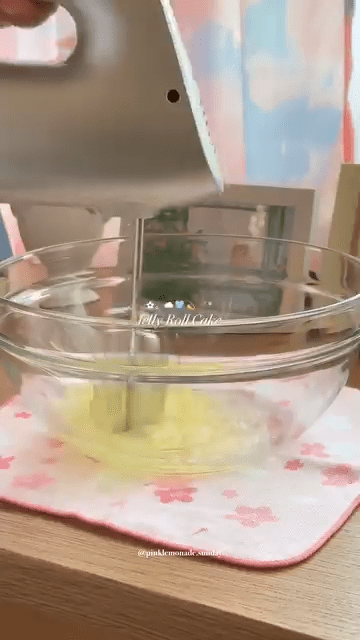
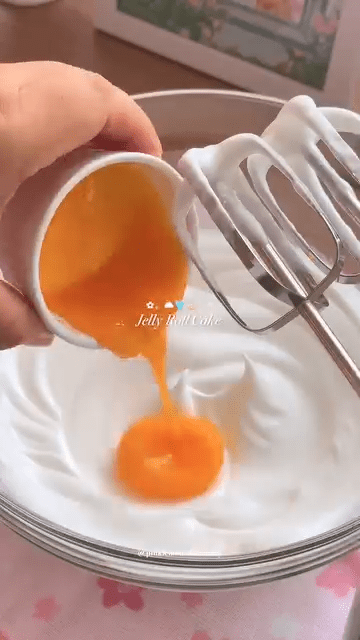
Start by preparing your oven and preheating it to 180°C. Begin by whisking the egg whites until they become frothy, then gradually add the caster sugar in three parts while continuing to beat until stiff peaks form. This creates the light meringue base needed for the sponge. In a separate bowl, whisk the egg yolks until creamy and pale. Gently fold the yolks into the meringue, taking care not to deflate the mixture.
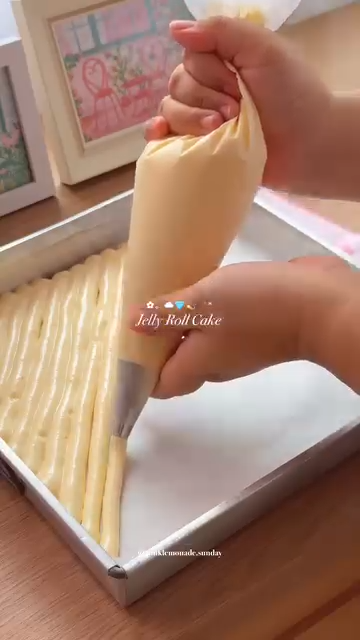
Next, sift the cake flour and cornstarch together, then gradually fold them into the batter. Be patient and mix with a light hand to maintain the airiness. Line a 10×10-inch square pan with parchment paper, pour the batter evenly, and level the surface. Dust a fine layer of icing sugar on top, then bake for 8-10 minutes or until the surface springs back when lightly touched. Once done, let the cake cool completely on a wire rack with a clean towel over it to retain moisture.
 |  |  |  |  |  |
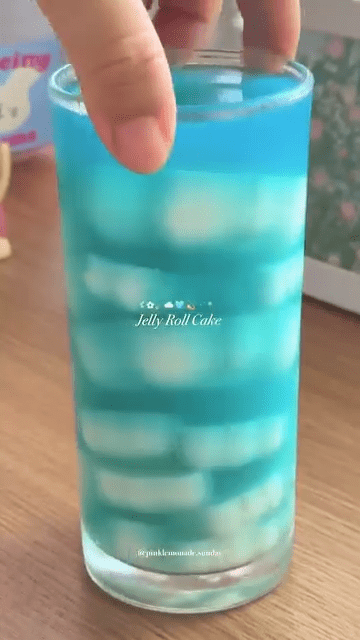
Step 2: Prepare the Milk and Coconut Jellies
While your cake is cooling, it’s time to create the magical jelly layers. First, for the milk jelly, combine milk, water, sugar, agar agar powder, and condensed milk in a saucepan. Stir well to dissolve all the ingredients completely before bringing the mixture to a gentle boil over medium heat. Once it starts bubbling, lower the heat and let it simmer for a couple more minutes to fully activate the agar agar. Pour this mixture into a tray or mold, and let it set at room temperature or in the fridge until firm.
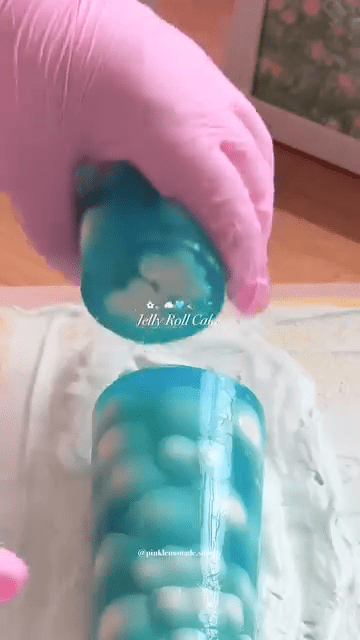
Next, tackle the coconut jelly. Mix the coconut juice, water, sugar, and agar agar powder in a saucepan. If you want to add a pop of color, this is where you can include a drop or two of food coloring. Bring the mixture to a boil and simmer as with the milk jelly, then pour it over the set milk jelly or into a separate tray. Allow both layers to cool and firm up. Once both jellies are completely set, cut them into strips that are thin and flexible enough to roll up with your sponge later.
Step 3: Assemble and Roll the Cake
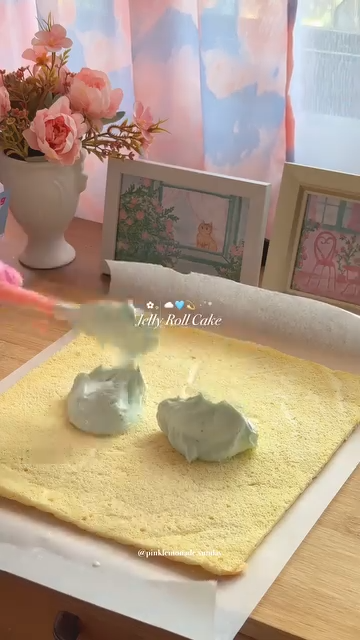
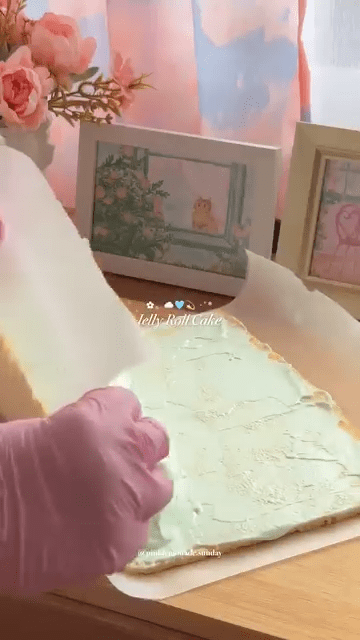
Now comes the most satisfying part—assembling your cloud roll cake. Carefully peel the cooled sponge cake off the parchment paper. Place it on a clean surface with the browned side facing down. Whip your cream with icing sugar until soft peaks form, adding a touch of food coloring if desired for a dreamy look. Spread an even layer of whipped cream over the entire sponge, making sure not to overload it so the cake can still roll easily.
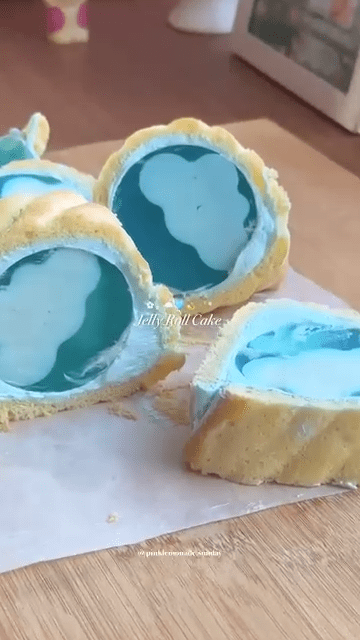
Lay the jelly strips over the cream in a pattern that spreads the color and flavor evenly. Gently begin rolling the cake from one end, using parchment paper or a tea towel to guide the roll tightly but gently. Be cautious and slow—too much pressure can cause cracks. Once rolled, wrap it tightly and refrigerate for about an hour to firm it up and allow all the layers to meld together. When ready to serve, trim the edges for a clean finish, slice, and reveal the stunning swirl of sponge, cream, and jelly inside.
 |  |  |  |  |  |  |  |
Final Thoughts
The Cloud Jelly Roll Cake is more than just a dessert—it’s a whimsical treat that combines texture, flavor, and aesthetic charm in a way few other cakes can. It may look intricate, but with just three essential steps, it’s a recipe that any home baker can tackle. The soft biscuit base, creamy filling, and jelly layers create a delightful contrast that’s as pleasing to the palate as it is to the eyes. Whether you’re celebrating a special occasion or just indulging in a weekend bake, this roll cake is sure to lift your spirits.
So gather your ingredients, set aside an hour or two, and treat yourself to the dreamy magic of the cloud jelly roll cake. You’ll fall in love with every fluffy, fruity, and creamy bite.
Must Try Black Forest Dessert Cup Recipe
Cloud Jelly Roll Cake Recipe

Discover the dreamy Cloud Jelly Roll Cake recipe with fluffy sponge, creamy filling, and colorful jelly layers.
Type: Dessert
Cuisine: International / Fusion
Keywords: Cloud Jelly Roll Cake, Biscuit Roll Cake, Milk Jelly, Coconut Jelly, Creamy Roll Cake, Jelly Roll Cake Recipe, Fluffy Cake, Jelly Cake, Coconut Dessert
Recipe Yield: 8-10 servings
Calories: Approximately 250-300 calories per serving (depends on portion size and specific ingredient brands used)
Preparation Time: 30 minutes
Cooking Time: 20 minutes
Total Time: 1 hour 30 minutes (including chilling time)
Recipe Ingredients:
- 2 egg whites
- 50g caster sugar
- 2 egg yolks
- 50g cake flour
- 10g cornstarch
- Icing sugar for dusting
- 250ml milk
- 80ml water
- 1 tsp agar agar powder
- 50g condensed milk
- 20g sugar
- 300ml coconut juice
- 100ml water
- 6g agar agar powder
- 50g sugar
- Food coloring (optional)
- 60g whipping cream
- 5g icing sugar
- Food coloring (optional)
Recipe Instructions:
Make the Biscuit Roll Cake Base:
- Start by preparing your oven and preheating it to 180°C. Begin by whisking the egg whites until they become frothy, then gradually add the caster sugar in three parts while continuing to beat until stiff peaks form. This creates the light meringue base needed for the sponge. In a separate bowl, whisk the egg yolks until creamy and pale. Gently fold the yolks into the meringue, taking care not to deflate the mixture. Next, sift the cake flour and cornstarch together, then gradually fold them into the batter. Be patient and mix with a light hand to maintain the airiness. Line a 10x10-inch square pan with parchment paper, pour the batter evenly, and level the surface. Dust a fine layer of icing sugar on top, then bake for 8-10 minutes or until the surface springs back when lightly touched. Once done, let the cake cool completely on a wire rack with a clean towel over it to retain moisture.
Prepare the Milk and Coconut Jellies:
- While your cake is cooling, it’s time to create the magical jelly layers. First, for the milk jelly, combine milk, water, sugar, agar agar powder, and condensed milk in a saucepan. Stir well to dissolve all the ingredients completely before bringing the mixture to a gentle boil over medium heat. Once it starts bubbling, lower the heat and let it simmer for a couple more minutes to fully activate the agar agar. Pour this mixture into a tray or mold, and let it set at room temperature or in the fridge until firm. Next, tackle the coconut jelly. Mix the coconut juice, water, sugar, and agar agar powder in a saucepan. If you want to add a pop of color, this is where you can include a drop or two of food coloring. Bring the mixture to a boil and simmer as with the milk jelly, then pour it over the set milk jelly or into a separate tray. Allow both layers to cool and firm up. Once both jellies are completely set, cut them into strips that are thin and flexible enough to roll up with your sponge later.
Assemble and Roll the Cake:
- Now comes the most satisfying part—assembling your cloud roll cake. Carefully peel the cooled sponge cake off the parchment paper. Place it on a clean surface with the browned side facing down. Whip your cream with icing sugar until soft peaks form, adding a touch of food coloring if desired for a dreamy look. Spread an even layer of whipped cream over the entire sponge, making sure not to overload it so the cake can still roll easily. Lay the jelly strips over the cream in a pattern that spreads the color and flavor evenly. Gently begin rolling the cake from one end, using parchment paper or a tea towel to guide the roll tightly but gently. Be cautious and slow—too much pressure can cause cracks. Once rolled, wrap it tightly and refrigerate for about an hour to firm it up and allow all the layers to meld together. When ready to serve, trim the edges for a clean finish, slice, and reveal the stunning swirl of sponge, cream, and jelly inside.
[…] Must Try Cloud Jelly Roll Cake Recipe […]