
 By Elina
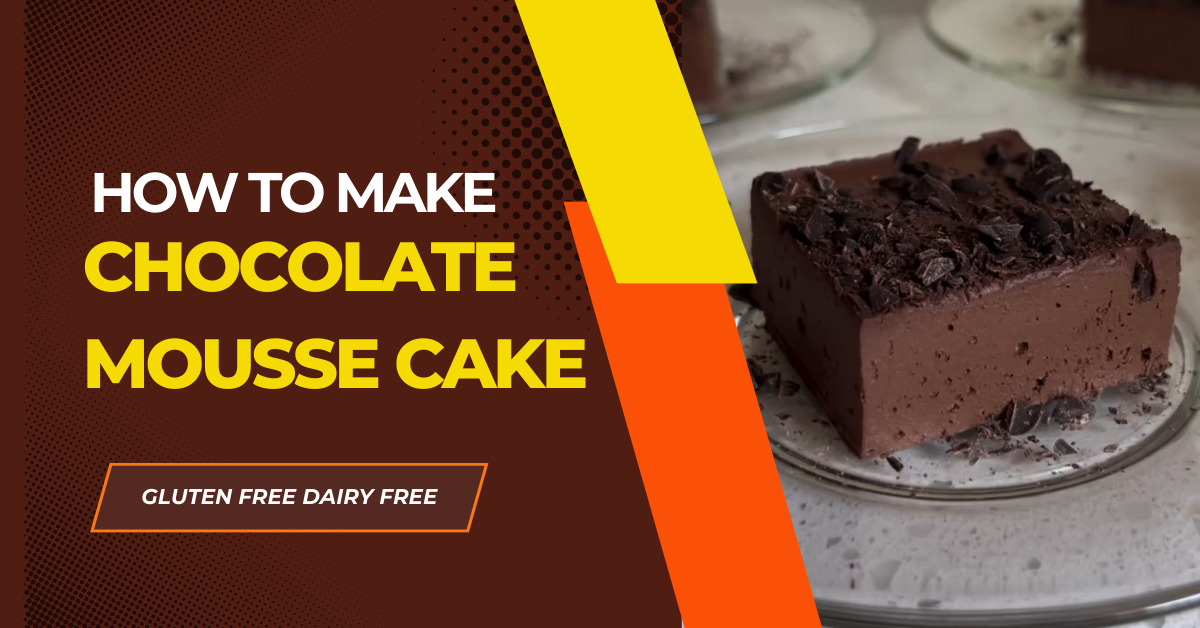
If you’re looking for a dessert that’s easy, indulgent, and surprisingly healthy, you’ve just found it! This Chocolate Mousse Cake is everything you want in a sweet treat: rich, fudgy, smooth, and satisfying. Even better, it’s gluten-free, dairy-free, paleo, and refined sugar-free, making it a wonderful option for a variety of dietary needs.
The secret is remarkably simple: just two main ingredients come together to create a dessert with an incredibly smooth, mousse-like texture. Ripe, juicy canned peaches or pears provide natural sweetness and moisture, while dark chocolate delivers the deep, rich flavor that makes this Chocolate Mousse Cake so irresistible. There is no baking required, making it an excellent recipe for both beginners and experienced home cooks.
Why You’ll Love This Chocolate Mousse Cake
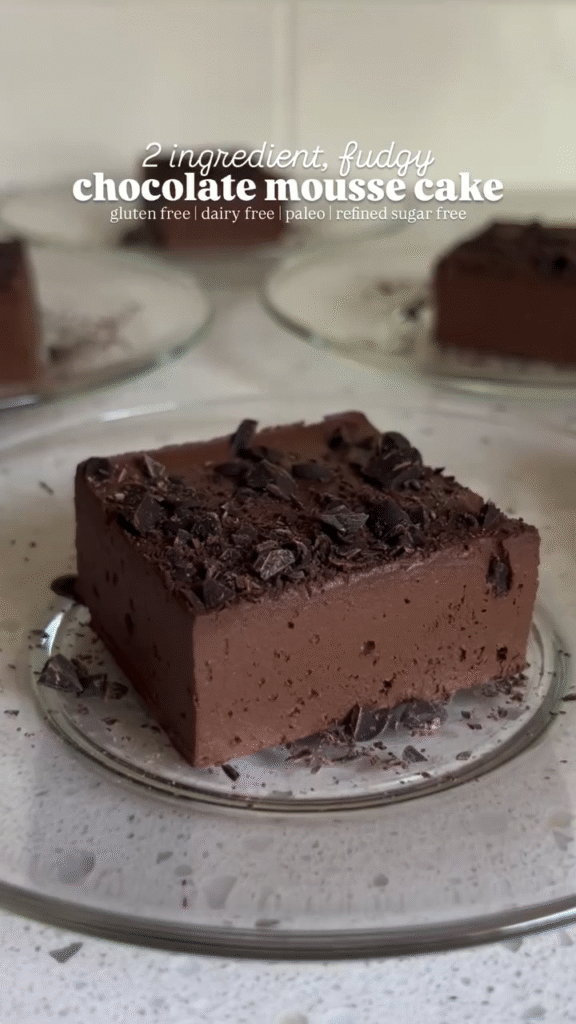
This Chocolate Mousse Cake is proof that an impressive dessert does not need a long ingredient list. With only two main ingredients, you can create something that looks elegant and tastes wonderfully indulgent. The fruit blends into the melted chocolate, creating a creamy mixture that becomes firm and sliceable after chilling.
There is also plenty of flexibility depending on your dietary preferences. Using dairy-free and refined sugar-free dark chocolate can help keep the dessert aligned with those requirements, while canned peaches make preparation especially convenient. Since there is no oven involved, this recipe is also useful when you want a quick dessert without complicated baking steps.
- Made with just two wholesome ingredients
- Naturally sweetened with fruit
- No refined sugars or flours
- Super simple and no-bake
- Vegan, paleo, and allergy-friendly
What Makes This Dessert So Unique?
The combination of fruit and chocolate may sound unusual at first, but the result is surprisingly harmonious. The peaches or pears contribute moisture and natural sweetness without overpowering the chocolate. Once blended, the fruit becomes almost impossible to distinguish as a separate component.
The chocolate provides the structure as the mixture cools. This is what gives the Chocolate Mousse Cake its firm, sliceable consistency while maintaining a rich and creamy mouthfeel. It is a simple technique that creates a dessert with a much more elaborate appearance and texture.
Ingredients
- 1 (15 oz) can organic peach slices, strained (about 1 ¾ cups)
(You can substitute with canned pear slices, but I find peaches give the best flavor.) - 9 oz dark or semi-sweet chocolate, melted (about 1 ½ cups chopped)
(Use dairy-free and refined sugar-free chocolate for the healthiest option.)
- 1 (15 oz) can organic peach slices, strained (about 1 ¾ cups)
Choosing the Right Chocolate
Because chocolate is one of only two ingredients in this Chocolate Mousse Cake, its flavor has a major impact on the finished dessert. Dark chocolate creates a deeper, more intense flavor, while semi-sweet chocolate produces a sweeter result.
If you need the recipe to remain dairy-free or refined sugar-free, carefully check the chocolate label before using it. The chocolate should also be fully melted and smooth before it is blended with the fruit.
Choosing Peaches or Pears
Canned peach slices are convenient because they are already prepared and provide a consistent texture. Make sure you strain the fruit thoroughly before adding it to the blender so that excess liquid does not change the consistency of the mousse. Canned pears can also be used as an alternative. Peaches provide a more noticeable fruity flavor, while pears offer a milder and more delicate taste that works beautifully with dark chocolate.
Instructions
1. Melt the Chocolate
Start by gently melting the chocolate using a double boiler or in the microwave in short bursts, stirring between each interval. Once fully melted and smooth, set it aside to cool slightly. The goal is to achieve a completely smooth chocolate mixture without overheating it. If using a microwave, short heating intervals followed by stirring help distribute the heat evenly. Allowing the chocolate to cool slightly before blending also helps prevent the fruit mixture from becoming unnecessarily warm.
2. Blend with Fruit
Add the strained peach or pear slices and melted chocolate to a high-speed blender. Blend until the mixture is completely smooth and creamy. The longer you blend, the more mousse-like the texture becomes.
Pause to scrape down the sides of the blender if necessary. Continue blending until there are no visible pieces of fruit remaining. A thoroughly blended mixture creates the smooth texture that makes this Chocolate Mousse Cake so special.
 |  |
3. Pour and Set
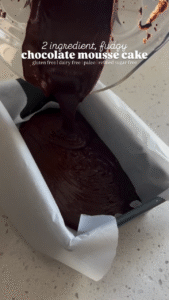
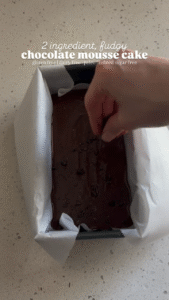
Line a standard loaf pan with parchment paper. Pour the mousse mixture into the pan and spread it evenly. Optional: sprinkle with chopped chocolate or a pinch of flaky sea salt for a gourmet touch.
Smooth the top with a spatula so that the finished cake has an even surface. The parchment paper will make it much easier to lift the chilled dessert from the pan later, especially when you want clean slices.
 |  |
4. Chill
Place the loaf pan in the refrigerator for at least a few hours or overnight until fully set and firm to the touch. Chilling is an essential part of this Chocolate Mousse Cake because the melted chocolate needs time to firm up. For the best texture and easiest slicing, allowing the cake to chill overnight is a convenient option.
5. Serve and Enjoy
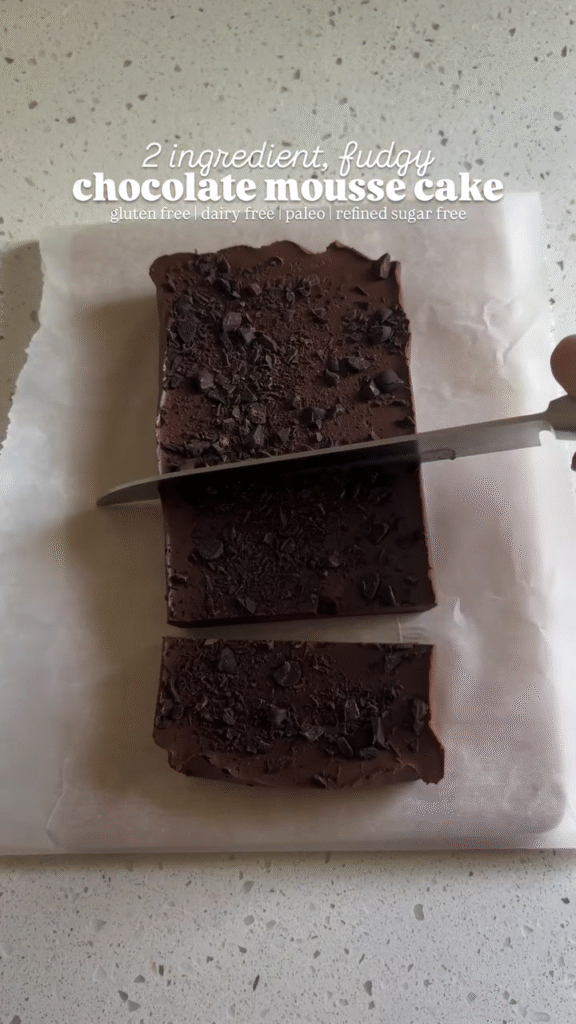
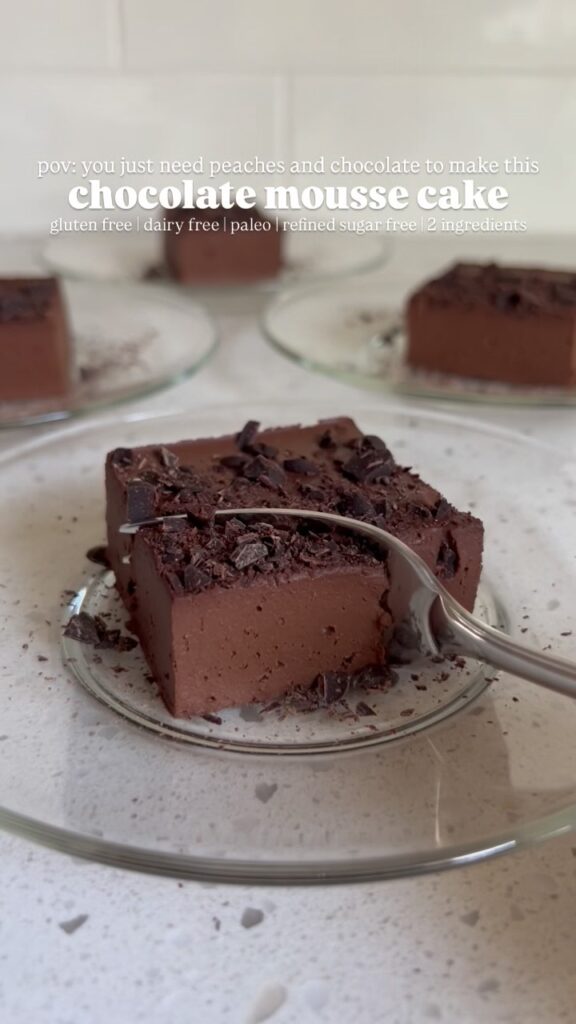
Once hardened, remove the cake from the fridge, slice it into thick, rich pieces, and serve. The finished dessert should be firm enough to slice while retaining its smooth, creamy quality. For a simple presentation, serve the slices as they are. You can also add your preferred toppings when serving if you want to give the Chocolate Mousse Cake an extra decorative touch. Store any leftovers in an airtight container in the fridge for up to 5 days.
Recipe Notes & Tips
A few small details can make a noticeable difference when preparing this Chocolate Mousse Cake. Start with properly strained fruit and completely melted chocolate. This helps the two ingredients blend into a smooth, consistent mixture without unwanted pieces or excess liquid.
It is also worth giving the mixture enough time in the refrigerator. The cake needs to become properly firm before slicing, so avoid rushing the chilling process. If you have the time, an overnight chill can make preparation particularly convenient.
Fresh Fruit Option
You can try using poached or stewed fresh peaches or pears instead of canned fruit. The canned variety, however, offers convenience and a consistent texture, which is especially useful when you want to make this recipe quickly. If using fresh fruit, make sure it has been cooked until tender and cooled before blending. The goal is to achieve a smooth fruit puree that can combine evenly with the melted chocolate.
How to Get the Smoothest Texture
For the smoothest Chocolate Mousse Cake, make sure the chocolate is completely melted before adding it to the blender. Any solid pieces can prevent the mixture from becoming completely uniform.
A high-speed blender is helpful for fully pureeing the fruit and incorporating it with the chocolate. Blend until the mixture looks silky and creamy, scraping the sides when necessary.
Make It Fancy
Although this dessert is incredibly simple, you can give it an elegant presentation when serving. A small dollop of coconut whipped cream can add a creamy contrast to the rich chocolate.
You can also finish individual slices with crushed nuts for added texture. A small sprinkle of flaky sea salt can provide another flavor contrast against the sweetness of the chocolate and fruit.
How to Store Chocolate Mousse Cake
Store leftover Chocolate Mousse Cake in an airtight container in the refrigerator for up to 5 days. Keeping it chilled helps preserve its firm texture and rich, creamy consistency.
If you are making the cake for a gathering, keep it refrigerated until you are ready to serve it. This is particularly important because the dessert relies on chilled chocolate to maintain its structure.
Can You Make This Dessert Ahead?
Yes. The no-bake preparation makes this Chocolate Mousse Cake especially convenient for preparing ahead of time. You can blend the ingredients, transfer the mixture to the lined loaf pan, and let it set in the refrigerator.
Preparing it the night before serving gives the cake plenty of time to become firm. This also means you can focus on other dishes or preparations on the day you plan to serve dessert.
Why This Is a Great Beginner-Friendly Dessert
You do not need advanced baking skills to prepare this recipe. There is no dough to knead, cake batter to bake, or complicated frosting to prepare. The main technique involves melting the chocolate and blending it with the fruit until smooth.
The short ingredient list also makes the process easy to follow. Once the mixture is blended and transferred to the loaf pan, the refrigerator does most of the remaining work.
Frequently Asked Questions
Can I use pears instead of peaches?
Yes. Canned pear slices can be substituted for the peaches. The original recipe notes that peaches provide the preferred flavor, but pears are a suitable alternative.
Is this Chocolate Mousse Cake baked?
No. This is a completely no-bake dessert. The mixture is blended, transferred to a loaf pan, and chilled in the refrigerator until firm.
How long does the cake need to chill?
It should be refrigerated for at least a few hours or overnight until fully set and firm to the touch.
Can I make this cake dairy-free?
Yes, provided you use a suitable dairy-free chocolate. The recipe itself does not require dairy ingredients, so the chocolate selection determines whether the final dessert meets that requirement.
How long can I keep leftovers?
Leftovers can be stored in an airtight container in the refrigerator for up to 5 days.
Final Thoughts
This Chocolate Mousse Cake proves that a memorable dessert does not need a long ingredient list or complicated preparation. With just fruit and chocolate, you can create a rich, smooth, fudgy treat that looks impressive and delivers plenty of chocolate flavor.
Whether you are preparing dessert for a special occasion or simply want something sweet during the week, this easy no-bake recipe is worth trying. Its creamy texture, simple preparation, and adaptable ingredients make it a convenient dessert for many different occasions.
Check our Instagram and Facebook pages for more recipes.
Frequently Asked Questions
1. What is a Chocolate Mousse Cake?
A Chocolate Mousse Cake is a rich, creamy dessert with a smooth mousse-like texture. This version uses just two main ingredients: canned peaches or pears and melted dark or semi-sweet chocolate.
2. Is this Chocolate Mousse Cake no-bake?
Yes. This is a completely no-bake Chocolate Mousse Cake. After blending the ingredients, the mixture is chilled in the refrigerator until firm.
3. Can I use pears instead of peaches?
Yes. Canned pears can be used instead of peaches. Peaches provide a stronger fruity flavor, while pears offer a milder taste.
4. Can I use dairy-free chocolate?
Yes. Use dairy-free dark or semi-sweet chocolate if you want to keep the Chocolate Mousse Cake dairy-free.
5. How long does the Chocolate Mousse Cake need to chill?
Chill the cake for at least a few hours or overnight until it is completely set and firm enough to slice.
