
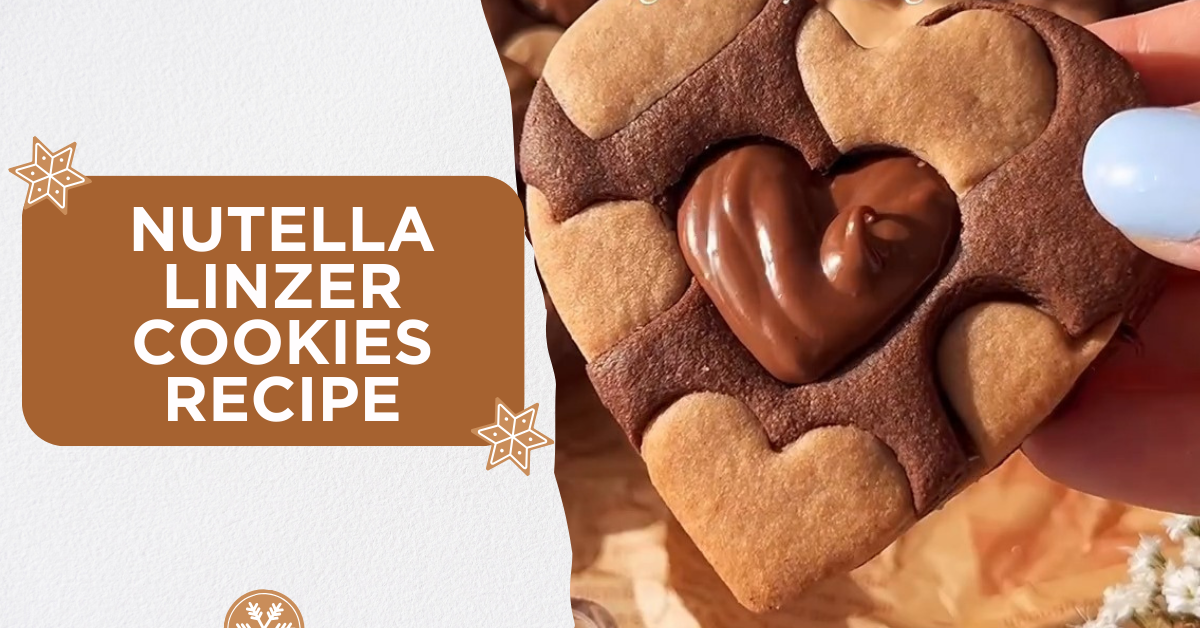
There’s something incredibly nostalgic and heartwarming about sandwich cookies—especially when they’re filled with gooey chocolate hazelnut spread and shaped like little hearts. These Nutella Linzer Cookies are everything you want in a sweet treat: crisp yet tender cookie layers, a rich cocoa aroma, and that indulgent Nutella-style filling that makes each bite absolutely irresistible.
Oh, and did I mention? They’re completely dairy-free and vegan-friendly, made using wholesome, plant-based ingredients without compromising on flavor or texture. Whether you’re baking for Valentine’s Day, a cozy afternoon tea, or just because you’re in the mood for something chocolatey and fun, these cookies will deliver both deliciousness and charm.

Let’s walk through the process, with all the baking love and details included.
What Are Linzer Cookies?
Linzer cookies are traditionally based on the classic Austrian Linzer torte, a nutty pastry filled with jam. But this recipe gives the classic a modern, chocolatey, vegan twist.
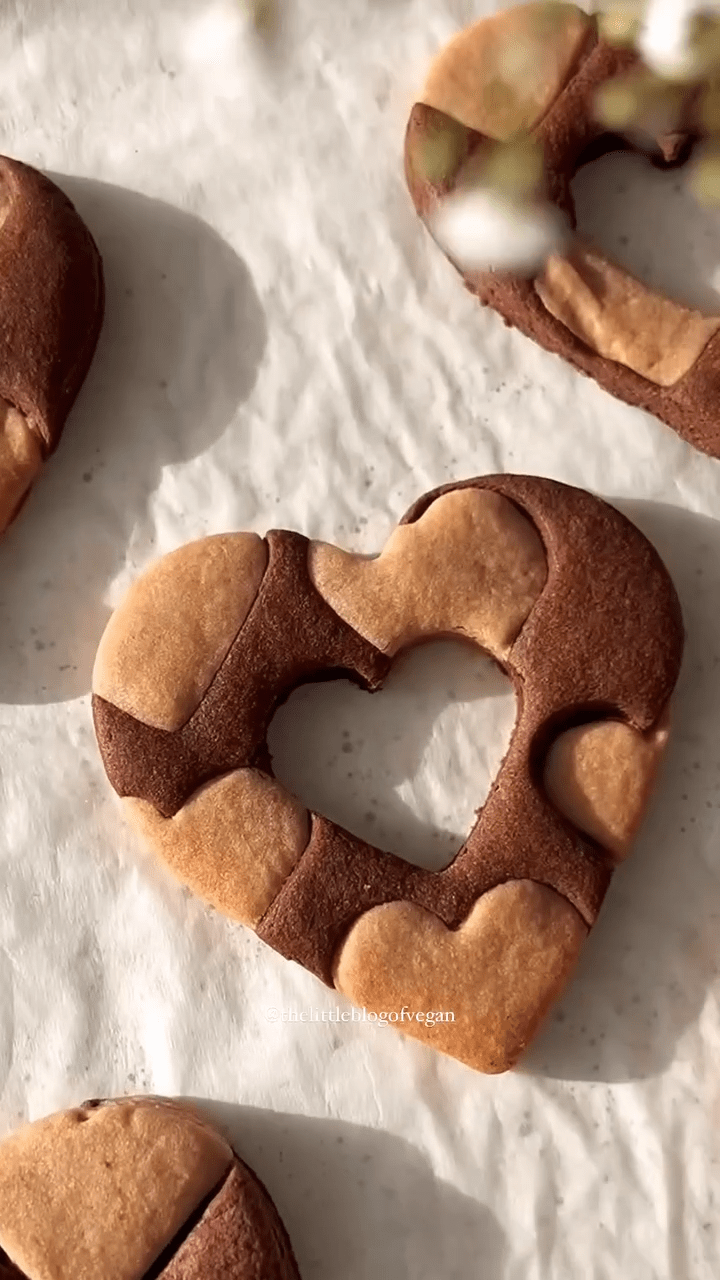
Instead of jam, we’re going with a luscious vegan Nutella spread—because, let’s be honest, everything’s better with a little (or a lot of) chocolate hazelnut goodness. We’ve also made the dough two-toned: half a deep cocoa-rich brown and the other a lighter, more traditional cookie hue. When you mix and match these doughs using mini heart cut-outs, it creates a stunning checkerboard-style pattern that’s as fun to look at as it is to eat!
Ingredients You’ll Need
Here’s what you’ll need to make these beauties:
300g all-purpose flour
80g powdered sugar (icing sugar)
5 tablespoons of cocoa powder (used in two steps)
150g dairy-free block butter (like Naturli or Flora Plant)
3–4 tablespoons of dairy-free milk (oat, soy, almond—your choice!)
Vegan Nutella spread (store-bought or homemade)
That’s it—simple pantry staples that come together to make magic.
Step-by-Step Cookie Love
1. Prep the Oven and Baking Trays
Start by preheating your oven to 180°C (fan). Line two baking trays with greaseproof paper and set them aside. This helps the cookies bake evenly and ensures no sticking.
2. Make the Cookie Dough
In a large mixing bowl or food processor, add:
Flour
Icing sugar
2 tablespoons of the cocoa powder
Dairy-free butter
3 tablespoons of the milk
Mix everything together until a soft cookie dough forms. If it feels too dry, add an extra splash of milk. The dough should be smooth and pliable, not sticky.
3. Divide and Color the Dough
Split the dough in half. One half stays as is (light-colored dough). To the second half, add the remaining 3 tablespoons of cocoa powder and 1 more tablespoon of milk. Mix until fully incorporated—you should now have a rich, chocolate-colored dough.
This step is key to creating that beautiful marbled or checkered effect later on!
4. Cut Out the Mini Hearts
Roll out both doughs individually to the same thickness (around 1/4 to 1/2 inch thick). Using a mini heart-shaped cookie cutter, cut hearts from each dough. Then, swap the cut-outs—place dark hearts into the light dough and light hearts into the dark dough.
Gently press the swapped hearts into the dough so they fuse together. Try to cut the hearts in a neat, uniform pattern across the surface for the prettiest presentation.

Tip: Place a piece of baking paper on top before rolling again lightly to smooth it out without smudging the heart shapes.
5. Cut the Main Cookie Shapes
Using a medium-sized heart cookie cutter, cut full cookie shapes from the patterned dough. You should now have beautiful two-toned heart cookies.
For half of the cookies, use your mini cutter again to cut out a small heart in the center. These will become the tops of your sandwich cookies.

6. Chill Before Baking
Transfer all cookies to your prepared trays and pop them in the freezer for 5 minutes. This helps them hold their shape and gives you sharper edges after baking.
7. Bake Until Perfect
Bake the cookies for 8–10 minutes, or until they are just firm and lightly golden at the edges. Keep a close eye—since they’re thin, they can go from perfect to overdone pretty fast.
Once baked, let them cool completely on the trays before handling. They’ll firm up as they cool.
Assembling the Cookies
Here comes the best part—assembly!
Take the cookies that don’t have the center cut-out and flip them upside down. This ensures the bottom side is nice and flat for spreading.
Add a generous dollop of vegan Nutella (or pipe it on for precision), then gently place a cookie with a cut-out on top, pressing lightly to form a sandwich.
As the Nutella peeks through the little heart window, you’ll get that iconic Linzer cookie look—but with an irresistible chocolate twist.
Tips & Variations
Homemade Vegan Nutella: You can make your own version with roasted hazelnuts, cocoa powder, maple syrup, and a splash of non-dairy milk.
Make-Ahead Friendly: These cookies store well in an airtight container for up to 5 days. You can also freeze the unbaked dough or even the baked cookies (without Nutella) and assemble later.
Festive Flair: Swap the heart shapes for stars or flowers for other occasions—Christmas, birthdays, or baby showers.
Why You’ll Love These Cookies
Rich, chocolatey, and melt-in-your-mouth delicious
Gorgeous patterned look thanks to the two-tone dough
Easy to make with simple, vegan-friendly ingredients
Perfect for gifting or treating yourself
These Nutella Linzer Cookies are as much about the experience as they are about the taste. The mixing, rolling, cutting, swapping—it’s a joyful process that brings back the fun of childhood baking but with a sophisticated twist.
They’re perfect for Valentine’s Day, anniversaries, or just a cozy baking weekend when you’re craving something cute and chocolatey.
Final Thoughts
If you’re ready to bake cookies that are as photogenic as they are delicious, this recipe is a must-try. Whether you’re vegan, dairy-free, or just looking for a new twist on a classic, these Nutella Linzer Cookies will win you over in a heartbeat.
So grab your cutters, preheat that oven, and let’s get baking! Don’t forget to snap a pic of your creations and tag #VeganLinzerLove if you share them online.
Must try Speculoos Domes with Breton Shortbread and Creamy Mousse
Nutella Linzer Cookies Recipe

Indulge in these vegan Nutella Linzer Cookies, crisp, chocolatey, heart-shaped treats filled with rich dairy-free hazelnut spread.
Type: Dessert / Cookies
Cuisine: Vegan / Modern European
Keywords: Vegan Nutella Cookies, Linzer Cookies, Heart Cookies, Chocolate Sandwich Cookies, Dairy-Free Desserts
Recipe Yield: 18–20 cookies
Calories: Approximately 160–180 kcal per cookie (varies by Nutella used)
Preparation Time: 25 minutes
Cooking Time: 10 minutes
Total Time: 35 minutes
Recipe Ingredients:
- 300g all-purpose flour
- 80g powdered sugar
- 5 tablespoons cocoa powder (divided)
- 150g dairy-free block butter
- 3–4 tablespoons dairy-free milk
- Vegan Nutella spread (for filling)
Recipe Instructions:
1. Prep the Oven and Baking Trays:
- Start by preheating your oven to 180°C (fan). Line two baking trays with greaseproof paper and set them aside. This helps the cookies bake evenly and ensures no sticking.
2. Make the Cookie Dough:
- In a large mixing bowl or food processor, add: Flour Icing sugar 2 tablespoons of the cocoa powder Dairy-free butter 3 tablespoons of the milk Mix everything together until a soft cookie dough forms. If it feels too dry, add an extra splash of milk. The dough should be smooth and pliable, not sticky.
3. Divide and Color the Dough:
- Split the dough in half. One half stays as is (light-colored dough). To the second half, add the remaining 3 tablespoons of cocoa powder and 1 more tablespoon of milk. Mix until fully incorporated—you should now have a rich, chocolate-colored dough. This step is key to creating that beautiful marbled or checkered effect later on!
4. Cut Out the Mini Hearts:
- Roll out both doughs individually to the same thickness (around 1/4 to 1/2 inch thick). Using a mini heart-shaped cookie cutter, cut hearts from each dough. Then, swap the cut-outs—place dark hearts into the light dough and light hearts into the dark dough. Gently press the swapped hearts into the dough so they fuse together. Try to cut the hearts in a neat, uniform pattern across the surface for the prettiest presentation. Tip: Place a piece of baking paper on top before rolling again lightly to smooth it out without smudging the heart shapes.
5. Cut the Main Cookie Shapes:
- Using a medium-sized heart cookie cutter, cut full cookie shapes from the patterned dough. You should now have beautiful two-toned heart cookies. For half of the cookies, use your mini cutter again to cut out a small heart in the center. These will become the tops of your sandwich cookies.
6. Chill Before Baking:
- Transfer all cookies to your prepared trays and pop them in the freezer for 5 minutes. This helps them hold their shape and gives you sharper edges after baking.
7. Bake Until Perfect:
- Bake the cookies for 8–10 minutes, or until they are just firm and lightly golden at the edges. Keep a close eye—since they’re thin, they can go from perfect to overdone pretty fast. Once baked, let them cool completely on the trays before handling. They’ll firm up as they cool.