
 By Esha Kamran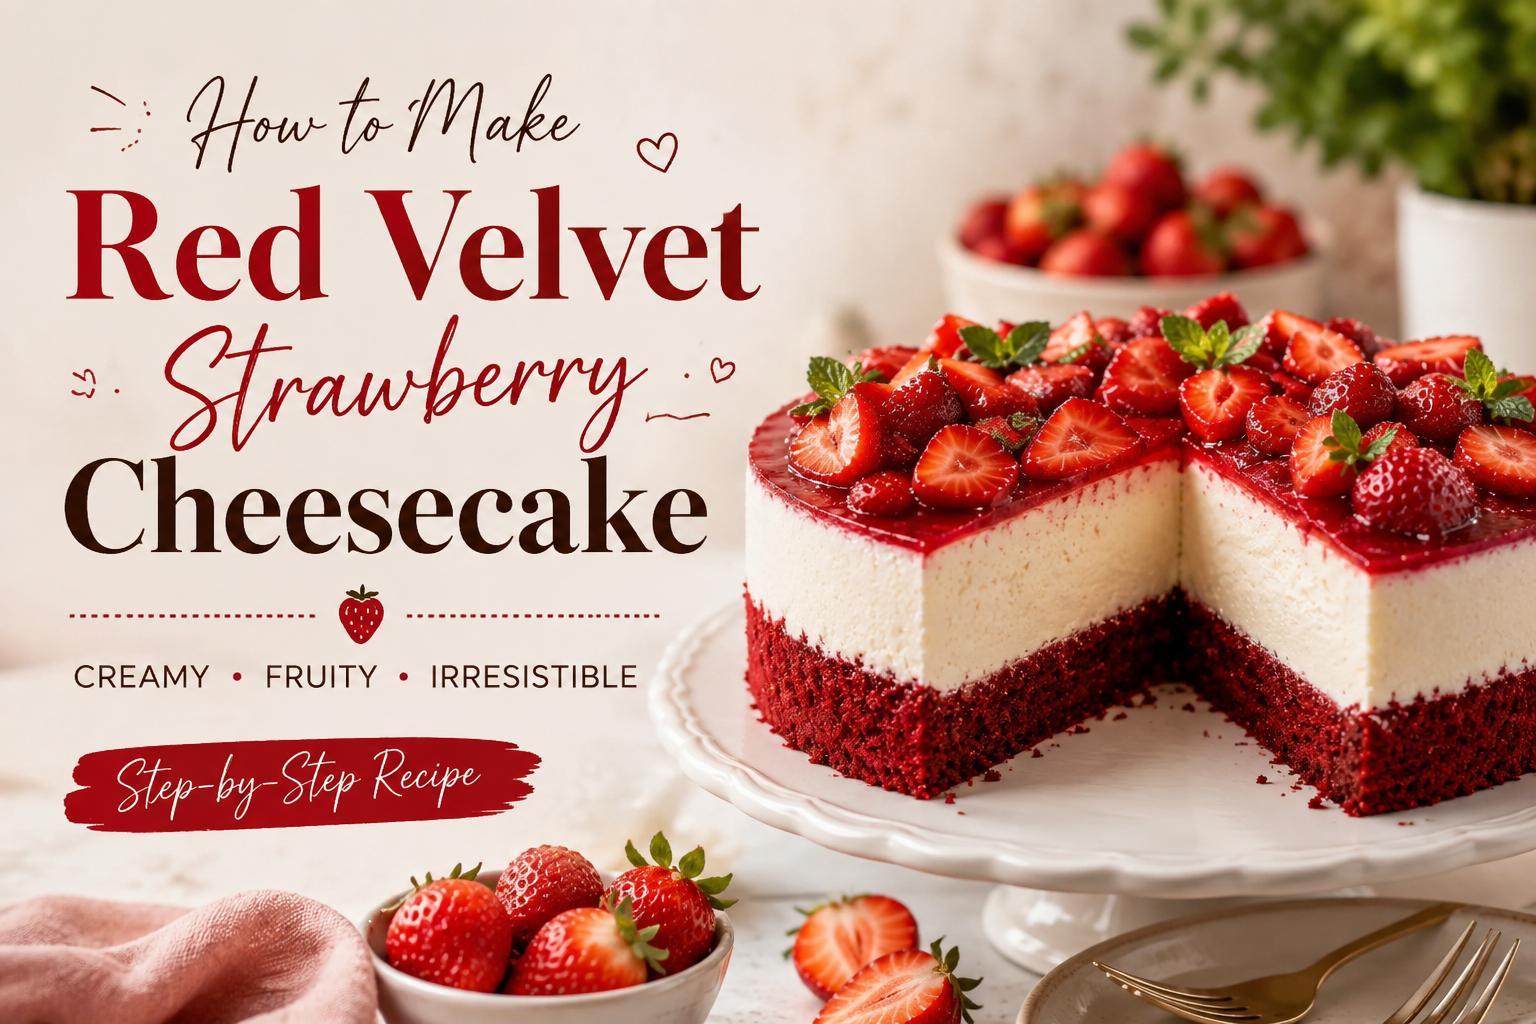
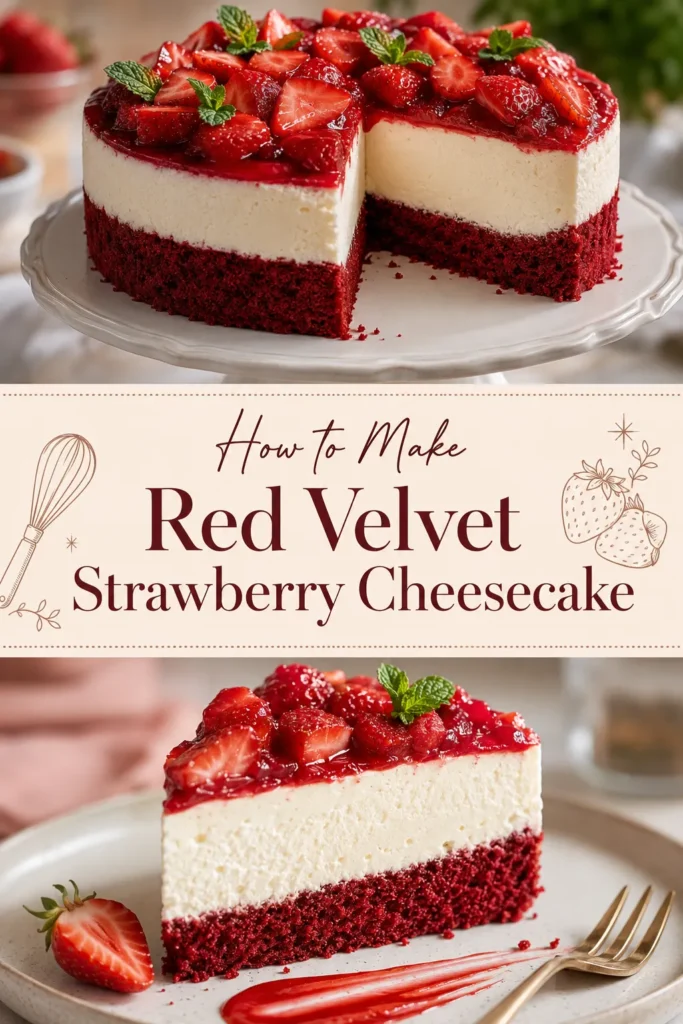
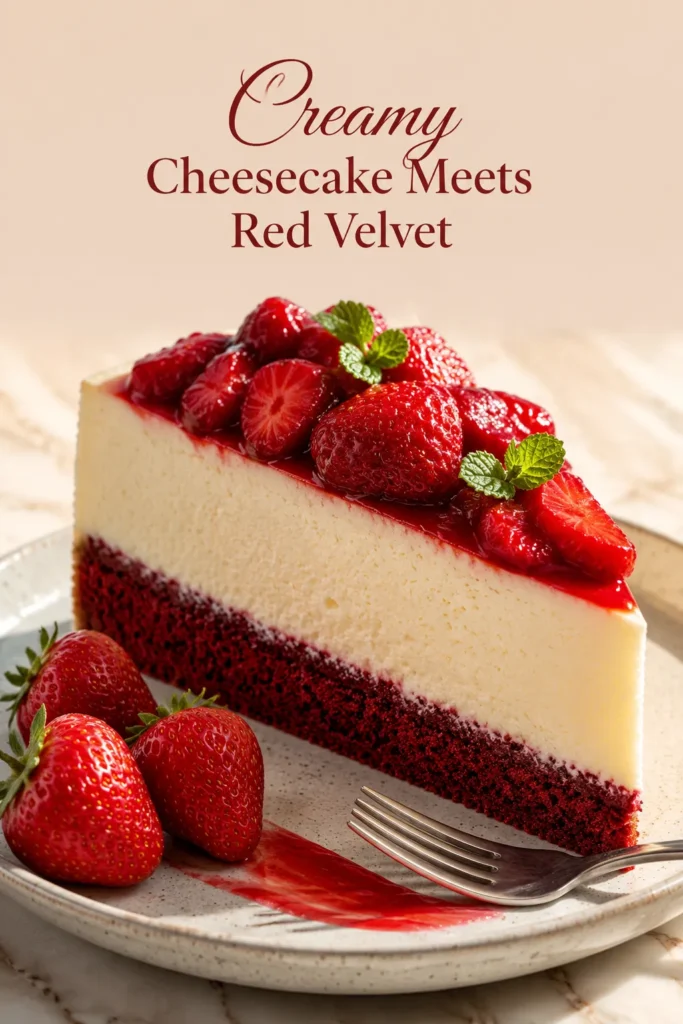
Red Velvet Strawberry Cheesecake combines three irresistible desserts in one beautiful creation: moist red velvet cake, creamy vanilla cheesecake, and juicy strawberries. With its striking layers and balanced chocolate, vanilla, and berry flavors, this dessert is perfect for birthdays, Valentine’s Day, anniversaries, or any celebration that deserves something special.
Although it looks impressive, the recipe becomes easy to manage when prepared in stages. Bake the cheesecake first, prepare the cake layers, and then assemble everything with smooth cream cheese frosting and fresh strawberries.
Why You’ll Love This Recipe
- Combines red velvet cake and classic cheesecake
- Features fresh strawberry flavor in every slice
- Can be prepared in convenient stages
- Makes an elegant centerpiece for celebrations
- Offers a delicious balance of rich, creamy, and fruity flavors
Recipe Overview
- Preparation time: 45 minutes
- Baking time: 1 hour 25 minutes
- Cooling and chilling time: 6 hours
- Total time: Approximately 8 hours
- Servings: 12–14 slices
- Cake pans: Two 8-inch round pans
- Cheesecake pan: One 8-inch springform pan
Ingredients

For the Cheesecake Layer
- 16 ounces (450 g) full-fat cream cheese, softened
- ½ cup granulated sugar
- 2 large eggs, at room temperature
- ½ cup sour cream
- 1 teaspoon vanilla extract
- 1 tablespoon cornstarch
- Pinch of salt
For the Red Velvet Cake
- 2 cups all-purpose flour
- 2 tablespoons unsweetened cocoa powder
- 1 teaspoon baking soda
- ½ teaspoon salt
- ½ cup unsalted butter, softened
- 1½ cups granulated sugar
- 2 large eggs, at room temperature
- 1 cup buttermilk, at room temperature
- ½ cup neutral vegetable oil
- 2 teaspoons vanilla extract
- 1 teaspoon white vinegar
- 1–2 tablespoons red gel food coloring
For the Strawberry Filling
- 2 cups fresh strawberries, finely chopped
- ⅓ cup granulated sugar
- 1 tablespoon lemon juice
- 1 tablespoon cornstarch
- 1 tablespoon water
For the Cream Cheese Frosting
- 12 ounces (340 g) full-fat cream cheese, softened
- ¾ cup unsalted butter, softened
- 4 cups confectioners’ sugar, sifted
- 2 teaspoons vanilla extract
- Pinch of salt
For Decorating
- Fresh strawberries
- Red velvet cake crumbs
- White chocolate curls, optional
- Strawberry sauce, optional
Important Ingredient Notes
- Full-fat cream cheese: Use block-style cream cheese rather than the spreadable variety sold in tubs. It produces a firmer cheesecake and more stable frosting.
- Buttermilk: Buttermilk gives red velvet cake its tender texture and subtle tang. If necessary, combine one cup of milk with one tablespoon of lemon juice and leave it for five minutes.
- Food coloring: Gel coloring creates a vibrant red shade without adding excessive liquid to the batter.
- Fresh strawberries: Choose ripe but firm berries. Very soft strawberries may release too much moisture into the filling.
How to Make Red Velvet Strawberry Cheesecake
1. Prepare the Cheesecake Layer
- Preheat the oven to 325°F (165°C). Grease an 8-inch springform pan and line its base with parchment paper.
- Beat the cream cheese and sugar on low speed until smooth. Add the eggs one at a time, mixing gently after each addition. Mix in the sour cream, vanilla, cornstarch, and salt.
- Pour the mixture into the prepared pan and smooth the surface. Bake for 40–45 minutes, or until the edges are set and the center still has a slight wobble.
- Turn off the oven, open the door slightly, and leave the cheesecake inside for 30 minutes. Cool it completely before covering and refrigerating it for at least four hours, preferably overnight.
2. Make the Red Velvet Cake Layers
- Increase the oven temperature to 350°F (175°C). Grease and line two 8-inch round cake pans.
- In a medium bowl, whisk together the flour, cocoa powder, baking soda, and salt.
- In a separate large bowl, beat the butter and sugar until light and creamy. Add the eggs individually, mixing well after each one.
- Whisk in the buttermilk, vegetable oil, vanilla, vinegar, and red food coloring. Gradually add the dry ingredients and mix only until the batter is smooth.
- Divide the batter evenly between the prepared pans. Bake for 25–30 minutes, or until a toothpick inserted into the center comes out clean.
- Let the cakes cool in their pans for 10 minutes before transferring them to a wire rack. Allow them to cool completely.
3. Cook the Strawberry Filling
- Place the chopped strawberries, sugar, and lemon juice in a small saucepan. Cook over medium heat for five to seven minutes, stirring occasionally.
- Combine the cornstarch and water in a small bowl. Add the mixture to the strawberries and cook for another one to two minutes, until thickened.
- Transfer the filling to a bowl and allow it to cool completely. It will continue to thicken as it cools.
4. Prepare the Cream Cheese Frosting
Beat the softened butter until creamy. Add the cream cheese and mix on medium-low speed until smooth. Gradually add the confectioners’ sugar, followed by the vanilla and salt. Beat briefly until the frosting is creamy and spreadable. Avoid overmixing, as this can make cream cheese frosting too soft.
5. Assemble the Cake
- Level the red velvet layers with a serrated knife if necessary. Place the first cake layer on a serving board or cake stand.
- Spread a thin layer of frosting over the cake. Pipe a frosting border around the outer edge, then spoon a modest amount of strawberry filling inside the border.
- Carefully remove the chilled cheesecake from its pan and position it over the strawberry filling. Spread another thin layer of frosting over the cheesecake and add a second frosting border with more strawberry filling inside it.
- Place the second red velvet cake layer on top. Check that all the layers are aligned before applying a thin crumb coat over the entire cake.
- Refrigerate the cake for 20–30 minutes, then cover it with the remaining cream cheese frosting.
6. Decorate and Chill
Decorate the top with fresh strawberries, red velvet crumbs, frosting swirls, or white chocolate curls. Keep the arrangement elegant so the beautiful red and white layers remain the main attraction. Refrigerate the finished Red Velvet Strawberry Cheesecake for at least one hour before slicing.
6 Irresistible Secrets for Perfect Results

1. Use Room-Temperature Ingredients
Room-temperature cream cheese, butter, and eggs blend more evenly and reduce the risk of lumps.
2. Mix the Cheesecake Gently
Too much air can cause the cheesecake to rise quickly and crack as it cools. Use low speed once the eggs are added.
3. Cool Every Layer Completely
Warm cake, cheesecake, or strawberry filling will melt the frosting and make the layers slide.
4. Create Frosting Borders
A piped frosting border keeps the strawberry filling contained and prevents it from leaking down the sides.
5. Apply a Crumb Coat
A thin first layer of frosting traps loose red velvet crumbs and gives the finished cake a cleaner appearance.
6. Chill Before Slicing
Cold layers remain firm and produce sharper, more attractive slices.
7. Use a Warm, Clean Knife
Dip a sharp knife into warm water and wipe it dry before each cut. This creates smooth slices with clearly defined layers.
Delicious Recipe Variations
Chocolate Strawberry Version
Add a thin layer of chocolate ganache beneath the strawberry filling for an even richer dessert.
Strawberry Cheesecake Filling
Blend a few tablespoons of concentrated strawberry purée into the cheesecake batter for a pale pink, berry-flavored center.
Mini Layer Cakes
Bake the components in smaller pans and create individual cakes for parties or romantic dinners.
White Chocolate Decoration
Decorate the cake with white chocolate ganache drips, curls, or chocolate-covered strawberries.
Raspberry Red Velvet Cheesecake
Replace the strawberries with raspberries for a slightly sharper fruit flavor.
Serving Suggestions

Serve Red Velvet Strawberry Cheesecake well chilled, but allow each slice to stand at room temperature for about 10 minutes before eating. This softens the cake and frosting slightly while keeping the cheesecake layer creamy and firm. Pair it with:
- Fresh strawberries or mixed berries
- A spoonful of strawberry sauce
- Lightly whipped cream
- Hot coffee or espresso
- A glass of cold milk
Storage Instructions
Store the cake in a covered container in the refrigerator for up to four days. Because it contains cheesecake, cream cheese frosting, and fresh fruit, it should not be left at room temperature for longer than two hours.
For longer storage, freeze individual undecorated slices for up to one month. Wrap each slice tightly in plastic wrap and place it in a freezer-safe container. Thaw overnight in the refrigerator before serving.
Frequently Asked Questions
Can I make Red Velvet Strawberry Cheesecake ahead of time?
Yes. Bake the cheesecake up to two days ahead and prepare the red velvet layers one day in advance. Assemble the cake the day before serving and keep it refrigerated.
Why did my cheesecake layer crack?
Cracks are usually caused by overmixing, excessive heat, or sudden temperature changes. Mix gently and allow the cheesecake to cool gradually in the switched-off oven.
Can I use frozen strawberries?
Frozen strawberries can be used for the cooked filling, but thaw and drain them first. Use fresh strawberries for decorating because they hold their shape better.
How do I stop the cake layers from sliding?
Make sure every component is completely cold, avoid using too much strawberry filling, and refrigerate the cake between assembly and final frosting.
Can I use store-bought strawberry preserves?
Yes. Choose thick strawberry preserves with visible fruit pieces. Avoid thin strawberry sauce because it may leak between the layers.
Does this cake need to stay refrigerated?
Yes. The cheesecake layer, cream cheese frosting, and strawberries all require refrigeration. Return leftover slices to the refrigerator promptly.
Final Thoughts
This Red Velvet Strawberry Cheesecake offers moist cake, silky cheesecake, tangy cream cheese frosting, and a bright strawberry filling in every slice. Its dramatic red, white, and berry-filled layers make it look wonderfully elaborate, yet preparing the components separately keeps the process manageable. Whether you make it for a birthday, Valentine’s celebration, or family gathering, this stunning layered dessert is certain to become the centerpiece of the table.
Check our Instagram and Facebook pages for more recipes.
