
 By Esha Kamran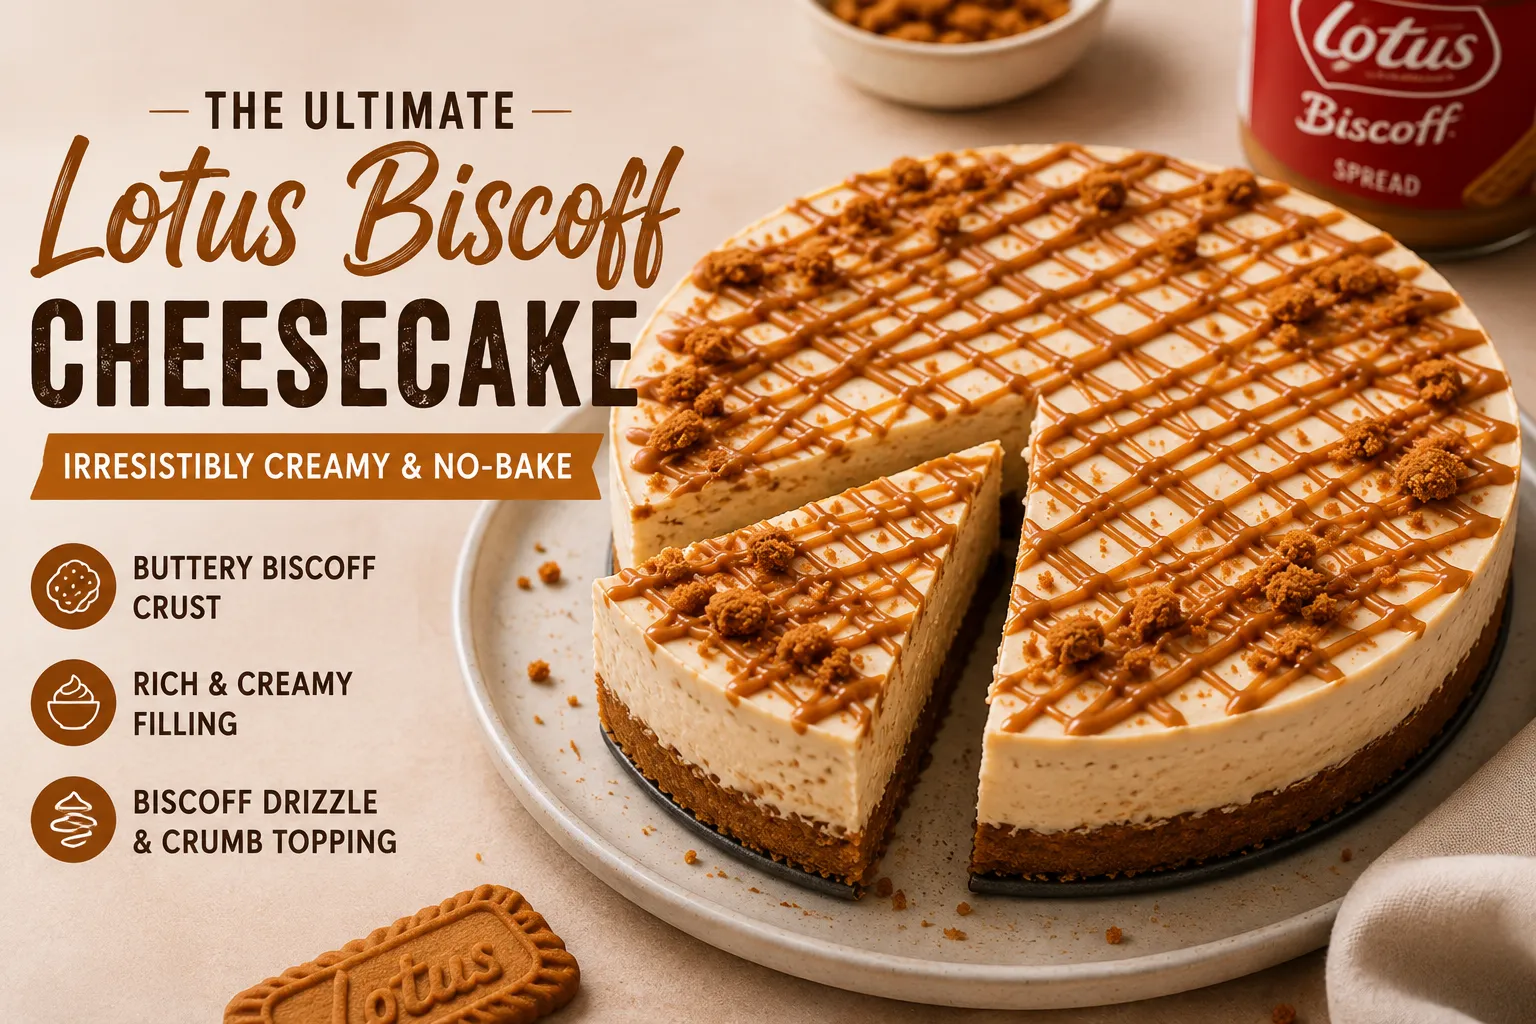
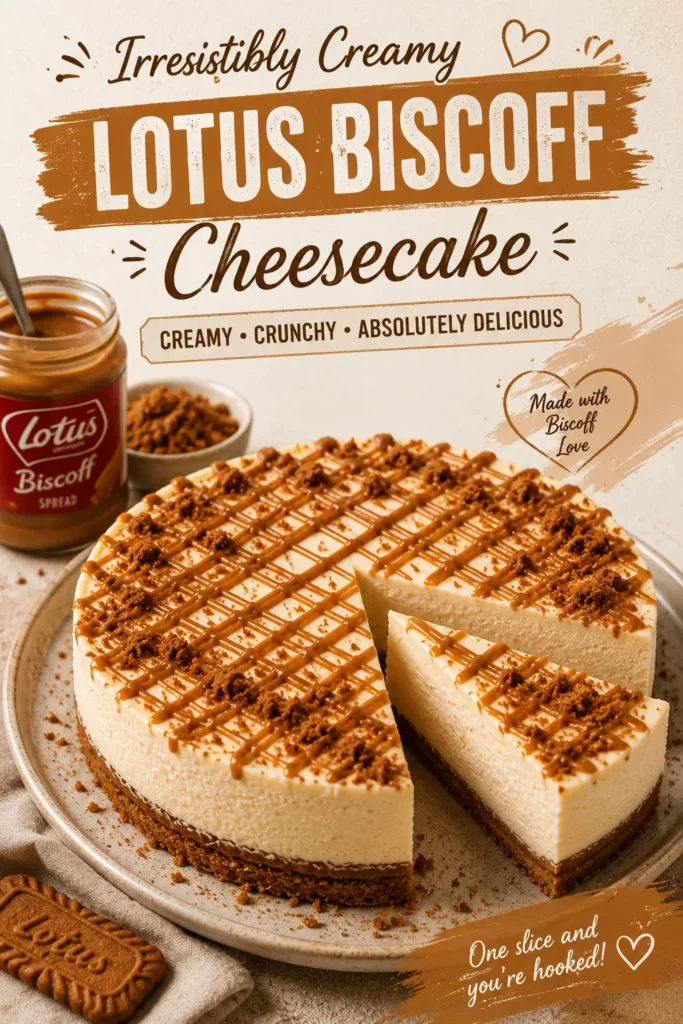
If you love the caramelized flavor of Biscoff biscuits, this Lotus Biscoff Cheesecake is the dessert you need to try. It combines a buttery Biscoff cookie crust with a rich, creamy cheesecake filling loaded with Biscoff spread, then finishes with a smooth drizzle of melted Biscoff for an extra indulgent touch.
The best part? There is no oven involved. Once assembled, the cheesecake simply needs time to chill and set in the refrigerator. With its creamy texture, crisp cookie base, and unmistakable caramel-spiced flavor, this cheesecake makes an impressive dessert for birthdays, holidays, dinner parties, or whenever you want something seriously delicious.
Why You’ll Love This Lotus Biscoff Cheesecake
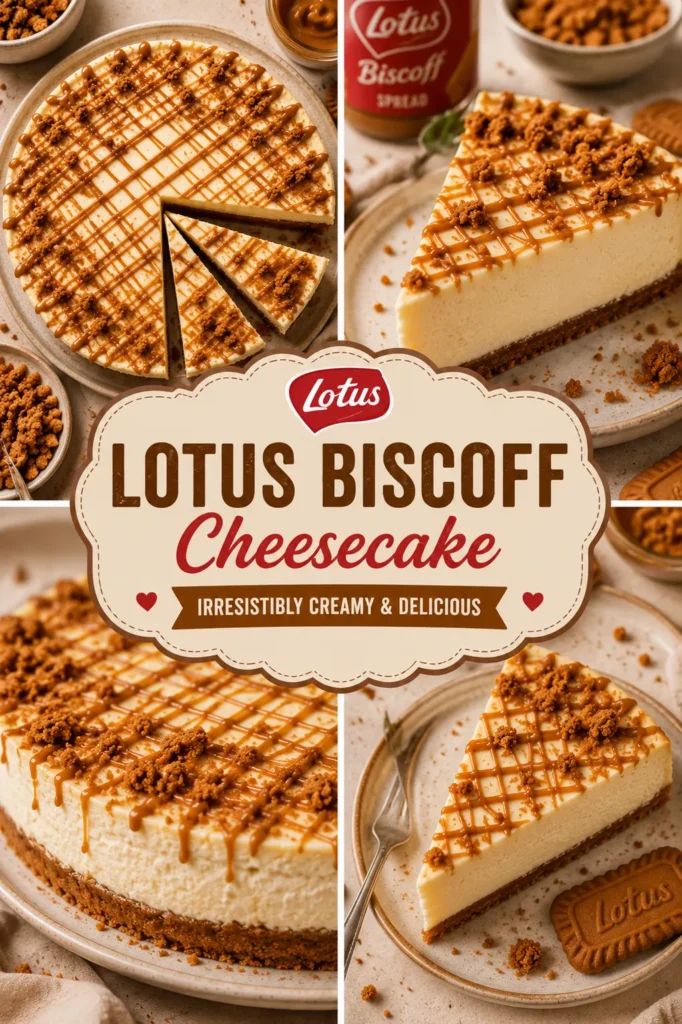
There are plenty of cheesecake recipes out there, but this one stands out because every layer brings something different.
- Completely no-bake: No oven is needed, making it especially convenient during warmer months.
- Rich Biscoff flavor: Biscoff spread is used in the filling and topping for a deep caramelized cookie flavor.
- Creamy texture: Whipped cream gives the filling a light, smooth consistency while cream cheese provides richness.
- Easy cookie crust: Crushed Biscoff biscuits and melted butter create a simple crust that holds together beautifully.
- Make-ahead friendly: The cheesecake needs several hours to chill, so you can prepare it ahead of serving.
- Beautiful presentation: A Biscoff drizzle and cookie crumbs make the finished cheesecake look bakery-worthy without complicated decorating.
What Is Lotus Biscoff Cheesecake?
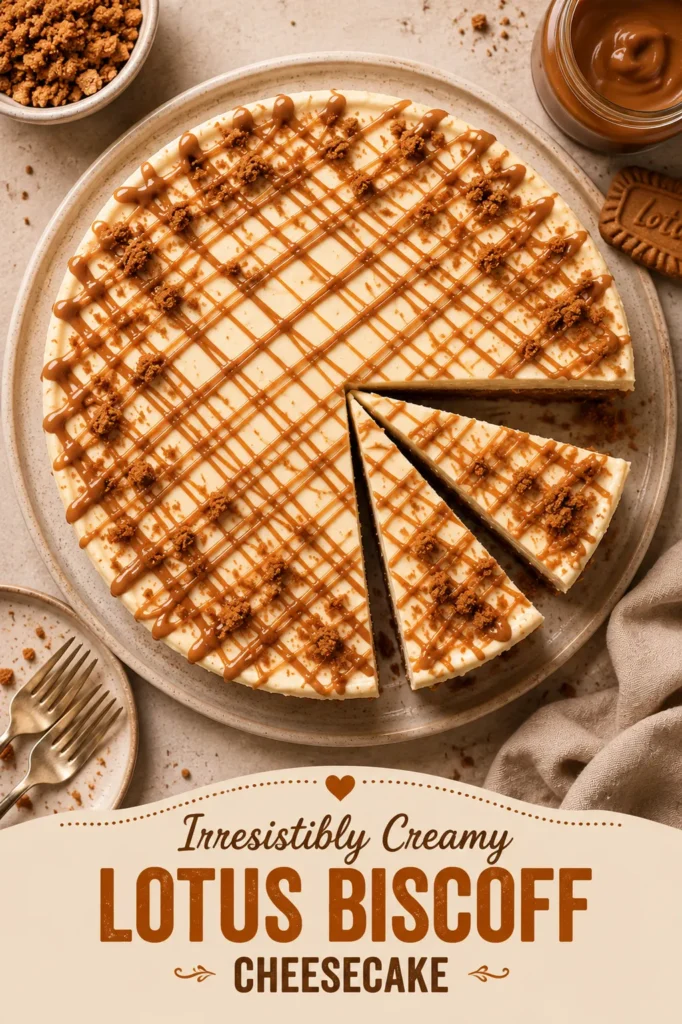
Lotus Biscoff Cheesecake is a no-bake cheesecake inspired by the caramelized, slightly spiced flavor of Biscoff biscuits. Instead of a traditional graham cracker crust, crushed Biscoff biscuits form the base. The creamy filling is made with cream cheese, whipped cream, powdered sugar, vanilla, and Biscoff spread. More Biscoff spread is then drizzled over the top, often with extra crushed biscuits for decoration. The result is a cheesecake that is sweet, creamy, slightly spiced, and wonderfully caramel-like.
Ingredients You’ll Need
For the Biscoff Biscuit Crust
Biscoff biscuits are the foundation of this cheesecake. Their caramelized flavor works perfectly with the creamy filling. Unsalted butter binds the crushed biscuits together and gives the crust a rich, buttery texture.
For the Cheesecake Filling
- Full-fat cream cheese provides the creamy, slightly tangy base. Use full-fat cream cheese for the best texture and avoid low-fat varieties, which can make a no-bake cheesecake softer.
- Biscoff spread gives the filling its signature caramelized biscuit flavor.
- Powdered sugar adds sweetness while dissolving easily into the cream cheese mixture.
- Vanilla extract rounds out the flavors and enhances the caramel notes.
- Heavy whipping cream is whipped before being incorporated into the filling. This helps create a smooth and airy cheesecake texture.
For the Topping
Biscoff spread creates the glossy drizzle across the top. Crushed Biscoff biscuits add extra crunch and make the cheesecake look more inviting.
How to Make Lotus Biscoff Cheesecake
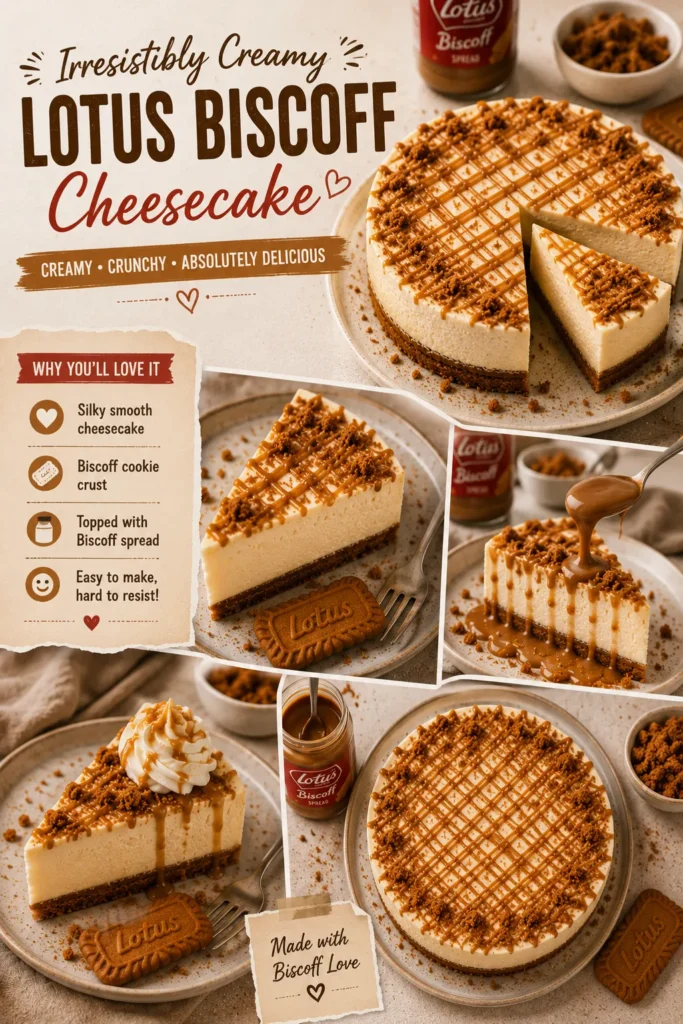
1. Prepare the Biscoff Crust
- Place the Biscoff biscuits in a food processor and pulse until they become fine crumbs.
- Pour in the melted butter and process again until the mixture resembles wet sand.
- Transfer the mixture into a 9-inch (23 cm) springform pan. Press it firmly and evenly across the bottom using the back of a spoon or the bottom of a glass.
- Refrigerate the crust while you prepare the filling.
2. Make the Cheesecake Filling
- Beat the softened cream cheese and powdered sugar together until smooth and creamy.
- Add the Biscoff spread and vanilla extract. Continue mixing until everything is completely combined and no streaks remain.
- In a separate bowl, whip the cold heavy cream until it reaches stiff peaks.
- Gently fold the whipped cream into the Biscoff cream cheese mixture in batches. Take care not to overmix because you want to retain some of the air from the whipped cream.
3. Fill the Cheesecake
- Remove the chilled crust from the refrigerator.
- Spoon the cheesecake filling over the crust and spread it evenly across the surface.
- Gently tap the pan against the counter a couple of times to remove large air pockets, then smooth the top with a spatula.
4. Chill Until Firm
- Cover the cheesecake and refrigerate it for at least 6 hours, although leaving it overnight gives the best results.
- The chilling time is important because the filling needs enough time to firm up and become sliceable.
5. Add the Biscoff Topping
- Warm the Biscoff spread gently until it becomes smooth and pourable. Do not overheat it.
- Pour or drizzle the melted Biscoff spread over the chilled cheesecake.
- Finish with crushed Biscoff biscuits around the edges or scattered across the top.
6. Slice and Serve
Carefully remove the cheesecake from the springform pan. For clean slices, dip a sharp knife into hot water, wipe it dry, and then slice. Clean and warm the knife between cuts for the neatest presentation. Serve the cheesecake cold and enjoy.
Tips for the Best Lotus Biscoff Cheesecake
Use Full-Fat Cream Cheese
Full-fat cream cheese provides the structure and richness needed for a good no-bake cheesecake. Lower-fat alternatives contain more water and may produce a softer filling.
Soften the Cream Cheese
Allow the cream cheese to come to room temperature before mixing. Softened cream cheese blends more easily and helps prevent lumps.
Keep the Whipping Cream Cold
Cold heavy cream whips more effectively and gives the filling better volume.
Don’t Overmix the Whipped Cream
Once the whipped cream reaches stiff peaks, gently fold it into the cheesecake mixture. Overmixing can deflate the whipped cream and make the finished cheesecake denser.
Give It Enough Chilling Time
Don’t rush the chilling stage. Although the cheesecake may look firm after a few hours, 6 hours or overnight gives it much better structure.
Warm Biscoff Spread Gently
For the topping, warm the spread only until it becomes fluid enough to drizzle. If it gets too hot, allow it to cool slightly before adding it to the cheesecake.
Can I Make This Cheesecake Ahead of Time?
Absolutely. This is one of the best things about a no-bake cheesecake. You can prepare the cheesecake the day before serving and leave it covered in the refrigerator overnight. In fact, the longer chilling period can make it easier to slice cleanly. For the freshest appearance, add the decorative Biscoff drizzle and cookie crumbs shortly before serving.
How Should I Store Biscoff Cheesecake?
Keep the cheesecake covered and refrigerated. It is best enjoyed within 3–4 days. Store individual slices in an airtight container or cover the entire cheesecake carefully with plastic wrap. Because the filling contains cream cheese and whipped cream, it should not be left at room temperature for extended periods.
Can I Freeze Lotus Biscoff Cheesecake?
Yes. For longer storage, freeze the cheesecake without the decorative topping if possible. Place the fully chilled cheesecake in the freezer until firm, then wrap it well to protect it from freezer odors and freezer burn. Thaw it gradually in the refrigerator before serving. Add fresh Biscoff drizzle and crumbs after thawing if desired.
Why Is My No-Bake Cheesecake Too Soft?
A soft cheesecake can happen for several reasons:
- It did not chill for long enough.
- The whipping cream was not whipped sufficiently.
- The cream cheese mixture contained too much liquid.
- Low-fat cream cheese was used.
- The whipped cream was overmixed and lost too much volume.
- The cheesecake was left at room temperature for too long.
For the most reliable result, use full-fat cream cheese, properly whipped cream, accurate measurements, and plenty of chilling time.
Recipe Variations
Add a Biscoff Chocolate Layer
For a richer dessert, add a thin layer of melted chocolate between the crust and cheesecake filling.
Make Mini Biscoff Cheesecakes
Instead of using a springform pan, divide the crust and filling between small individual dessert molds or a muffin tin lined with suitable liners.
Add Extra Cookie Crunch
Fold a small amount of roughly chopped Biscoff biscuits into the filling for little pockets of crunch.
Finish With Whipped Cream
Pipe small swirls of whipped cream around the edge before adding the Biscoff drizzle for a more elaborate presentation.
What to Serve With Biscoff Cheesecake
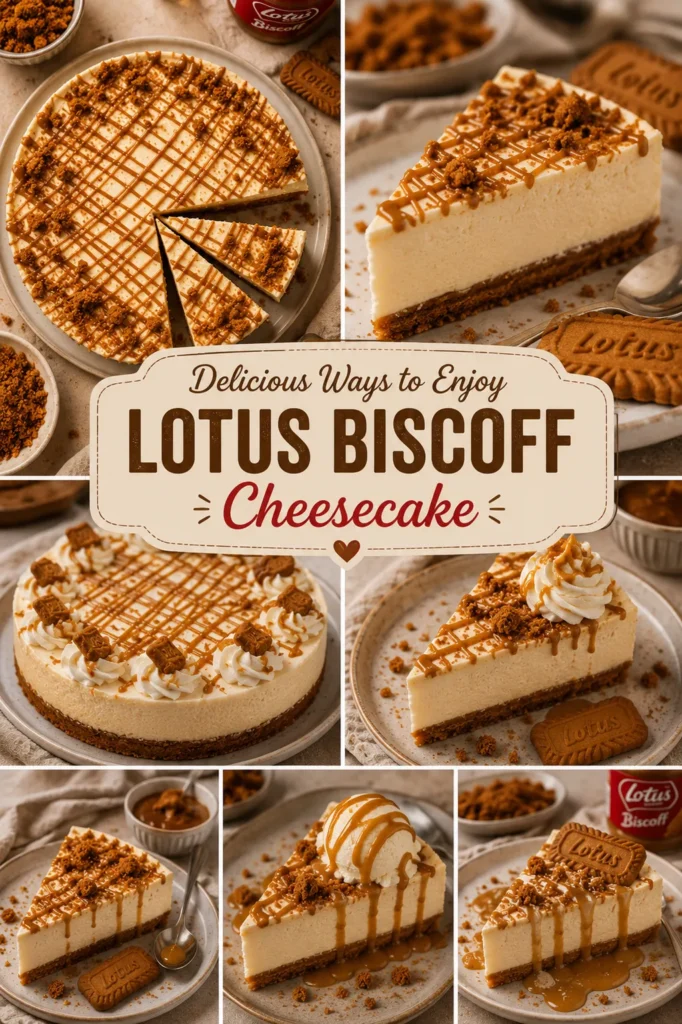
This cheesecake is rich enough to serve on its own, but a few simple additions work beautifully:
- Fresh berries for a little acidity
- Lightly whipped cream
- Extra Biscoff biscuits
- A drizzle of melted Biscoff spread
- A small scoop of vanilla ice cream
- Fresh coffee or espresso
The slight bitterness of coffee is particularly good with the sweet caramelized flavor of Biscoff.
Lotus Biscoff Cheesecake Recipe Card
Recipe: Lotus Biscoff Cheesecake
Prep Time: 30 minutes
Chilling Time: 6 hours
Total Time: 6 hours 30 minutes
Servings: 10–12 slices
Course: Dessert
Cuisine: European-inspired
Method: No-bake
Ingredients
For the crust
- 300 g Biscoff biscuits
- 120 g unsalted butter, melted
For the filling
- 600 g full-fat cream cheese, softened
- 250 g Biscoff spread
- 100 g powdered sugar
- 1 teaspoon vanilla extract
- 300 ml cold heavy whipping cream
For the topping
- 100 g Biscoff spread
- 3–4 Biscoff biscuits, crushed
Instructions
- Crush the Biscoff biscuits into fine crumbs.
- Mix the crumbs with melted butter until evenly combined.
- Press the mixture firmly into the bottom of a 9-inch springform pan.
- Refrigerate the crust while preparing the filling.
- Beat softened cream cheese and powdered sugar until smooth.
- Add Biscoff spread and vanilla extract and mix until fully combined.
- Whip the cold heavy cream separately until stiff peaks form.
- Gently fold the whipped cream into the Biscoff cream cheese mixture.
- Spread the filling evenly over the chilled crust.
- Refrigerate for at least 6 hours, preferably overnight.
- Gently warm the remaining Biscoff spread until smooth and drizzle it over the chilled cheesecake.
- Sprinkle with crushed Biscoff biscuits.
- Slice with a warm, clean knife and serve chilled.
Notes
- Use full-fat cream cheese for the firmest filling.
- Make sure the heavy cream is cold before whipping.
- Do not skip the chilling time.
- For cleaner slices, chill the cheesecake overnight.
- Keep leftovers refrigerated.
Craving more cheesecake adventures? The caramel richness of this Lotus Biscoff Cheesecake pairs wonderfully with our other elegant varieties. Explore our bright and zesty Mini Lemon Cheesecakes, earthy Matcha Cheesecake, tropical Mango Charlotte Cheesecake, or showstopping Cheesecake and Red Velvet Cake for the full collection.
Final Thoughts
This Lotus Biscoff Cheesecake proves that an impressive dessert doesn’t have to be complicated. The combination of a buttery Biscoff crust, creamy cheesecake filling, and silky Biscoff topping creates plenty of flavor and texture without requiring an oven. Prepare it ahead, let it chill properly, add a generous drizzle of Biscoff spread, and you’ll have a dessert that’s just as impressive to look at as it is delicious to eat.
Check our Instagram and Facebook pages for more recipes. Explore our full cheesecake collection: mini lemon cheesecakes, matcha cheesecake, mango charlotte cheesecake, and cheesecake and red velvet cake.

[…] cheesecake was not chilled long […]
[…] If you enjoy bright citrus desserts, try our easy 4-ingredient lemon loaf. For a richer caramelized biscuit flavor, see the Lotus Biscoff cheesecake recipe. […]
[…] cheesecake? Try our Mini Lemon Cheesecakes, Mango Charlotte Cheesecake, or Lotus Biscoff Cheesecake Recipe for more […]
[…] so their dairy-rich filling is a little more perishable: aim to finish them within 3 to 5 days. Our Lotus Biscoff Cheesecake is a no-bake favourite worth eating fresh, while baked classics like our Mini Lemon Cheesecakes […]