
 By Esha Kamran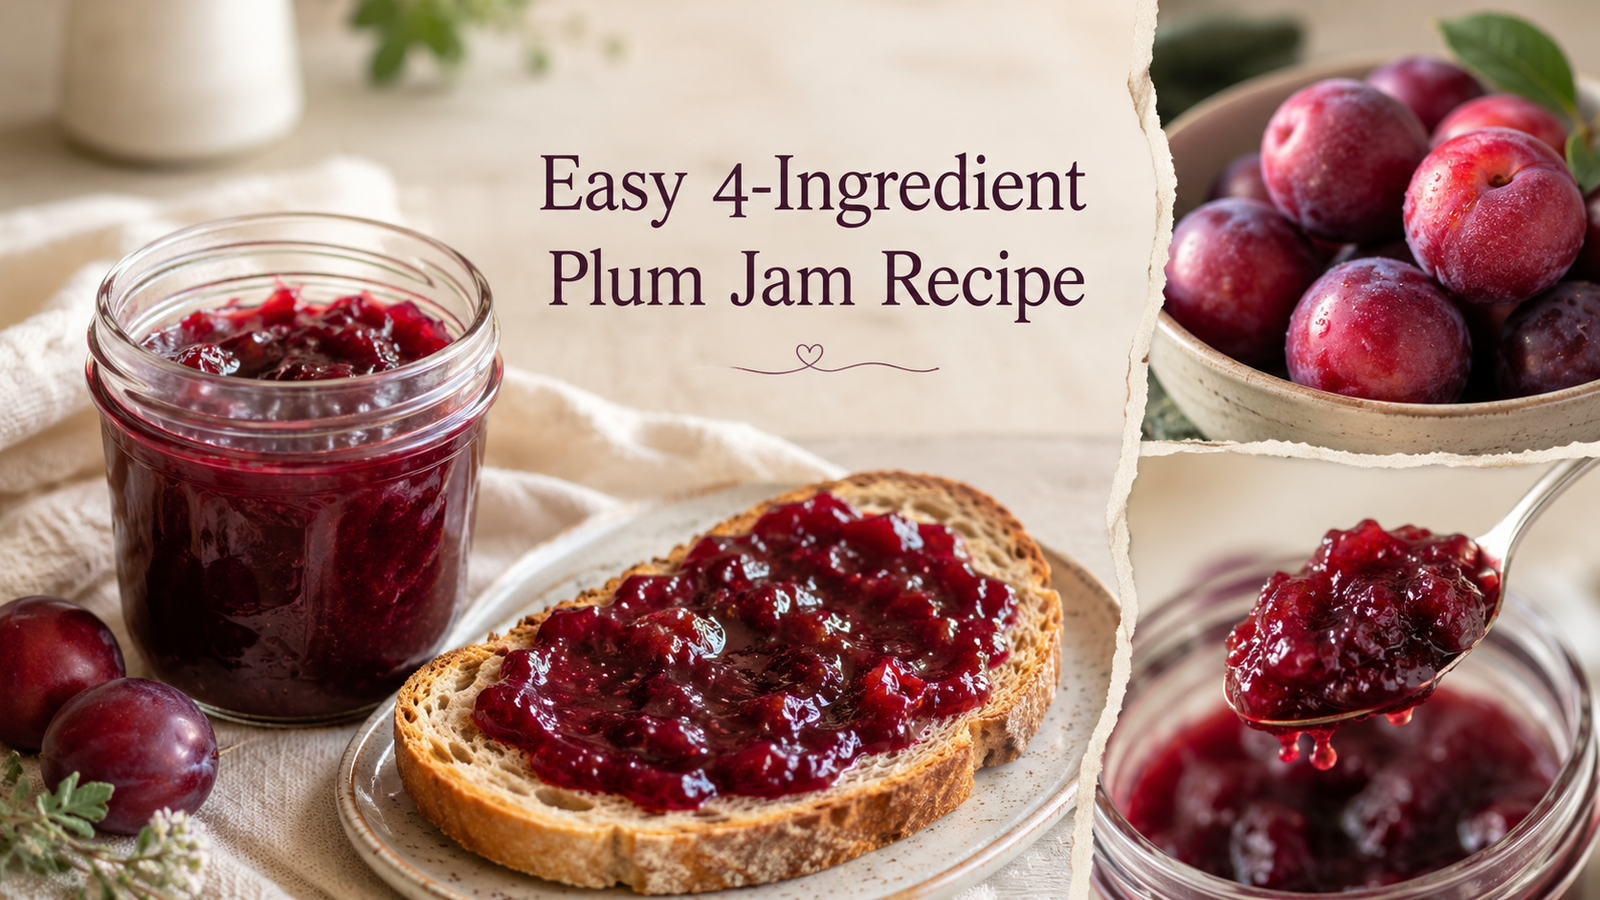
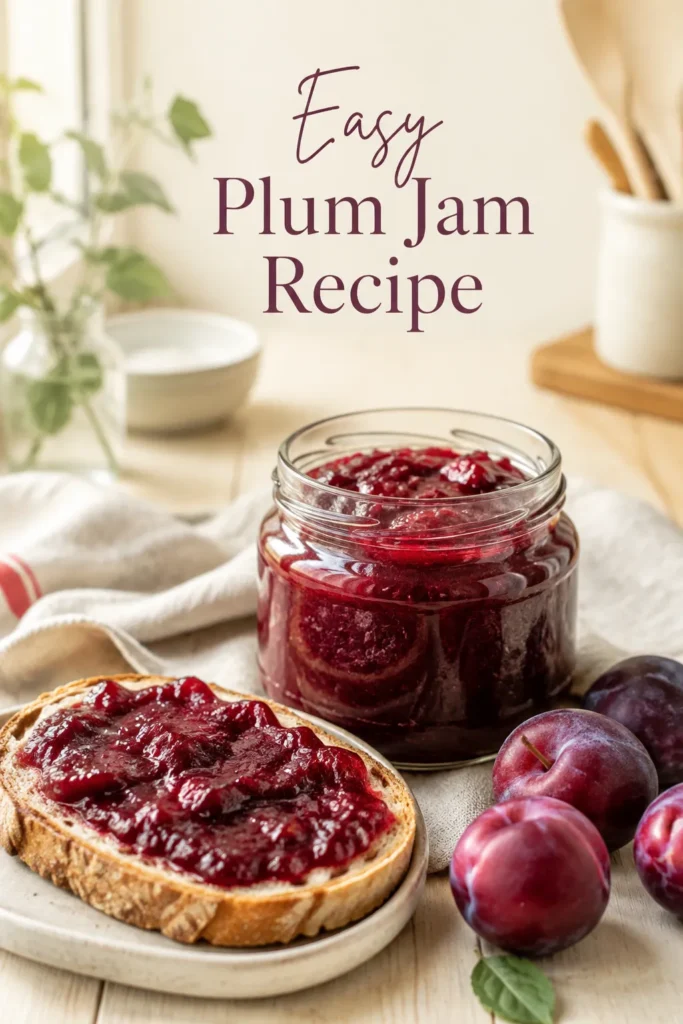
There is something wonderfully comforting about opening a jar of homemade jam. The jewel-like colour, the aroma of ripe fruit and that first sweet-tart spoonful make it far more special than anything from the supermarket. This easy plum jam recipe captures all those qualities in one beautiful jar.
Made with fresh plums, sugar, lemon juice and a little water, this recipe does not require added pectin. Plums naturally contain pectin, while lemon juice helps the jam thicken and balances its sweetness. The result is a rich, fruity spread with a soft, spoonable texture.
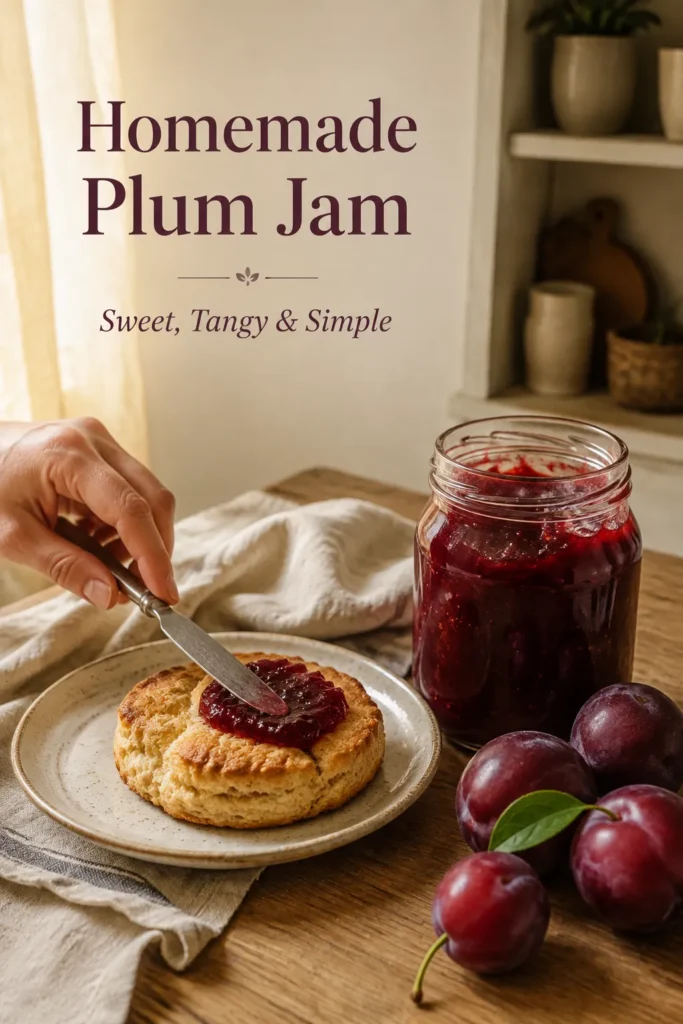
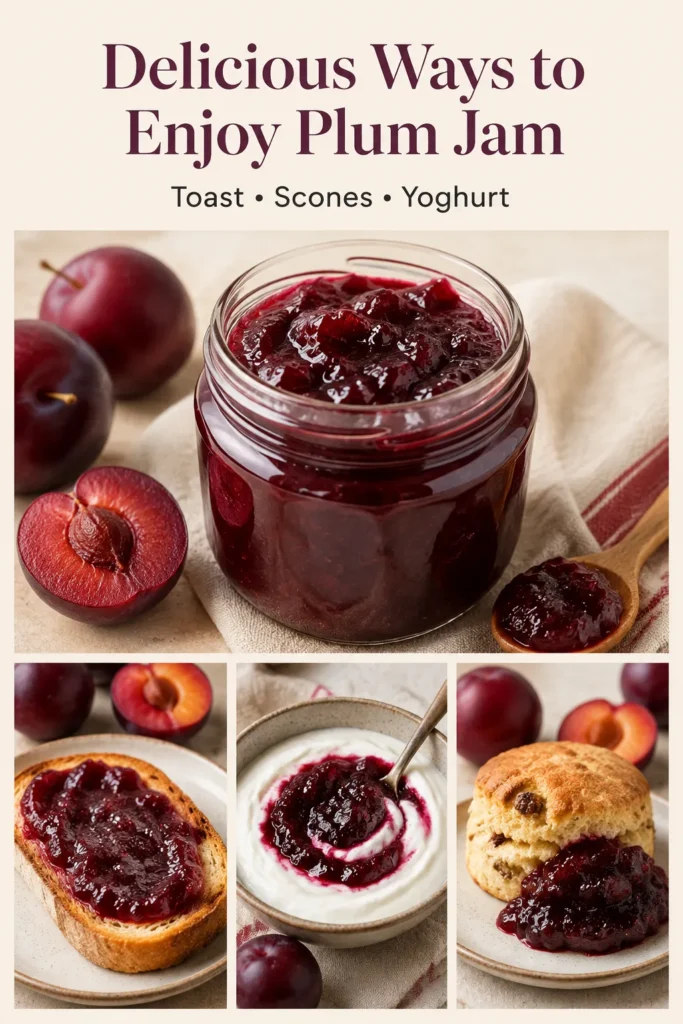
Enjoy it on warm toast, freshly baked scones, pancakes or yoghurt. You can even use it as a filling for cakes and pastries. If you have a basket of ripe plums waiting in your kitchen, this is one of the most delicious ways to use them.
Why You’ll Love This Plum Jam Recipe
This homemade jam feels special, but it is surprisingly simple to prepare. Here are a few reasons it may become one of your favourite seasonal recipes:
- It requires only four basic ingredients.
- No commercial pectin is needed.
- The recipe works with several varieties of plums.
- You can leave it slightly chunky or make it completely smooth.
- Its sweetness can be balanced with lemon juice.
- It makes a lovely homemade gift.
- The finished jam has a gorgeous ruby-red or deep purple colour.
It is also an excellent recipe for beginners. If you have never made jam before, this plum jam recipe is a friendly place to start.
What Does Plum Jam Taste Like?
Plum jam has a deep, fruity flavour with a delicious balance of sweetness and gentle acidity. Its exact flavour will depend on the plums you choose. Red and black plums usually produce a bold, wine-coloured jam, while yellow plums create a brighter, golden spread. Damsons are naturally sharper and make an intensely flavoured jam that may require a little more sugar. Leaving the skins on gives the jam extra colour, flavour and natural pectin. As the fruit cooks, the skins soften and become part of the jam, so there is no need for peeling.
The Best Plums for Making Jam
You can prepare this recipe with almost any fresh plum variety. Victoria plums, red plums, black plums, greengages and damsons can all work beautifully. For the best flavour, use plums that are ripe but not overly soft. A mixture of ripe and slightly underripe fruit is especially useful. The ripe plums provide sweetness and flavour, while the firmer plums generally contain more natural pectin. Avoid using fruit that is mouldy, fermented or badly bruised. Small surface marks can be trimmed away, but the plums should still smell fresh and pleasant.
Ingredients You’ll Need
Fresh plums
Fresh, ripe plums are the star of this recipe. There is no need to peel them. Simply wash them, remove the stones and chop the flesh.
Granulated sugar
Sugar sweetens the fruit and helps the jam develop its characteristic consistency. It also contributes to the colour and overall finish.
Lemon juice
Fresh lemon juice adds acidity, brightens the plum flavour and supports the natural setting process.
Water
A small amount of water helps the plums begin cooking without sticking to the bottom of the pan.
How to Make Plum Jam
1. Prepare the plums
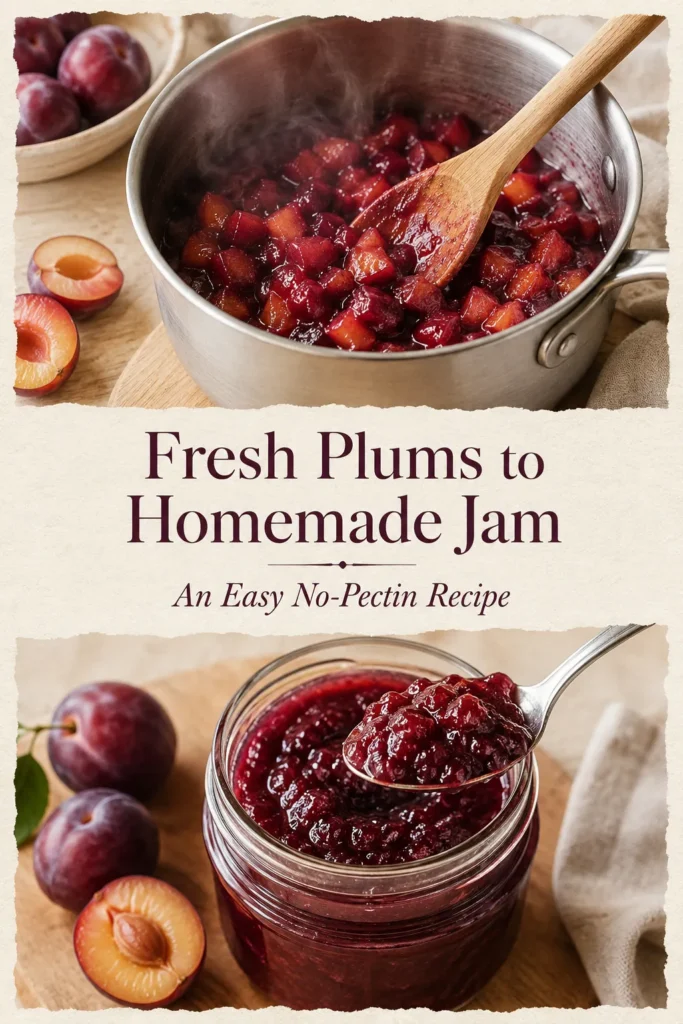
Wash the plums thoroughly and dry them. Cut each plum in half, remove the stone and chop the fruit into small pieces. You can make the pieces fairly small for a smoother jam or leave them larger if you prefer a rustic, chunky texture.
2. Soften the fruit
Place the chopped plums and water in a large, heavy-bottomed saucepan. Cook over medium heat for approximately 10–15 minutes, stirring occasionally. As the fruit heats, it will begin releasing its juices. Continue cooking until the plums are soft and starting to break down.
3. Add the sugar and lemon
Reduce the heat slightly. Add the sugar and lemon juice, then stir gently until the sugar has completely dissolved. Run your spoon along the bottom of the saucepan. If you can still feel sugar crystals, continue stirring over low heat before bringing the mixture to a boil.
4. Boil the jam
Increase the heat and bring the mixture to a strong, steady boil. Cook for approximately 20–30 minutes, stirring frequently so the jam does not burn. The fruit will continue breaking down, while the mixture will gradually become darker, glossier and thicker. Be especially attentive near the end because thickened jam can catch on the bottom of the pan.
5. Test the consistency
Place a small plate in the freezer before you begin cooking. When the jam looks thick, spoon a small amount onto the cold plate and leave it for about 30 seconds. Push the jam gently with your fingertip. If the surface wrinkles and the jam does not immediately run back together, it is ready. If it is still very runny, boil it for another 3–5 minutes and test again.
6. Fill the jars
Remove the saucepan from the heat and let the jam rest for a few minutes. Carefully ladle it into clean, warm jars, leaving a little space at the top. Wipe the rims, close the lids and allow the jars to cool. The plum jam will continue to thicken as it reaches room temperature.
How to Know When Plum Jam Is Ready
The cold-plate test is one of the easiest ways to check the set, but you can also watch for visual clues.
The jam is usually ready when:
- The bubbles become slower and heavier.
- The mixture looks glossy rather than watery.
- A spoon drawn across the pan briefly leaves a visible trail.
- Jam falling from a spoon forms a thick sheet instead of separate watery drops.
- A spoonful wrinkles when pushed on a chilled plate.
Try not to cook the jam until it looks completely firm in the saucepan. It will become noticeably thicker as it cools.
Tips for the Best Homemade Plum Jam
Use a wide saucepan
A wide pan allows moisture to evaporate more quickly, helping the jam reach the correct consistency without excessive cooking.
Do not double the recipe
A very large batch takes longer to heat and may not set properly. If you have plenty of plums, make two separate batches for more reliable results.
Stir more frequently near the end
As the jam thickens, it becomes more likely to stick or burn. Keep a close eye on it during the final minutes.
Keep the plum skins
Plum skins provide colour, flavour and natural pectin. They soften considerably during cooking, so peeling is unnecessary.
Adjust for naturally sweet fruit
Very ripe plums can taste much sweeter than firm or tart varieties. Taste the cooked fruit before adding all the sugar, but remember that significantly reducing sugar can produce a softer-set refrigerator jam.
Use lemon juice
Even when the plums already taste tart, lemon juice is helpful for balancing the flavour and encouraging a better set.
Should Plum Jam Be Smooth or Chunky?
That is entirely up to you. For a rustic plum jam recipe, allow the softened fruit to break down naturally as it cooks. For a smoother consistency, use a potato masher while the plums are softening. You can also carefully blend the cooked fruit before adding the sugar. An immersion blender works well, but avoid over-blending if you still want a little texture.
Delicious Plum Jam Variations
Once you are comfortable with the basic recipe, you can experiment with complementary flavours.
Plum and cinnamon jam
Add a small cinnamon stick while the plums cook. Remove it before filling the jars.
Plum and vanilla jam
Stir in one teaspoon of vanilla extract after removing the finished jam from the heat.
Spiced plum jam
Add a small pinch of ground ginger, cinnamon or mixed spice for a warm, autumn-inspired flavour.
Plum and orange jam
Replace part of the lemon juice with fresh orange juice and add a little finely grated orange zest.
Plum and ginger jam
Add a teaspoon of freshly grated ginger while cooking the fruit for a lively, slightly spicy finish.
When changing a recipe intended for shelf-stable canning, always use a tested preservation formula rather than freely adjusting ingredients.
Ways to Use Homemade Plum Jam
This jam is far too delicious to reserve only for toast. Try serving it:
- With buttered toast, croissants or English muffins
- On warm scones with clotted cream
- Swirled into porridge or overnight oats
- Spooned over Greek yoghurt
- Between layers of a sponge cake
- Inside thumbprint biscuits
- With waffles, pancakes or French toast
- As part of a cheeseboard
- In a glaze for roasted meat
- Mixed into salad dressings or sauces
Its sweet-tart flavour works particularly well with creamy cheeses such as Brie, goat’s cheese and cream cheese.
How to Store Plum Jam
For a simple refrigerator version, transfer the hot jam to clean jars, allow it to cool and refrigerate it. Use it within approximately three weeks and always scoop it out with a clean spoon.
The jam can also be frozen in freezer-safe containers. Leave enough empty space for expansion and freeze it for up to six months. Thaw it overnight in the refrigerator before serving.
If you want room-temperature, shelf-stable jars, follow a scientifically tested water-bath canning recipe with the correct jar size, headspace and altitude-adjusted processing time. The National Center for Home Food Preservation provides tested instructions for safely canning plum jam.
Common Plum Jam Problems
Why is my plum jam too runny?
The jam may need more cooking time, or it may still be warm. Allow it to cool completely before deciding whether it is too thin. If necessary, return it to the saucepan and boil it for a few more minutes.
Why is my jam too thick?
The mixture was probably cooked for too long. A very thick jam can sometimes be loosened with a small amount of hot water, but add it gradually.
Why did my jam burn?
Jam can burn when the heat is too high or it is not stirred frequently enough. Use a heavy-bottomed saucepan and stir consistently, particularly near the end.
Why is there foam on top?
Foam is normal and does not usually affect the flavour. You can skim it away with a spoon before filling the jars.
Frequently Asked Questions
Do I need to peel plums before making jam?
No. Plum skins soften during cooking and contribute beautiful colour, flavour and natural pectin.
Can I make plum jam without pectin?
Yes. This plum jam recipe relies on the plums’ natural pectin, supported by lemon juice and sufficient cooking.
Can frozen plums be used?
Yes. Thaw the plums before cooking and include any juice released during thawing. The cooking time may vary slightly.
Can I reduce the sugar?
You can reduce it for a refrigerator jam, but the result may be softer, tarter and have a shorter storage life. Do not reduce the sugar in a shelf-stable canning recipe unless you are following tested reduced-sugar instructions.
How long does homemade plum jam last?
Refrigerator jam is best used within approximately three weeks. Frozen jam can be stored for up to six months. Properly canned jam should be stored according to the tested recipe used.
Plum Jam Recipe Card
Recipe: Easy Homemade Plum Jam
Prep Time: 15 minutes
Cook Time: 35–45 minutes
Total Time: 50–60 minutes
Yield: Approximately 3 small jars
Category: Jam and Preserves
Method: Stovetop
Cuisine: British-inspired
Diet: Vegan, Vegetarian, Gluten-Free
Ingredients
- 1 kg fresh plums
- 750 g granulated sugar
- 3 tablespoons fresh lemon juice
- 60 ml water
Instructions
- Wash the plums, cut them in half and remove the stones.
- Chop the plums and place them in a large, heavy-bottomed saucepan.
- Add the water and cook over medium heat for 10–15 minutes, until the fruit becomes soft.
- Add the sugar and lemon juice. Stir over low heat until the sugar dissolves completely.
- Increase the heat and bring the mixture to a strong boil.
- Cook for 20–30 minutes, stirring frequently, until the jam becomes glossy and thick.
- Test a spoonful on a chilled plate. If it wrinkles when pushed, remove the saucepan from the heat.
- Let the jam rest for 2–3 minutes, then carefully transfer it to clean, warm jars.
- Allow it to cool before refrigerating.
Notes
- Leave the plum skins on for better colour and flavour.
- The jam becomes thicker as it cools.
- Use a potato masher for a smoother consistency.
- Store this refrigerator jam in clean, sealed jars and use it within approximately three weeks.
- For shelf-stable storage, follow an approved water-bath canning recipe.
Nutrition Information
Serving Size: 1 tablespoon
Calories: Approximately 45
Carbohydrates: 12 g
Sugar: 11 g
Fat: 0 g
Protein: 0 g
Sodium: 0 mg
Conclusion
This easy plum jam recipe is a wonderful way to preserve the sweet, slightly tangy flavour of fresh plums. With only four simple ingredients and no added pectin, you can prepare a beautifully coloured homemade jam that tastes far better than most shop-bought options.
Spread it over warm toast, serve it with scones, swirl it into yoghurt or use it to add fruity flavour to desserts. Whether you make it for your family or package it as a thoughtful homemade gift, this plum jam is sure to disappear quickly. So gather your ripe plums, prepare your jars and enjoy the delicious satisfaction of making jam from scratch!
Check our Instagram and Facebook pages for more recipes.
