
 By Esha Kamran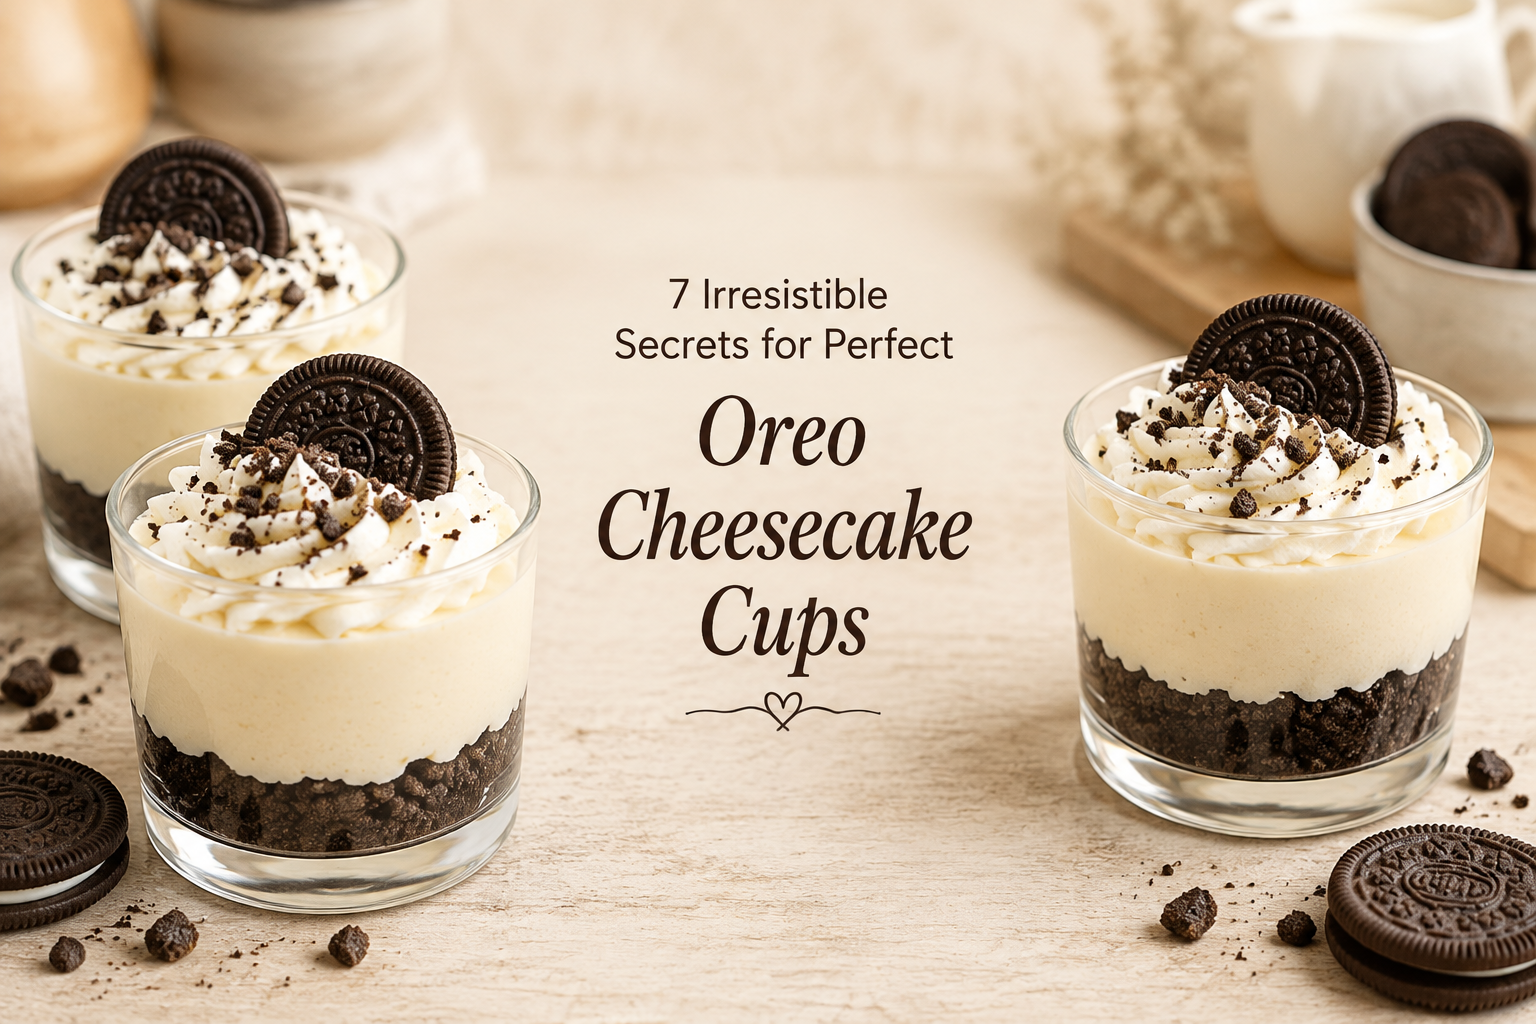
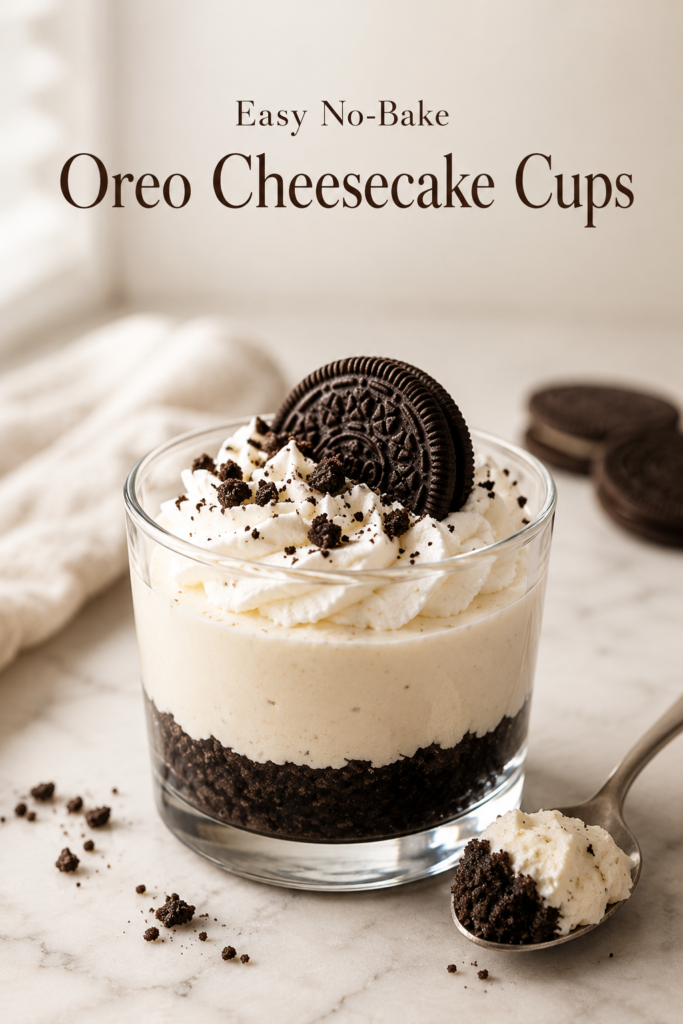
Oreo cheesecake cups are creamy, chocolatey, and wonderfully easy to prepare without turning on the oven. Each cup features a crunchy Oreo crust topped with a fluffy cookies-and-cream cheesecake filling and finished with whipped cream and cookie crumbs. Their individual size makes them perfect for birthday parties, family gatherings, holiday dessert tables, or whenever you want a simple make-ahead treat.
Why You’ll Love These Oreo Cheesecake Cups
- No baking is required.
- They are easy to prepare ahead of time.
- Individual portions are convenient for serving.
- The filling is rich, creamy, and loaded with Oreo pieces.
- You only need simple, readily available ingredients.
- They can be decorated for almost any occasion.
Recipe Overview
- Preparation Time: 25 minutes
- Chilling Time: 4 hours
- Total Time: 4 hours 25 minutes
- Servings: 12 cheesecake cups
- Difficulty: Easy
Ingredients

For the Oreo Crust
- 18 Oreo cookies
- 4 tablespoons unsalted butter, melted
For the Cheesecake Filling
- 16 ounces (450 grams) full-fat cream cheese, softened
- ¾ cup powdered sugar
- 1 teaspoon vanilla extract
- 1 teaspoon fresh lemon juice, optional
- 1 cup cold heavy whipping cream
- 10 Oreo cookies, roughly crushed
For Decorating
- ¾ cup whipped cream
- 6 Oreo cookies, halved
- Crushed Oreo crumbs
- Chocolate sauce, optional
How to Make Oreo Cheesecake Cups
1. Prepare the Pan
Line a standard 12-cup muffin pan with paper or silicone cupcake liners. Silicone liners make it especially easy to remove and serve the chilled cheesecakes.
2. Make the Oreo Crust
- Place the Oreo cookies in a food processor and blend them into fine crumbs. You do not need to remove the cream filling.
- Add the melted butter and pulse until the crumbs resemble damp sand. The mixture should hold together when pressed between your fingers.
- Divide the crust mixture evenly among the 12 cupcake liners. Press it firmly into the bottom of each liner using the back of a spoon or the base of a small glass.
- Place the pan in the refrigerator while you prepare the filling.
3. Beat the Cream Cheese
Add the softened cream cheese and powdered sugar to a large mixing bowl. Beat with an electric mixer for approximately two minutes, or until the mixture is completely smooth. Add the vanilla extract and optional lemon juice. Beat again until combined. The lemon juice will not make the filling taste strongly of lemon; it simply balances its sweetness.
4. Whip the Cream
In a separate chilled bowl, beat the cold heavy cream until stiff peaks form. Avoid overmixing, as the cream can become grainy if it is beaten for too long.
5. Finish the Filling
Gently fold the whipped cream into the cream cheese mixture in two or three additions. Use a spatula and fold carefully to preserve as much air as possible. Add the roughly crushed Oreo cookies and fold them through the filling. Leave some larger pieces for a more noticeable cookies-and-cream texture.
6. Fill the Cups
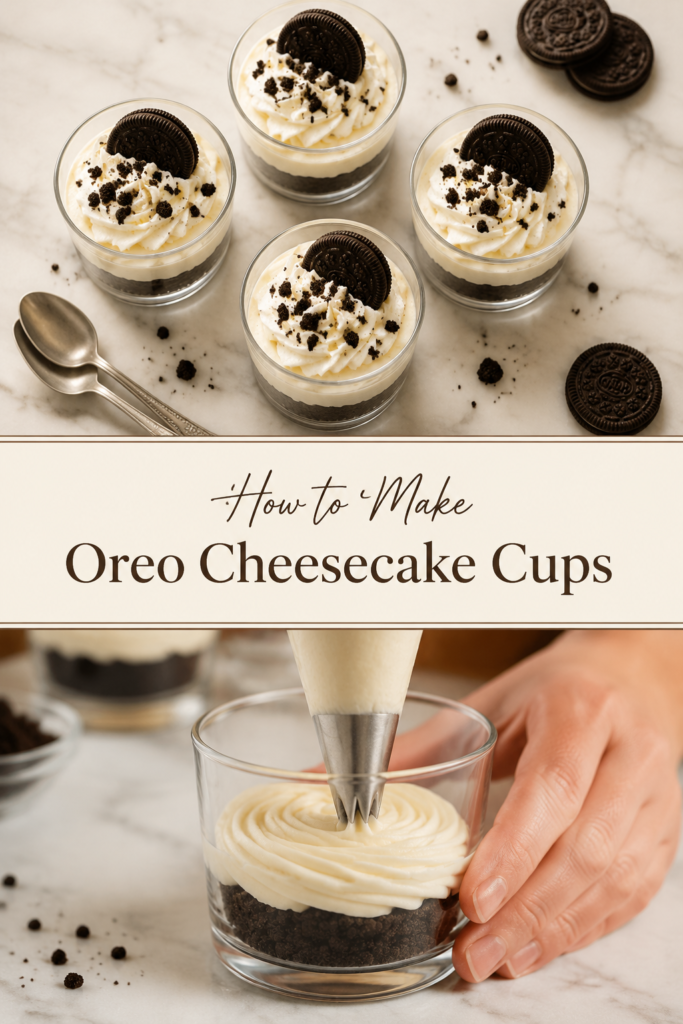
Divide the cheesecake filling evenly among the prepared crusts. Spoon or pipe it into the liners, then smooth the tops. For neat, evenly sized portions, transfer the filling to a large piping bag before filling the cups.
7. Chill Until Firm
Refrigerate the Oreo cheesecake cups for at least four hours. For the firmest texture and best flavor, chill them overnight. Do not remove the liners before the cheesecakes have completely set.
8. Decorate and Serve
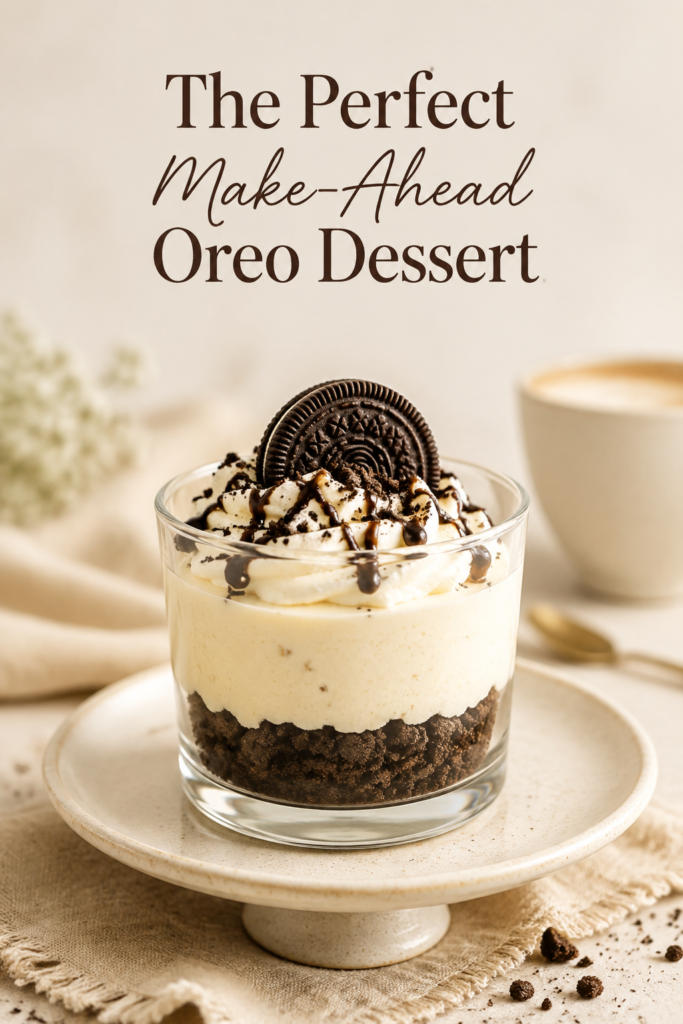
Just before serving, decorate each cup with a swirl of whipped cream, half an Oreo cookie, and a sprinkle of cookie crumbs. Add a light drizzle of chocolate sauce if desired. Serve the cups cold.
7 Secrets for Perfect Results
1. Use Full-Fat Cream Cheese
Full-fat block-style cream cheese creates a thicker and creamier filling. Spreadable cream cheese sold in tubs usually contains more moisture and may prevent the cups from setting properly.
2. Soften the Cream Cheese
Let the cream cheese sit at room temperature until softened. Cold cream cheese is difficult to mix and can leave small lumps in the filling.
3. Keep the Whipping Cream Cold
Cold cream whips faster and holds its shape more effectively. Chilling the bowl and beaters for approximately 10 minutes can also help.
4. Press the Crust Firmly
A loosely packed crust will crumble when the liner is removed. Press each portion firmly and evenly into the base of the cup.
5. Fold the Filling Gently
Stirring too aggressively can deflate the whipped cream. Use slow folding motions to keep the filling airy and light.
6. Allow Enough Chilling Time
The cheesecake filling needs several hours to become firm. Avoid freezing the cups as a shortcut because the filling may develop an uneven texture.
7. Decorate Before Serving
Oreo crumbs can soften after prolonged contact with whipped cream. Add the final decorations shortly before serving for the most attractive presentation.
Easy Recipe Variations
Chocolate Oreo Cheesecake Cups
Add two tablespoons of sifted cocoa powder to the cream cheese mixture. Finish the cups with chocolate whipped cream or chocolate curls.
Peanut Butter Oreo Cups
Beat ⅓ cup of smooth peanut butter into the cream cheese filling. Decorate with chopped peanuts and a drizzle of melted peanut butter.
Mint Oreo Cheesecake Cups
Add ¼ teaspoon of peppermint extract and a small amount of green food coloring to the filling. Use mint-flavored Oreos if available.
Strawberry Oreo Cups
Layer finely chopped strawberries or a spoonful of thick strawberry sauce between the crust and filling. Decorate each cup with a fresh strawberry slice.
Golden Oreo Cheesecake Cups
Replace the chocolate Oreos with Golden Oreos for a sweet vanilla version. These are especially attractive when topped with berries or colorful sprinkles.
Serving Suggestions

Serve these cheesecake cups directly from the refrigerator on a chilled dessert platter. They pair beautifully with:
- Fresh strawberries or raspberries
- Chocolate or caramel sauce
- A cold glass of milk
- Hot coffee or espresso
- Vanilla ice cream
- Freshly whipped cream
For parties, arrange the cups on a tiered stand and use colorful liners that match the celebration.
Storage Instructions
Keep the Oreo cheesecake cups covered in the refrigerator for up to four days. Store them without the final whipped cream and cookie decorations whenever possible. The cups can also be frozen for up to one month. Freeze them undecorated in an airtight container, separating layers with parchment paper. Thaw them overnight in the refrigerator before decorating and serving.
Frequently Asked Questions
Can I make Oreo cheesecake cups ahead of time?
Yes. These cups are an excellent make-ahead dessert. Prepare them one or two days before serving and keep them covered in the refrigerator. Add the decorations shortly before serving.
Why did my cheesecake filling stay soft?
The filling may remain soft if the cream was not whipped to stiff peaks, tub-style cream cheese was used, or the cups did not chill long enough. Use full-fat block cream cheese and refrigerate the cups for at least four hours.
Do I remove the Oreo cream before making the crust?
No. Crush the whole Oreo cookies, including their cream filling. The filling adds sweetness and helps the crust hold together.
Can I make these without a muffin pan?
Yes. Assemble the dessert in small glasses, jars, or dessert cups. Because the desserts will remain in their containers, the filling does not need to be quite as firm.
Can I use whipped topping instead of heavy cream?
Yes. Substitute approximately two cups of thawed whipped topping for the heavy cream. Fold it gently into the cream cheese mixture. The flavor will be slightly different, but the cups will still be creamy and easy to prepare.
Final Thoughts
These Oreo cheesecake cups transform a familiar cookie into an elegant yet approachable dessert. The contrast between the crunchy chocolate crust, fluffy cheesecake filling, and crushed cookie pieces makes every bite satisfying. Prepare them the night before your event, decorate them just before serving, and enjoy an easy dessert that looks every bit as delicious as it tastes.
Check our Instagram and Facebook pages for more recipes.
