
 By Esha Kamran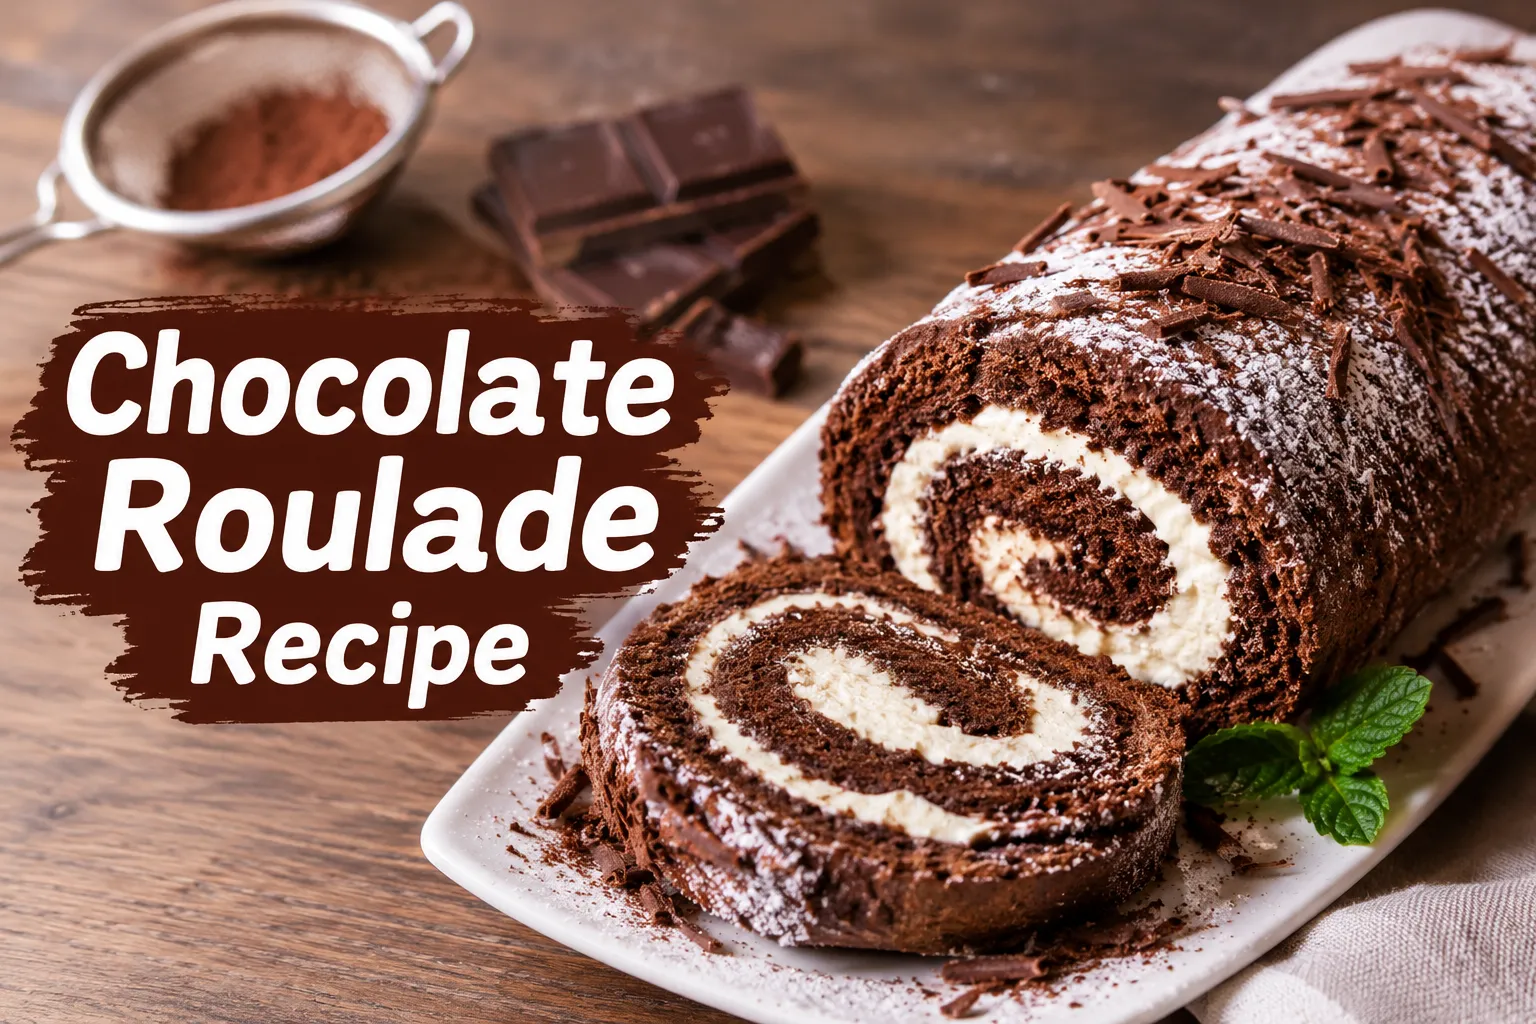
A beautifully rolled chocolate cake looks like the kind of dessert that takes hours of professional baking experience, but this chocolate roulade recipe is much more approachable than it appears. The secret is not complicated equipment or difficult techniques—it is knowing how to make a soft sponge, roll it while it is still warm, and pair it with the right creamy filling.
The result is a light chocolate sponge wrapped around a smooth, fluffy cream filling, creating those beautiful swirled layers in every slice. It is rich enough to feel indulgent without being too heavy, making it a lovely dessert for dinner parties, holidays, birthdays, afternoon tea, or weekend baking.
Why This Chocolate Roulade Recipe Works
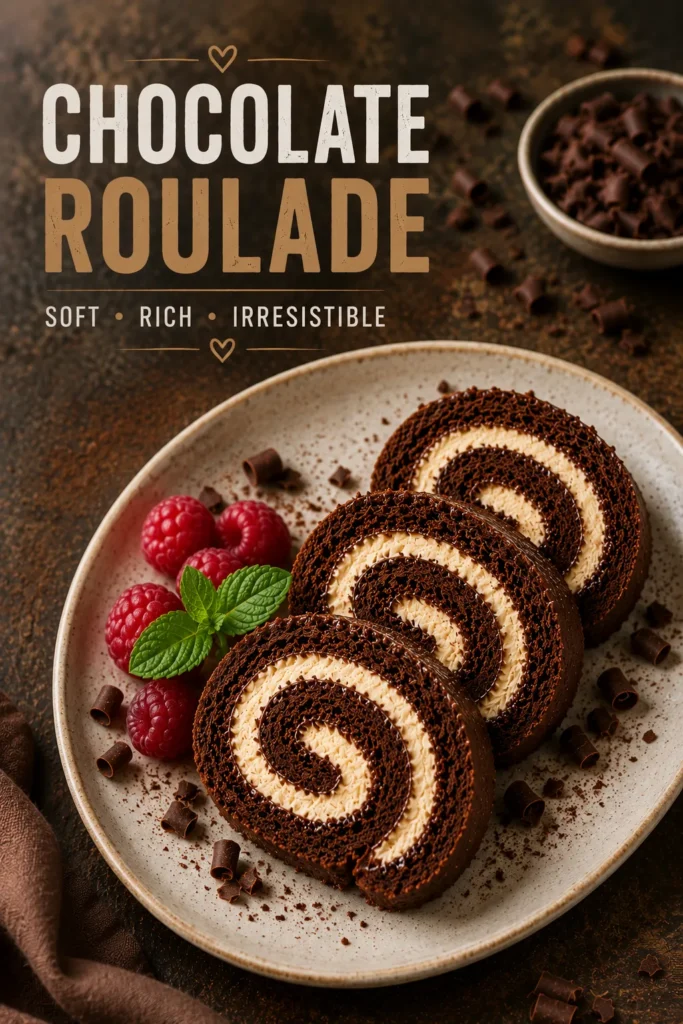
The success of a roulade depends heavily on texture. Unlike a traditional chocolate cake, the sponge needs to be soft and flexible enough to bend without breaking. Separating the eggs and whipping the whites helps create a lighter structure. Cocoa powder provides the chocolate flavor, while careful folding keeps the batter airy. The sponge is then baked for only as long as necessary so it remains flexible.
The filling is deliberately simple: lightly sweetened whipped cream adds moisture and richness without overpowering the chocolate. Most importantly, the cake is rolled while warm. This allows the sponge to develop a rolled shape before it cools, which significantly reduces the risk of cracking.
Ingredients for Chocolate Roulade Recipe
For the Chocolate Sponge
- 4 large eggs, separated
- 100 g granulated sugar, divided
- 75 g all-purpose flour
- 25 g unsweetened cocoa powder
- ½ teaspoon baking powder
- ¼ teaspoon salt
- 1 teaspoon vanilla extract
For the Cream Filling
- 250 ml heavy whipping cream, chilled
- 2 tablespoons powdered sugar
- 1 teaspoon vanilla extract
For Decorating
- Powdered sugar, for dusting
- Cocoa powder, optional
- Chocolate shavings, optional
- Fresh berries, optional
5 Decadent Tricks for the Perfect Chocolate Roulade
1. Whip the Egg Whites for a Light Sponge
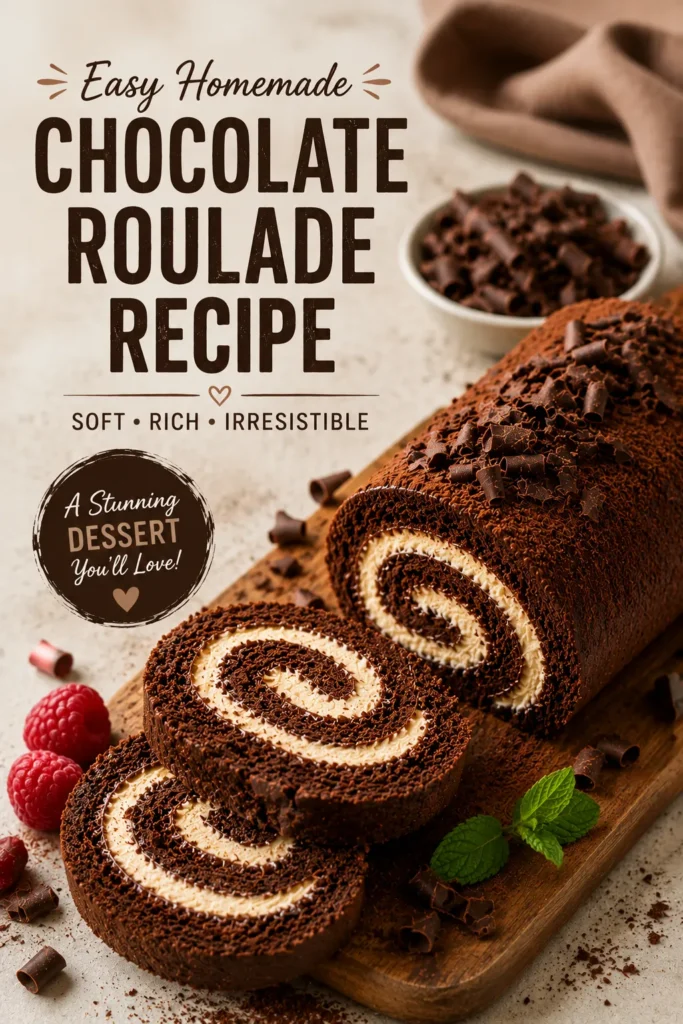
The first trick is to give the sponge plenty of air. Separate the eggs carefully, making sure no yolk gets into the whites. Beat the egg whites until foamy, then gradually add half of the sugar. Continue beating until you have soft, glossy peaks. The whipped whites help give the cake its airy texture. This matters because a dense sponge will be much harder to roll and is more likely to crack. In another bowl, beat the egg yolks with the remaining sugar until pale and slightly thickened. Mix in the vanilla extract.
2. Sift the Cocoa and Fold Gently
Combine the flour, cocoa powder, baking powder, and salt. Sift the mixture before adding it to the egg yolks. Sifting helps remove lumps and distributes the cocoa evenly throughout the batter. Add the dry ingredients gradually and fold them in gently. Then add the whipped egg whites in batches.
Do not vigorously stir the batter. Use a spatula and fold from the bottom upward, rotating the bowl as you work. The goal is to combine everything while keeping as much air in the mixture as possible. This small step makes a major difference in the final texture of the chocolate roulade recipe.
3. Don’t Overbake the Chocolate Sponge
Preheat the oven to 180°C (350°F). Line a shallow Swiss roll pan with parchment paper. Lightly grease the pan first if needed to keep the parchment from moving. Spread the batter evenly across the pan and bake for approximately 10–12 minutes.
The sponge should look set and feel lightly springy when touched in the center. Avoid waiting for the cake to become deeply browned or firm. An overbaked sponge loses moisture and becomes less flexible, making it much more likely to crack during rolling.
4. Roll the Sponge While It Is Still Warm
This is one of the most important tricks in the entire recipe. As soon as the cake comes out of the oven, carefully turn it onto a clean sheet of parchment paper or a clean kitchen towel lightly dusted with powdered sugar or cocoa powder. Remove the baking parchment from the bottom. While the sponge is still warm, gently roll it from one short end to the other. Use the parchment or towel to help guide the roll.
Let it cool completely while rolled. Why does this work? A warm sponge is flexible. As it cools in its rolled position, it becomes accustomed to that shape. When you later unroll it to add the filling, it is much easier to roll back without breaking.
5. Keep the Filling Light and Creamy
For the filling, place the cold heavy cream in a clean mixing bowl. Add the powdered sugar and vanilla extract. Whip until the cream reaches firm but smooth peaks. Do not overwhip the cream. Once it becomes grainy or starts separating, it will not provide the smooth texture you want. When the sponge is completely cool, gently unroll it. Spread the whipped cream evenly over the surface, leaving a small border around the edges. Avoid adding an excessively thick layer of filling. Too much cream can squeeze out when the cake is rolled and make the finished roulade difficult to handle.
How to Make Chocolate Roulade
Step 1: Prepare the Pan
Preheat your oven to 180°C (350°F). Line a shallow baking pan with parchment paper, ensuring the corners and edges are covered.
Step 2: Prepare the Eggs
Separate the eggs. Beat the yolks with half the sugar until pale and creamy. In a separate bowl, beat the whites until foamy. Gradually add the remaining sugar and continue beating until soft, glossy peaks form.
Step 3: Combine the Batter
Sift together the flour, cocoa powder, baking powder, and salt. Fold the dry ingredients into the yolk mixture. Add the whipped egg whites gradually, folding gently after each addition. The finished batter should look light and airy rather than dense.
Step 4: Bake
Spread the batter evenly in the prepared pan. Bake for 10–12 minutes, or until the center springs back when lightly pressed. Do not overbake.
Step 5: Roll the Cake
Immediately turn the warm sponge onto prepared parchment paper or a lightly dusted clean towel. Remove the original parchment and gently roll the sponge from one short end. Allow it to cool completely while rolled.
Step 6: Make the Filling
Whip the chilled heavy cream with powdered sugar and vanilla until firm, smooth peaks form. Keep the cream refrigerated until you are ready to use it.
Step 7: Fill and Reroll
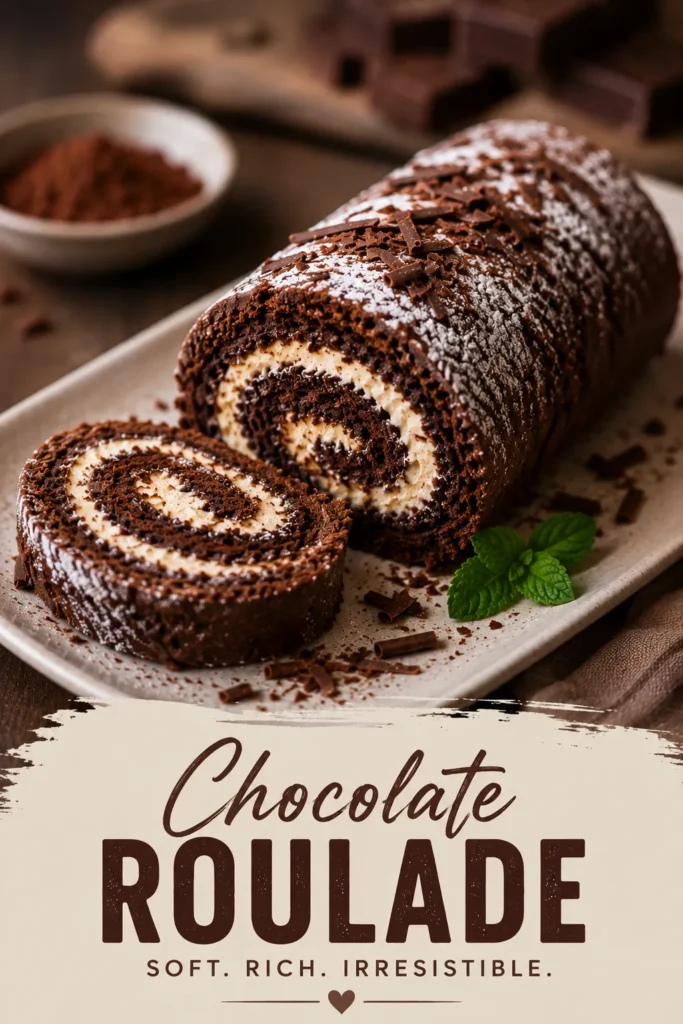
Carefully unroll the cooled sponge. Spread the whipped cream evenly across the cake, leaving a small border. Roll the cake back up gently, keeping the seam underneath.
Step 8: Chill and Decorate
Refrigerate the roulade for at least 30 minutes before slicing. Dust the top with powdered sugar or cocoa powder. For a more luxurious finish, add chocolate shavings and a few fresh berries.
How to Prevent a Chocolate Roulade From Cracking
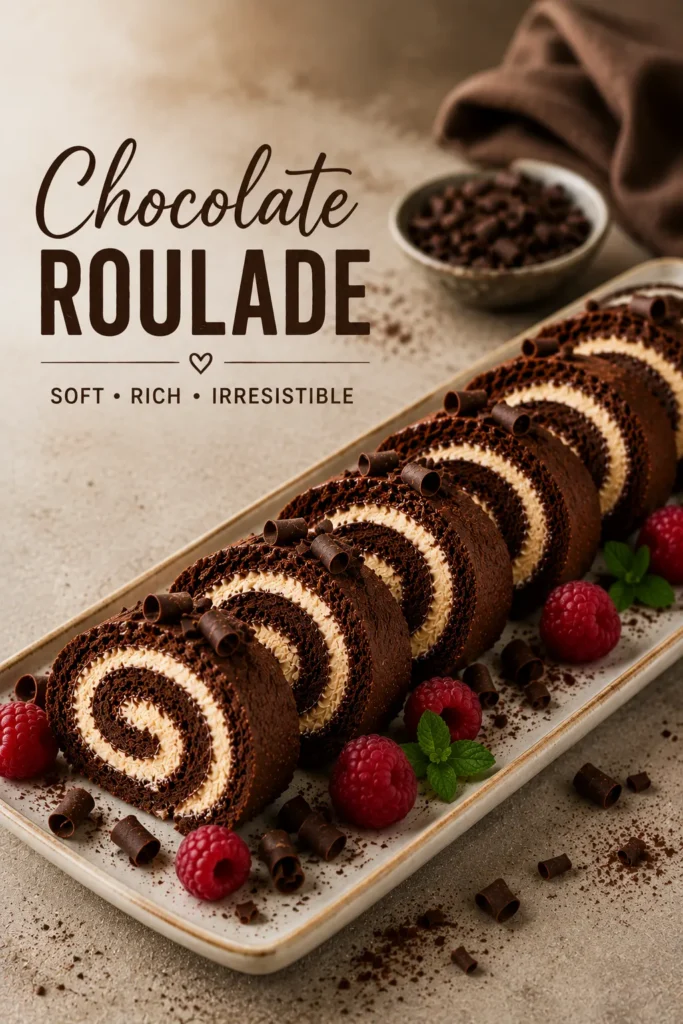
A small crack does not mean your dessert is ruined, but preventing major cracks will give you a much cleaner spiral. The most important things to remember are:
- Do not overbake the sponge.
- Roll the cake while it is warm.
- Keep the sponge evenly thick.
- Do not use an excessive amount of filling.
- Roll gently instead of forcing the cake.
- Allow the rolled sponge to cool completely before filling.
If the cake develops a few small cracks, cover the surface with cocoa powder, powdered sugar, ganache, or chocolate shavings.
How to Get a Beautiful Spiral
The spiral is what makes a roulade so visually appealing. For the cleanest swirl, start rolling from one short end and keep the pressure consistent. Avoid making the first turn excessively tight because this can compress the sponge and push the filling outward. Once rolled, place the seam underneath the cake. Chilling before slicing allows the cream to firm up and helps the roulade maintain its shape. Use a sharp knife and gently cut through the cake rather than pressing down heavily.
Chocolate Roulade Recipe Variations
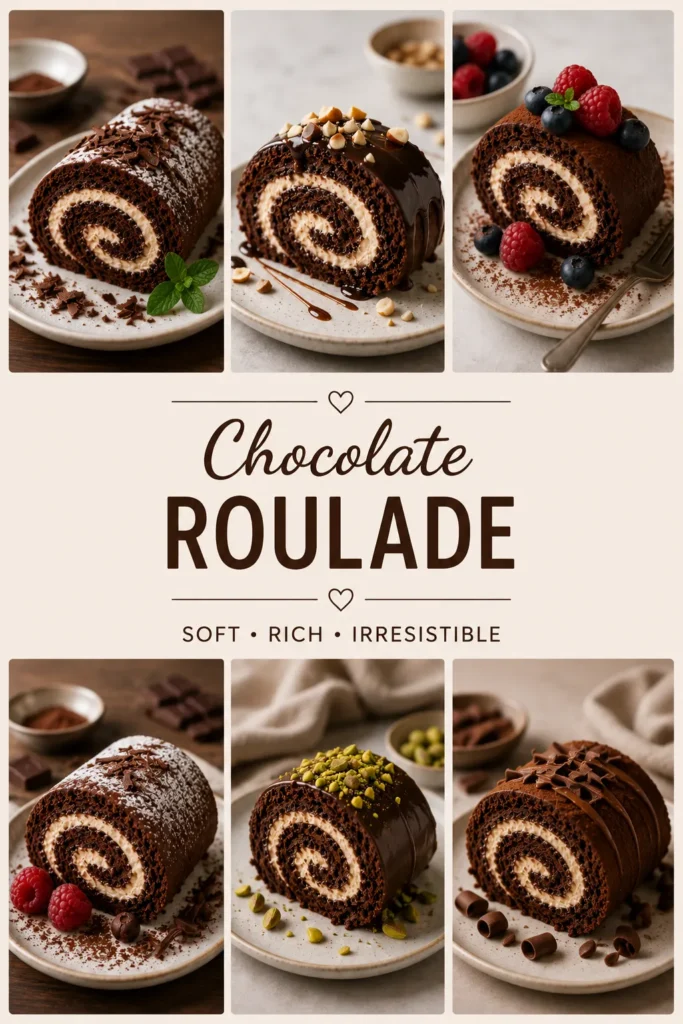
Chocolate Raspberry Roulade
Spread a thin layer of raspberry jam over the sponge before adding the whipped cream. The tart raspberry flavor creates a delicious contrast with the rich chocolate.
Chocolate Orange Roulade
Add finely grated orange zest to the whipped cream for a bright citrus note. Chocolate and orange make a particularly elegant combination.
Mocha Chocolate Roulade
Add a small amount of instant espresso powder to the sponge or cream filling. Coffee intensifies the chocolate flavor without making the dessert taste strongly of coffee.
Chocolate Ganache Roulade
For a richer version, cover the finished roulade with a thin layer of chocolate ganache. Allow the ganache to set slightly before slicing.
How to Store Chocolate Roulade
Because the filling contains whipped cream, the finished roulade should be refrigerated. Place it in an airtight cake container or cover it carefully before refrigerating. It is best enjoyed within 2–3 days for the freshest texture and flavor. Keep the cake chilled until shortly before serving.
Can You Make Chocolate Roulade Ahead of Time?
Yes. The sponge can be baked and rolled ahead of time, then cooled and stored until you are ready to fill it. You can also assemble the complete roulade several hours before serving. Chilling the finished cake actually helps the filling set and makes the slices easier to cut neatly. For entertaining, preparing the dessert ahead of time is especially useful because it leaves less work to do immediately before serving.
What to Serve With Chocolate Roulade
This dessert is rich and creamy enough to serve on its own, but a few simple additions can make it even more special. Try serving slices with:
- Fresh strawberries
- Raspberries or blueberries
- Extra whipped cream
- Vanilla ice cream
- Chocolate sauce
- Fresh mint
- A light dusting of powdered sugar
- Chocolate curls or shavings
For a dinner-party presentation, place one slice on each dessert plate and add a few berries alongside it.
Recipe Card- Chocolate Roulade Recipe
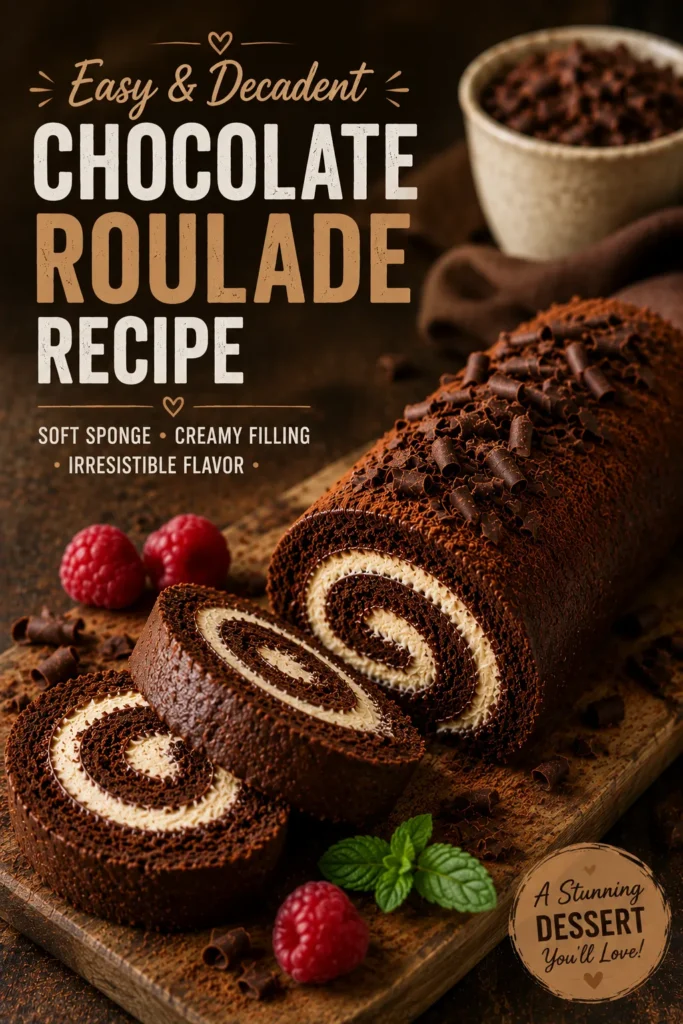
5 Decadent Chocolate Roulade Recipe Tricks for a Stunning Dessert
A soft and airy chocolate sponge rolled with sweet whipped cream, then finished with powdered sugar and chocolate shavings. This elegant dessert is perfect for holidays, celebrations, and dinner parties.
Prep Time: 25 minutes
Cook Time: 12 minutes
Cooling Time: 30 minutes
Chilling Time: 30 minutes
Total Time: 1 hour 37 minutes
Servings: 10 slices
Course: Dessert
Cuisine: European
Calories: Add your calculated value if available
Ingredients
For the Chocolate Sponge
- 4 large eggs, separated
- 100 g granulated sugar, divided
- 75 g all-purpose flour
- 25 g unsweetened cocoa powder
- ½ teaspoon baking powder
- ¼ teaspoon salt
- 1 teaspoon vanilla extract
For the Cream Filling
- 250 ml heavy whipping cream, chilled
- 2 tablespoons powdered sugar
- 1 teaspoon vanilla extract
For Decorating
- Powdered sugar, as needed
- Cocoa powder, optional
- Chocolate shavings, optional
- Fresh berries, optional
Instructions
- Prepare the oven and pan: Preheat the oven to 180°C (350°F). Line a shallow Swiss roll pan with parchment paper.
- Beat the egg yolks: Beat the egg yolks with half of the sugar until pale and slightly thickened. Mix in the vanilla extract.
- Whip the egg whites: Beat the egg whites until foamy. Gradually add the remaining sugar and continue beating until soft, glossy peaks form.
- Combine the dry ingredients: Sift together the flour, cocoa powder, baking powder, and salt.
- Make the batter: Gently fold the dry ingredients into the egg yolk mixture. Fold in the whipped egg whites in batches, being careful not to deflate the batter.
- Bake: Spread the batter evenly into the prepared pan. Bake for 10–12 minutes, or until the sponge springs back when lightly pressed.
- Roll while warm: Immediately turn the sponge onto parchment paper or a lightly dusted clean kitchen towel. Remove the baking parchment and gently roll the cake from one short end. Allow it to cool completely while rolled.
- Make the filling: Whip the chilled heavy cream with powdered sugar and vanilla until smooth, firm peaks form.
- Fill the cake: Carefully unroll the cooled sponge. Spread the whipped cream evenly over the surface, leaving a small border around the edges.
- Reroll: Gently roll the cake back up and place it seam-side down.
- Chill: Refrigerate for at least 30 minutes to help the filling set.
- Decorate and serve: Dust with powdered sugar or cocoa powder and add chocolate shavings or fresh berries if desired. Slice with a sharp knife and serve chilled.
Notes
- Avoid overbaking the sponge because a dry cake is more likely to crack.
- Roll the sponge while it is still warm to help it maintain its shape.
- Don’t overfill the cake with whipped cream.
- For cleaner slices, chill the finished roulade before cutting.
- Store refrigerated in an airtight container and enjoy within 2–3 days.
Frequently Asked Questions
Why does my chocolate roulade crack when I roll it?
The most common reasons are overbaking and cooling the sponge before rolling it. A roulade sponge needs to remain soft and flexible. Rolling it while warm helps it adapt to the curved shape.
Can I use a different filling?
Yes. Whipped cream is a classic choice, but you can also use mascarpone cream, cream cheese frosting, chocolate ganache, or a thin layer of fruit jam combined with cream.
Should I roll the cake while it is hot?
Roll it while it is warm and freshly baked, rather than waiting for it to cool completely. It should be handled carefully so the sponge does not tear.
How long should chocolate roulade chill before serving?
At least 30 minutes is helpful for setting the filling and making slicing easier. You can also refrigerate it for several hours before serving.
Can I freeze chocolate roulade?
The unfilled sponge freezes particularly well when wrapped tightly. A fully assembled roulade can also be frozen, although whipped cream may have a slightly different texture after thawing.
Final Thoughts
This chocolate roulade recipe proves that an elegant dessert does not have to be complicated. With a light cocoa sponge, silky whipped cream, and a few careful techniques, you can create a beautiful rolled cake with a perfect chocolate spiral.
The five biggest secrets are simple: whip the eggs well, fold gently, avoid overbaking, roll the sponge while warm, and don’t overfill it. Once you master those steps, this decadent roulade can become a reliable dessert for celebrations, holidays, dinner parties, or whenever you want to turn simple baking ingredients into something truly stunning.
Check our Instagram and Facebook pages for more recipes.
