
 By Esha Kamran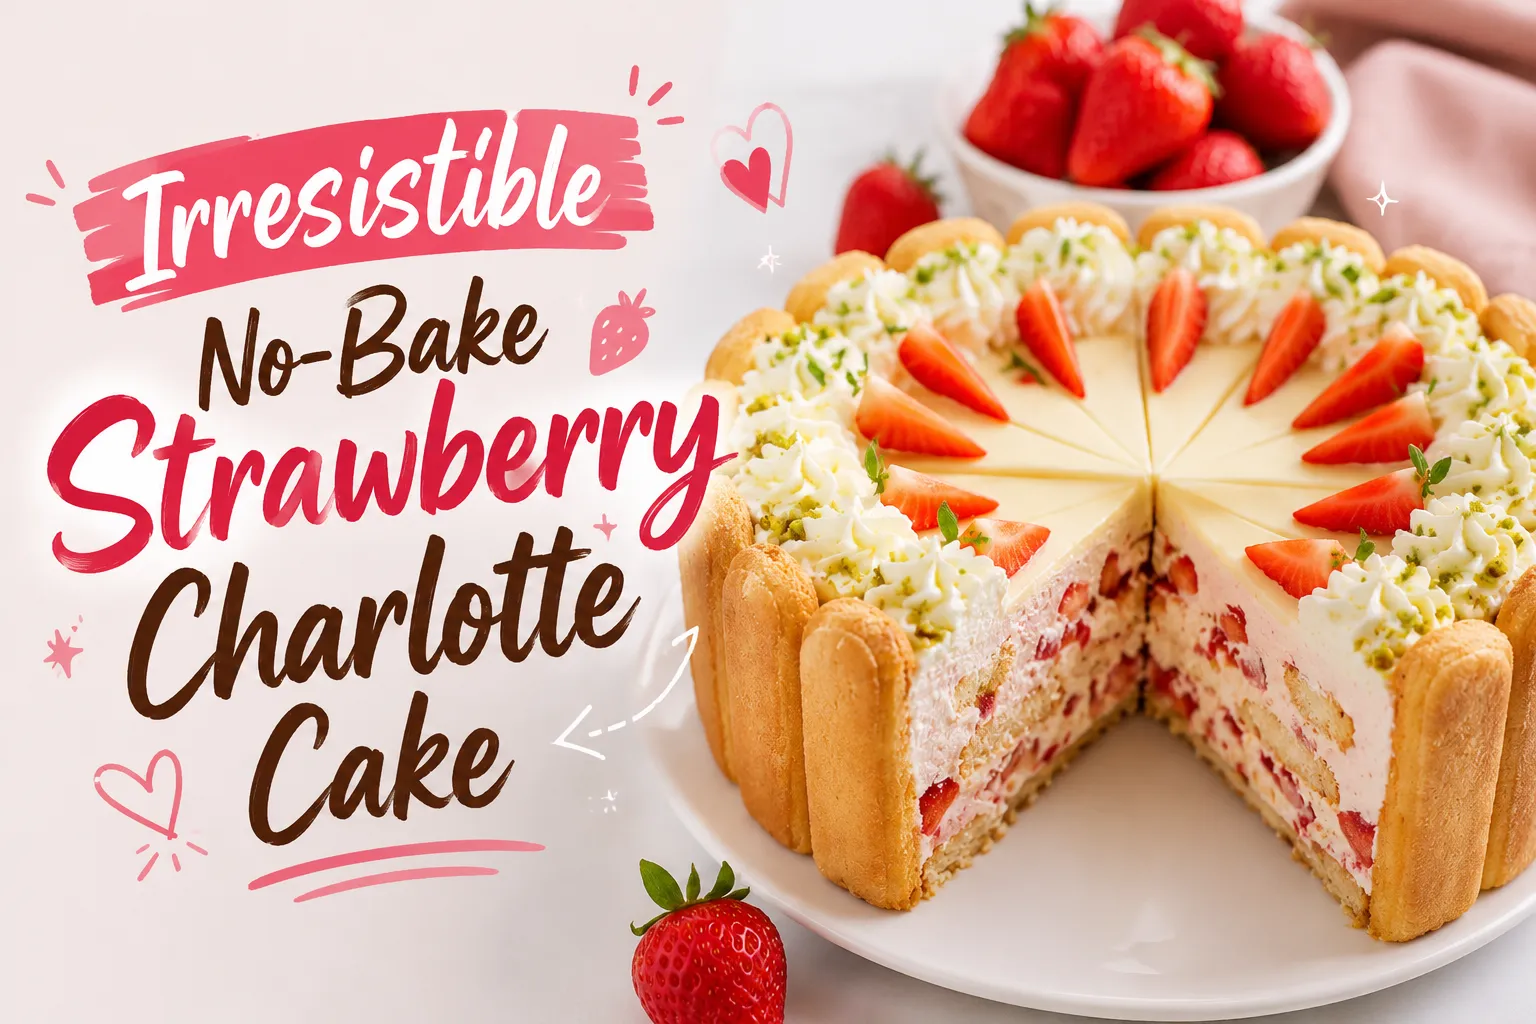
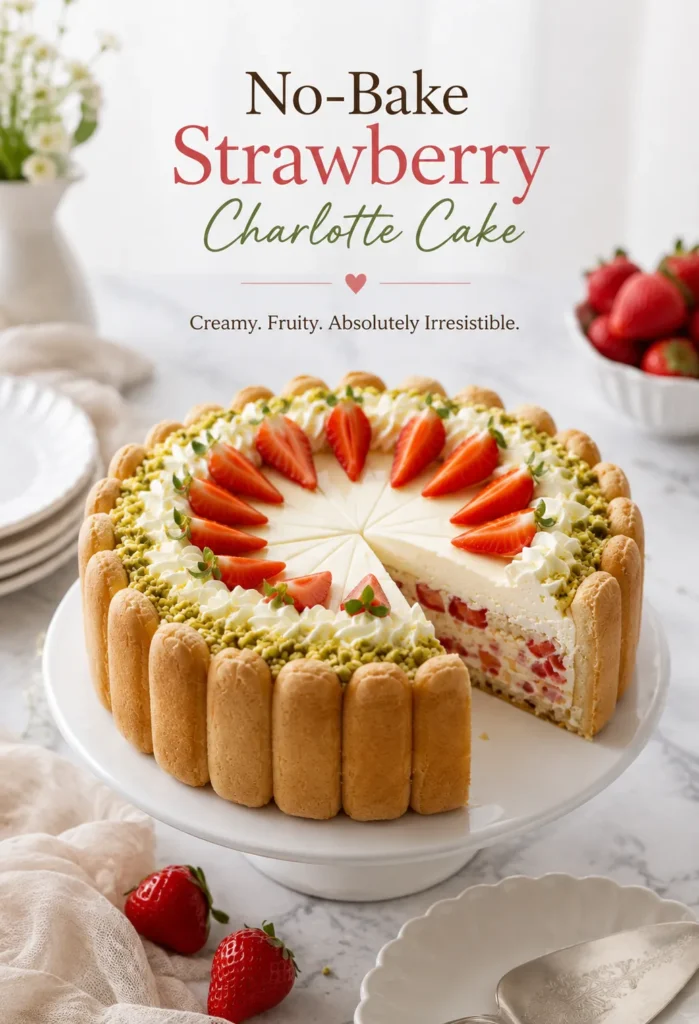
This No-Bake Strawberry Charlotte Cake is the kind of dessert that looks like it came straight from a pastry shop, but the assembly is surprisingly simple. Crisp, tender ladyfingers form a beautiful border around a creamy strawberry-filled center, while a smooth golden topping, fresh strawberries, pistachios, and piped whipped cream give it an elegant finish. The best part? There is no oven involved. You simply dip the ladyfingers, build the cake in a round mold, layer in the creamy filling and strawberries, smooth the top, chill, and decorate. It is light, creamy, fruity, and especially pretty when sliced.
Why You’ll Love This Strawberry Charlotte Cake
- No baking required — perfect when you don’t want to turn on the oven.
- Beautiful presentation — the ladyfinger border makes the cake look instantly elegant.
- Creamy and fruity — strawberries add fresh flavor and little bursts of sweetness throughout.
- Make-ahead friendly — chilling gives the cake time to set properly.
- Beginner-friendly assembly — most of the work is arranging, layering, and decorating.
- Perfect for celebrations — birthdays, afternoon tea, dinner parties, or summer gatherings.
Ingredients
For the Charlotte
- 24–30 ladyfinger biscuits
- ¼–½ cup milk, for dipping
- 2 cups heavy whipping cream, cold
- ½ cup powdered sugar
- 1 teaspoon vanilla extract
- 1 cup finely chopped strawberries
- ½ cup strawberry pieces for layering
For the Golden Topping
- ½ cup mango puree or smooth fruit puree
- 1–2 tablespoons powdered sugar, to taste
- 1 teaspoon gelatin
- 2 tablespoons cold water
For Decoration
- Fresh strawberries, sliced
- 2–3 tablespoons chopped pistachios
- ½ cup whipped cream
- A few small strawberries or strawberry wedges for the center
Equipment
- 8-inch round springform pan or cake ring
- Small shallow bowl for milk
- Electric hand mixer or stand mixer
- Rubber spatula
- Piping bag with a decorative star tip
- Small saucepan or microwave-safe bowl
How to Make Strawberry Charlotte Cake
1. Prepare the Ladyfingers
- Pour the milk into a shallow bowl.
- Take each ladyfinger and quickly dip it into the milk. Do not soak it for too long. Ladyfingers absorb liquid very quickly, and overly soaked biscuits can become soft and difficult to handle.
- Arrange the dipped ladyfingers upright around the inside edge of your cake ring.
- Continue until the entire circumference is covered.
- For the bottom, dip additional ladyfingers in milk and arrange them tightly across the base of the pan. Break a few biscuits if necessary to fill small gaps.
- You should now have a neat ladyfinger shell ready for the filling.
2. Make the Cream Filling
- Place the cold heavy cream in a large mixing bowl. Add the powdered sugar and vanilla extract.
- Whip until the cream becomes thick and holds soft-to-medium peaks.
- Be careful not to overwhip it. You want a smooth, creamy filling rather than a grainy texture.
- Fold in the finely chopped strawberries using a spatula.
- The strawberry pieces should be distributed throughout the cream rather than crushed completely.
3. Add the First Cream Layer
Spoon the strawberry cream mixture into the ladyfinger-lined pan. Spread it evenly with a spatula, gently pressing it toward the edges so there are no large air pockets. The video shows the filling being smoothed into an even layer before the strawberry pieces are added.
4. Add the Strawberry Layer
Scatter chopped strawberry pieces over the cream. Try to distribute them evenly so that strawberries appear throughout the finished cake rather than collecting in one area. The combination of creamy filling and fresh strawberry pieces is what gives the cake its attractive speckled interior when sliced.
5. Add More Cream
Cover the strawberries with another layer of the whipped cream mixture. Use an offset spatula or the back of a spoon to smooth the surface. Take your time with this step because the top should be as level as possible. A flat surface will make the final topping much cleaner.
6. Prepare the Golden Topping
Sprinkle the gelatin over the cold water and let it sit for a few minutes to bloom. Warm the mango or fruit puree gently and stir in the bloomed gelatin until completely dissolved. Let the mixture cool slightly. It should still be pourable, but it shouldn’t be hot enough to melt the whipped cream underneath.
7. Pour Over the Cake
Slowly pour the golden topping over the smooth cream layer. Use a spatula to gently spread it into an even layer if necessary. The topping should cover the center of the cake without overflowing over the ladyfinger border. This creates the smooth pale-golden surface seen in the finished cake.
8. Chill Until Firm
Cover the cake and refrigerate it for at least 6 hours, preferably overnight. This chilling time is important. The ladyfingers soften slightly from the milk, the cream filling firms up, and the topping sets. If you try to remove the cake too early, the center may not hold its shape.
How to Decorate the Strawberry Charlotte Cake
- Once the cake is completely chilled and firm, carefully remove the springform ring or cake ring.
- Pipe whipped cream around the outer edge of the top using a star piping tip.
- Sprinkle chopped pistachios around the cream border.
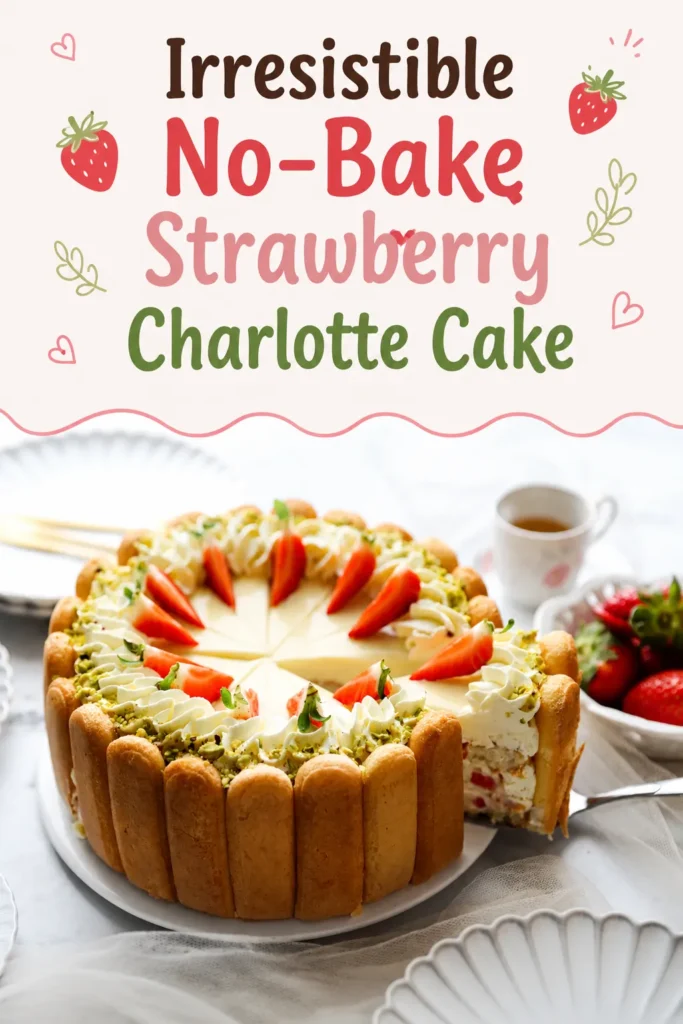
- Slice fresh strawberries into thin pieces and arrange them in a radial pattern across the center, creating a flower-like design.
- Finish with a few additional strawberry pieces for a fresh, colorful presentation.
- The ladyfingers around the outside should remain visible—they are one of the defining features of this Charlotte cake.
How to Get Clean Cake Slices
- For those beautiful bakery-style slices, don’t rush the cutting.
- Use a sharp knife and wipe the blade clean between cuts.
- If you want especially clean edges, briefly warm the knife under hot water, dry it thoroughly, and then make the cut.
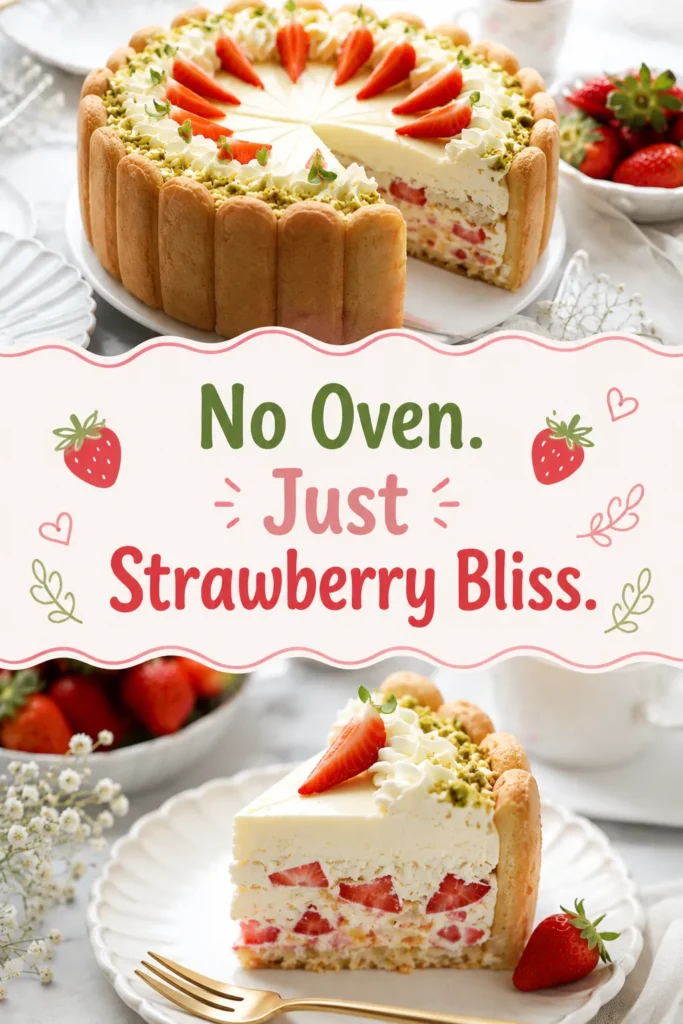
The finished slice should show:
ladyfinger border → creamy strawberry filling → strawberry pieces → smooth golden topping.
Tips for Making the Best Strawberry Charlotte Cake
Don’t oversoak the ladyfingers
A very quick dip is enough. If they become saturated with milk, they can collapse or make the base soggy.
Use cold cream
Cold heavy cream whips much more easily and produces a more stable filling.
Don’t overwhip
Stop when the cream is thick and holds its shape. Overwhipping can make the filling grainy and eventually turn it toward butter.
Chill the cake properly
The refrigerator is doing a lot of the work in this recipe. Give the cake enough time to become firm before decorating or slicing.
Keep the topping cool before pouring
A hot fruit mixture can soften or melt the cream underneath. Let the topping cool until it is warm or just slightly above room temperature before spreading it over the cake.
Choose firm strawberries
Very soft or watery strawberries can release excess liquid into the cream. Use fresh, firm berries for the best texture.
Can I Make This Cake Ahead?
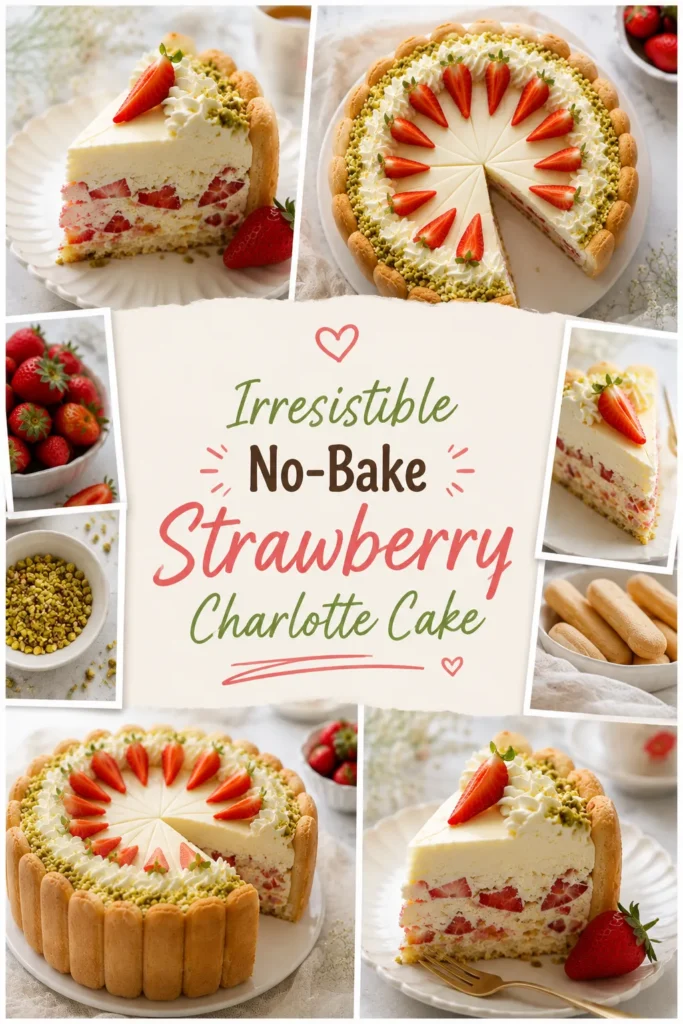
Absolutely. This cake is actually ideal for making ahead because it needs several hours to set. Prepare it the day before serving, keep it refrigerated, and add the freshest decorative strawberries shortly before serving. For the best appearance, keep the finished cake covered so the cream doesn’t absorb refrigerator odors.
How to Store Strawberry Charlotte Cake
Store the Strawberry Charlotte Cake in the refrigerator in an airtight cake container or a tightly covered cake box. This helps prevent the whipped cream from drying out and keeps the cake from absorbing other refrigerator odors.
Because the cake contains whipped cream and fresh strawberries, it is best enjoyed within 2–3 days for the best flavor, texture, and appearance. Keep the cake chilled until you’re ready to serve, and return any leftovers to the refrigerator promptly after serving. For the freshest presentation, avoid decorating the cake too far in advance with sliced strawberries, as they can release moisture over time.
What Does Strawberry Charlotte Cake Taste Like?
The texture is soft, creamy, and slightly mousse-like, with tender ladyfingers around the outside. The strawberries provide fresh acidity and sweetness that balance the richness of the cream. The pistachios add a little nuttiness and crunch, while the fruit topping gives the Strawberry Charlotte Cake its distinctive finishing touch. It is much lighter than a heavily frosted traditional layer cake, making it especially appealing as a chilled dessert.
Serving Suggestions
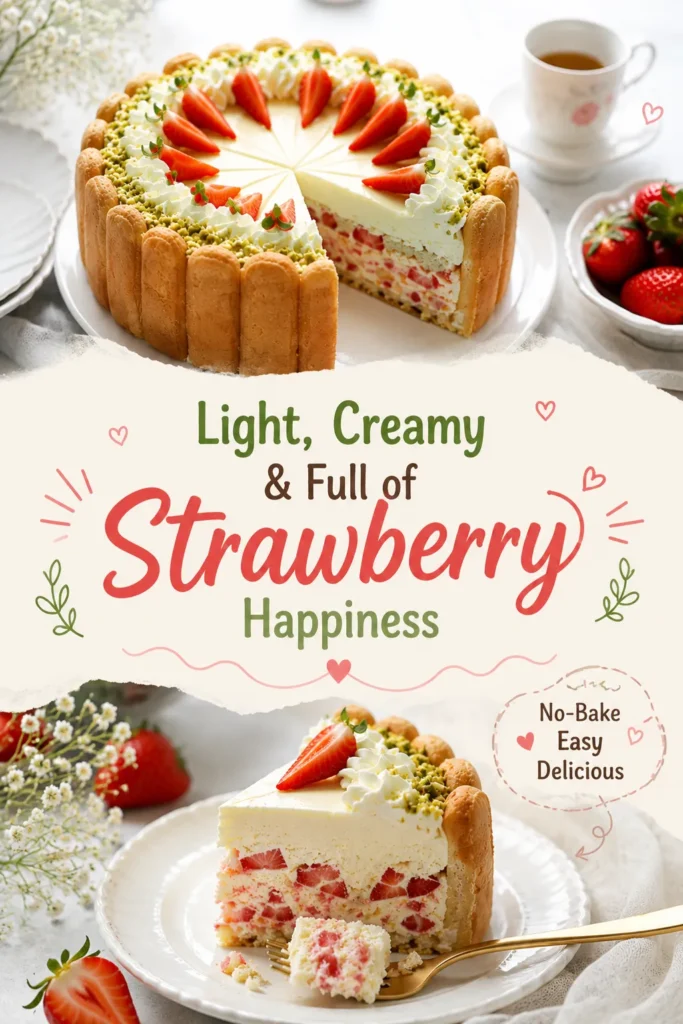
Serve Strawberry Charlotte Cake cold, straight from the refrigerator. It pairs beautifully with:
- Fresh strawberries
- A cup of tea
- Coffee or espresso
- Fresh berries
- A light fruit sauce
- A small sprinkle of chopped pistachios
For a celebration, serve each slice with a few fresh berries on the side.
Frequently Asked Questions
Does Strawberry Charlotte Cake need to be baked?
No. This version is completely no-bake. The cake is assembled with ladyfingers, whipped cream, strawberries, and a set fruit topping.
Can I use frozen strawberries?
Fresh strawberries are preferable because they provide a firmer texture and release less liquid. If using frozen strawberries, thaw and drain them very thoroughly first.
Can I make it without a springform pan?
Yes. A removable cake ring makes the process easier, but you can also use a deep round cake pan lined with parchment or acetate. The important thing is being able to remove the finished Charlotte without damaging the ladyfinger border.
Why did my ladyfingers become soggy?
They were probably soaked for too long. Dip each biscuit very briefly in milk. They should absorb enough moisture to soften slightly while still maintaining their structure.
Why isn’t my Strawberry Charlotte Cake firm?
The most common reasons are insufficient chilling time or a filling that wasn’t whipped firmly enough. Refrigerate the cake for at least 6 hours, preferably overnight.
Can I use other fruits?
Yes. Strawberries can be replaced or combined with fruits such as raspberries, blueberries, peaches, or mango. Choose fruits that aren’t excessively watery.
Final Thoughts
This No-Bake Strawberry Charlotte Cake proves that an impressive dessert doesn’t necessarily require complicated baking techniques. With a simple ring of milk-dipped ladyfingers, layers of strawberry cream, a smooth fruit topping, and a little decorative piping, you can create a cake that looks far more complicated than it actually is. The key is patience: dip the ladyfingers lightly, keep the cream cold, build neat layers, and give the cake plenty of time to chill. Once you cut into it and reveal those creamy strawberry-filled layers, you’ll understand why this elegant no-bake dessert is worth making.
Recipe at a Glance
Prep time: 35 minutes
Chilling time: 6–8 hours
Total time: About 7 hours
Servings: 8–10 slices
Difficulty: Easy to moderate
Method: No-bake
Best served: Chilled
Check our Instagram and Facebook pages for more recipes.
