
 By Jawariya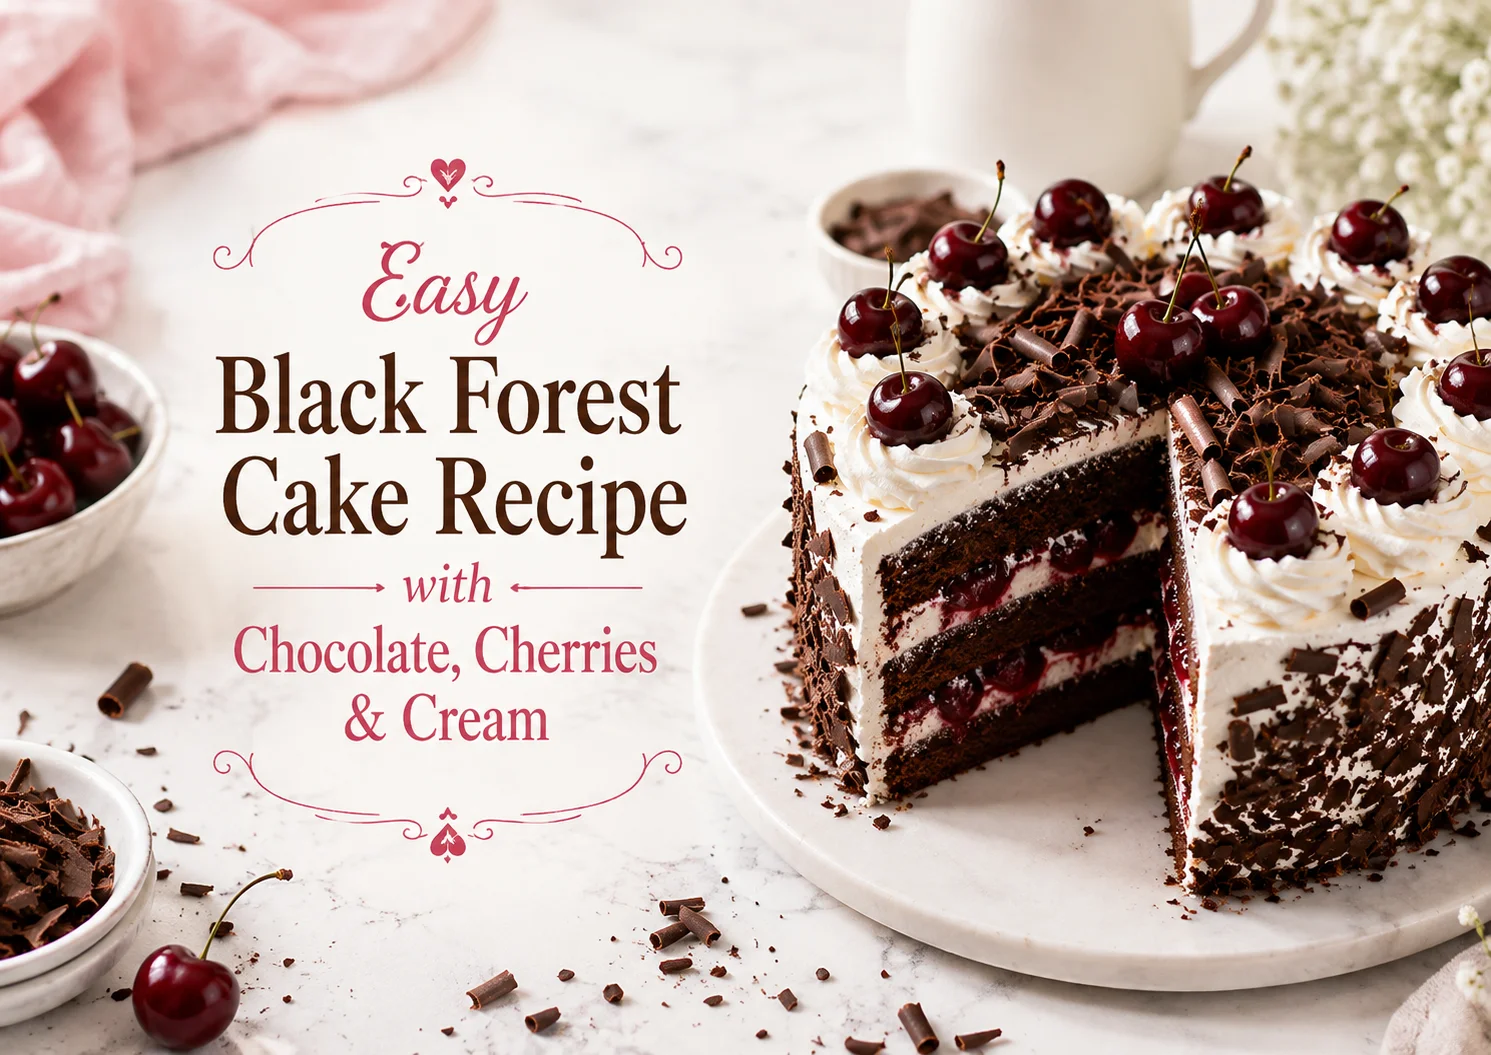
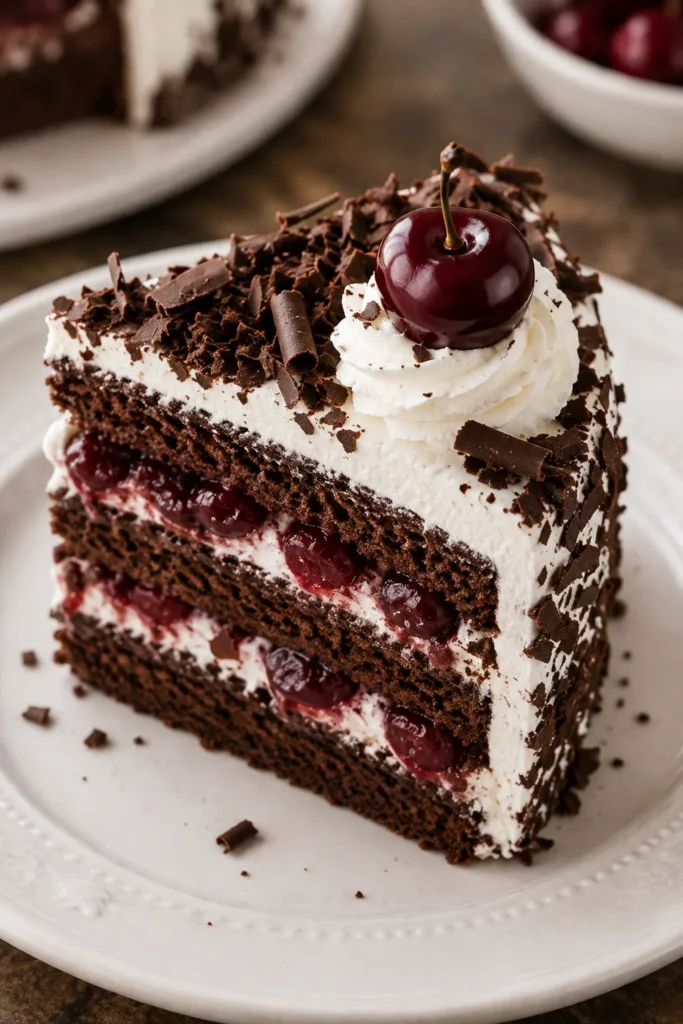
A homemade Black Forest Cake Recipe should give you everything you want from a celebration cake: deep chocolate flavour, juicy cherries, soft whipped cream, and moist cake layers that practically melt together when you cut a slice. The good news is that you don’t need professional cake-decorating skills to make one.
This version uses two moist chocolate cakes layered with a simple homemade cherry filling and lightly sweetened whipped cream. Cherry syrup keeps the sponge moist, while dark chocolate shavings add just enough bitterness to balance the sweet cream and fruit. You can also make the cake completely alcohol-free, making it an easy option for birthdays, family celebrations, holidays, or whenever you want a proper bakery-style dessert at home.
Table of Contents
ToggleRecipe at a Glance
Prep Time: 45 minutes
Bake Time: 30–35 minutes
Cooling & Chilling: 1–2 hours
Total Time: About 2½ hours
Servings: 10–12 slices
Cake Pans: Two 20 cm / 8-inch round cake tins
Difficulty: Intermediate
Why This Black Forest Cake Recipe Works
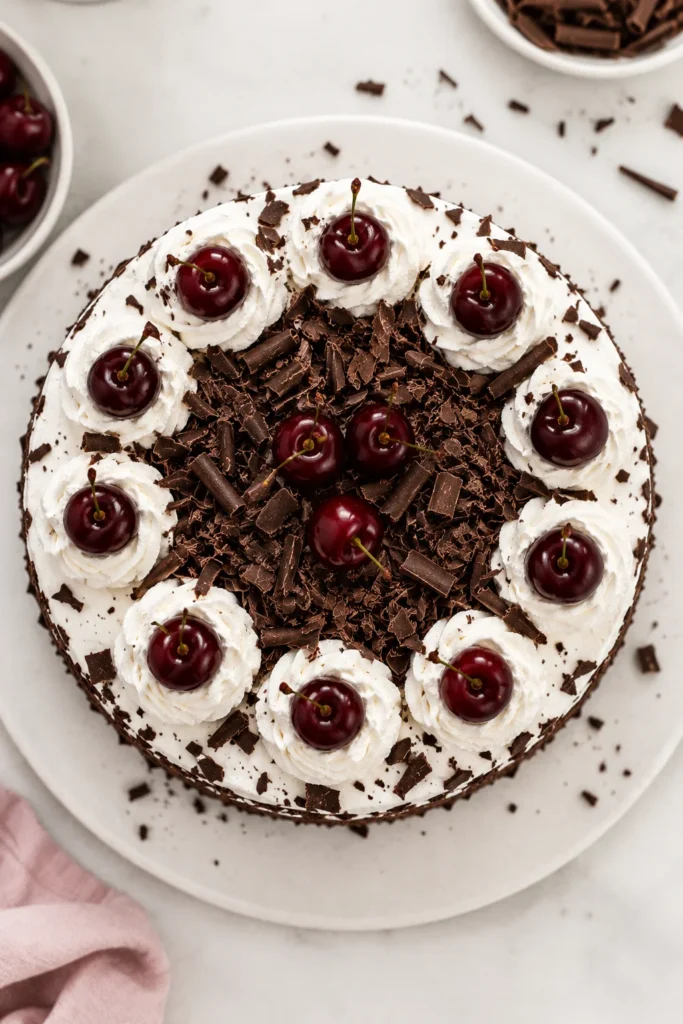
Black Forest cake relies on contrast more than complicated techniques. The chocolate cake provides richness, cherries add sweetness and acidity, and whipped cream keeps each bite light rather than heavy. Chocolate shavings finish the cake without introducing another thick frosting layer. Competitor recipes targeting this search also focus heavily on the same core components—chocolate sponge, cherries, cream, precise pan guidance, and clear assembly instructions—because those are the details readers need to successfully reproduce the cake at home.
This recipe also gives you texture cues rather than relying only on baking times, which is useful because ovens and cake tins can behave differently.
Ingredients You’ll Need
For the Chocolate Cake
- 225 g plain flour
- 75 g unsweetened cocoa powder
- 300 g caster sugar
- 1½ teaspoons baking powder
- 1½ teaspoons bicarbonate of soda
- ½ teaspoon fine salt
- 2 large eggs, at room temperature
- 240 ml buttermilk
- 120 ml vegetable or sunflower oil
- 2 teaspoons vanilla extract
- 240 ml hot coffee
For the Cherry Filling
- 500 g pitted cherries, fresh, frozen, or drained from a jar
- 80 g caster sugar
- 1 tablespoon lemon juice
- 15 g cornflour
- 30 ml cold water
For the Cherry Syrup
- 120 ml cherry juice or syrup
- 1 tablespoon caster sugar, optional
- ½ teaspoon vanilla extract
Optional: A small amount of kirsch can be used for a more traditional flavour, while cherry juice provides an easy alcohol-free alternative. Kirsch is commonly associated with traditional Black Forest-style cakes.
For the Whipped Cream
- 600 ml cold double cream
- 60 g icing sugar
- 2 teaspoons vanilla extract
For Decorating
- 75–100 g dark chocolate
- 8–12 fresh or preserved cherries
- Extra whipped cream, if needed
Ingredient Notes and Substitutions
Cocoa Powder
Use unsweetened cocoa powder rather than drinking chocolate. Cocoa gives the sponge its deeper chocolate flavour without adding unnecessary sugar.
Buttermilk
Buttermilk helps produce a tender chocolate sponge. If you don’t have it, combine approximately 240 ml milk with 1 tablespoon lemon juice, leave it for several minutes, and use it in place of the buttermilk.
Coffee
Hot coffee intensifies the chocolate character of the sponge. The finished cake should taste primarily of chocolate rather than coffee. If you don’t want to use coffee, substitute the same amount of hot water.
Cherries
Fresh cherries are wonderful when they’re in season, but frozen or jarred cherries make this cake much easier to prepare throughout the year. Morello or other slightly tart cherries are particularly useful because their acidity offsets the sweetness of the cream and cake. The Delia-style competitor recipe, for example, specifically uses black or Morello cherries.
Double Cream
Use cold double cream or another heavy whipping cream suitable for whipping. Don’t substitute pouring cream because it may not whip firmly enough to support the cake layers.
How to Make This Black Forest Cake Recipe
Step 1: Prepare the Cake Tins
Preheat the oven to:
180°C conventional / 160°C fan / 350°F . Grease two 20 cm (8-inch) round cake tins. Place a circle of baking parchment in the bottom of each tin and lightly grease the sides. Using the correct pan size matters. A wider pan will produce thinner cakes and may require a shorter baking time, while a smaller pan creates deeper cakes that need longer.
Step 2: Combine the Dry Ingredients
Add the flour, cocoa powder, caster sugar, baking powder, bicarbonate of soda, and salt to a large mixing bowl. Whisk them together until evenly combined. Break up any visible cocoa lumps before adding the wet ingredients.
Step 3: Add the Wet Ingredients
In another bowl or large jug, whisk together:
- Eggs
- Buttermilk
- Vegetable oil
- Vanilla
Pour the wet mixture into the dry ingredients. Mix only until you no longer see obvious patches of flour.
Step 4: Add the Hot Coffee
Gradually pour in the hot coffee while mixing on low speed. Don’t panic when the batter becomes quite thin. Chocolate cake batter made with hot liquid is often much looser than a traditional butter-cake batter. Stop mixing once everything is smooth and evenly incorporated.
Texture Cue
The finished batter should be smooth, glossy, pourable, and considerably thinner than standard sponge-cake batter.
Step 5: Bake
Divide the batter evenly between the prepared cake tins. Bake for approximately 30–35 minutes. Start checking around the 28-minute mark.
How to Tell When the Cake Is Done
The cake should:
- Have a slightly springy centre
- Begin pulling very slightly from the edge of the tin
- Give back gently when touched
- Produce only a few moist crumbs when tested with a skewer
Don’t wait for the cake to become completely dry around the edges. Overbaking is one of the easiest ways to turn a potentially moist Black Forest cake into a dry one.
Step 6: Cool Completely
Leave the cakes in their tins for approximately 10 minutes. Carefully turn them onto a wire rack and remove the parchment. Allow them to cool completely before decorating. This isn’t optional. Warm sponge will soften whipped cream almost immediately and can cause the finished cake to slide.
Make the Cherry Filling
Place the cherries and caster sugar in a medium saucepan. Cook over medium heat for around 5 minutes, stirring occasionally, until the cherries release some juice and begin softening. Add the lemon juice. Mix the cornflour with 30 ml cold water until completely smooth. Pour the mixture into the cherries while stirring. Cook for another 1–3 minutes, or until the liquid becomes glossy and thick enough to coat the cherries.
Texture Cue
You want a soft, spoonable cherry filling, not cherry jam. If it becomes extremely thick, add a tablespoon or two of cherry juice or water. Transfer to a bowl and allow it to cool completely.
Prepare the Cherry Syrup
Mix the cherry juice, vanilla, and optional sugar. If the juice from your cherries is already very sweet, skip the extra sugar. You only need enough syrup to lightly moisten the cake. The goal isn’t to soak it until wet.
Make the Whipped Cream
Pour the cold double cream into a large chilled bowl. Begin beating at medium speed. Once the cream starts thickening, add the icing sugar and vanilla. Continue beating until it forms firm peaks.
Stop at the Right Time
When you lift the whisk, the cream should hold its shape but still look smooth. Stop immediately once you reach that stage. Over-whipped cream can become grainy and eventually start separating.
How to Assemble Black Forest Cake
Place your first cake layer on a serving plate or cake board. If the top has risen unevenly, trim it carefully with a serrated knife.
1. Add Cherry Syrup
Brush the sponge lightly with cherry syrup. Pay particular attention to the outer edges because these tend to dry more quickly.
2. Add Whipped Cream
Spread an even layer of whipped cream over the cake. Leave a small border around the outside.
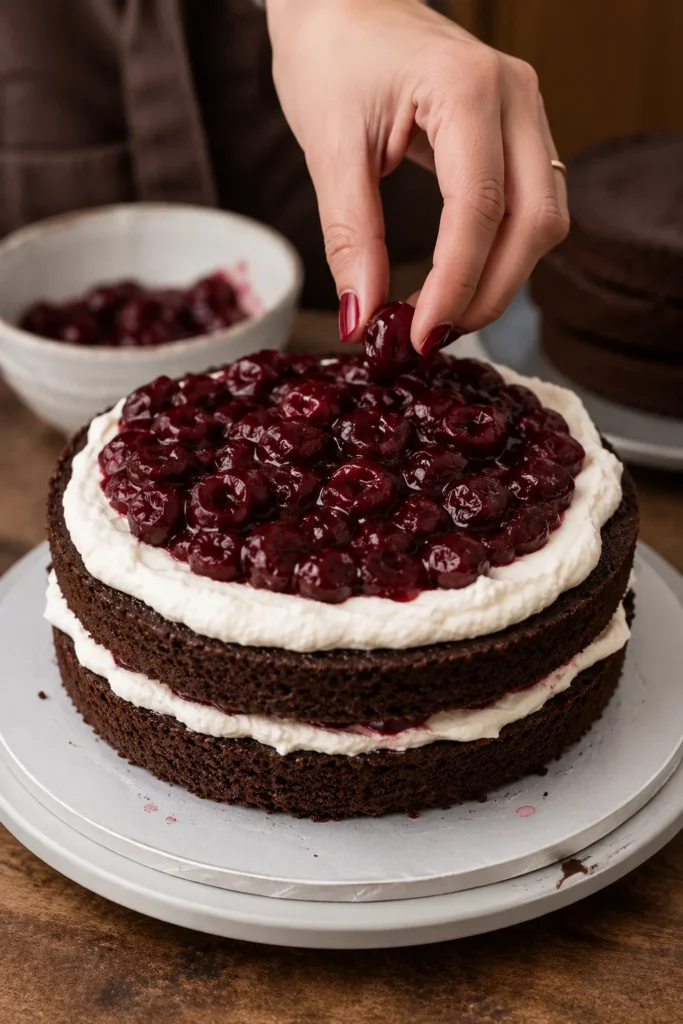
3. Add Cherry Filling
Spoon some cooled cherry filling over the cream. Avoid adding excessive cherry liquid because it can make the layers unstable.
4. Add the Second Cake
Carefully place the second chocolate cake on top. Brush it lightly with cherry syrup.
5. Cover with Cream
Spread whipped cream across the top and around the sides. It doesn’t need to look perfectly smooth. A slightly rustic whipped-cream finish actually suits homemade Black Forest cake beautifully.
Decorate the Cake
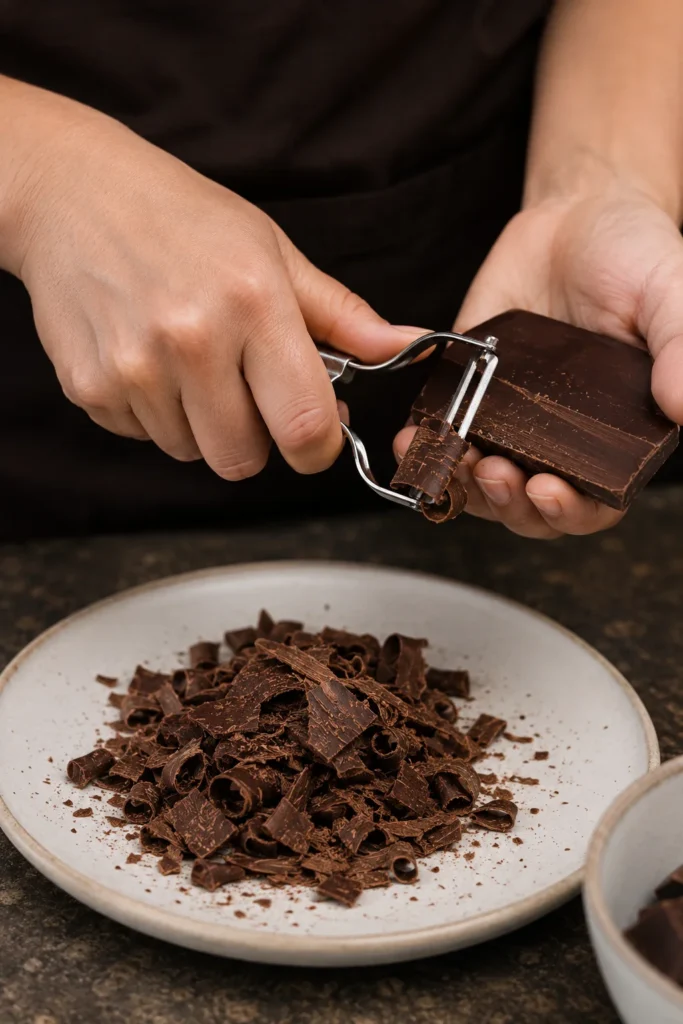
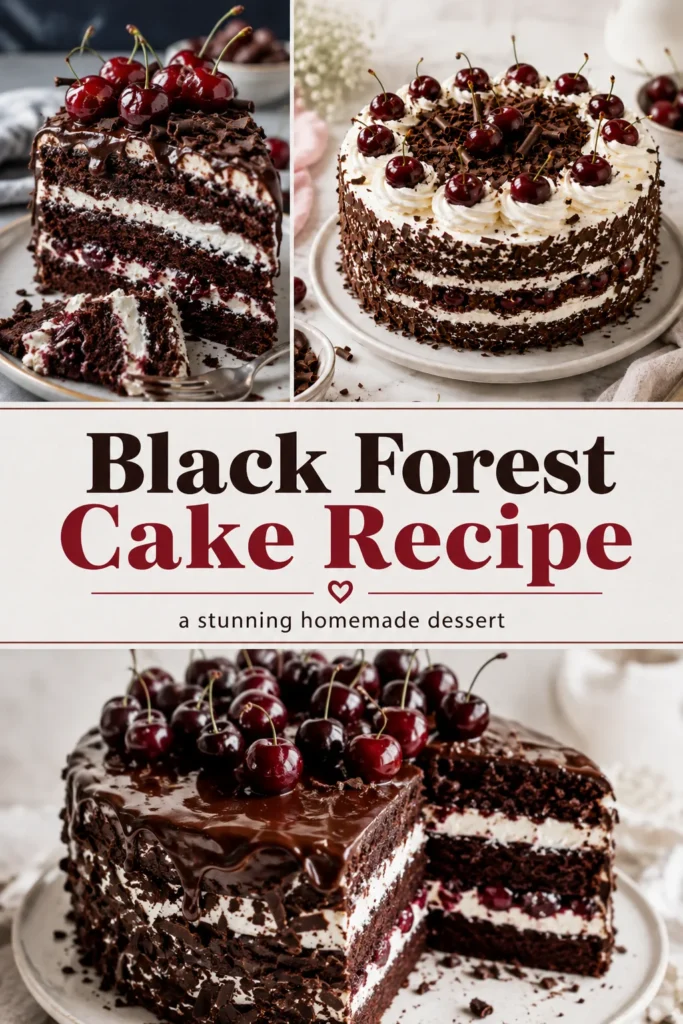
Use a vegetable peeler to shave curls from a dark chocolate bar. Press some chocolate shavings gently against the sides and scatter the rest across the top. Pipe or spoon small whipped-cream swirls around the cake. Finish each swirl with a cherry. For a more dramatic appearance, pile additional chocolate curls into the centre.
Chill Before Cutting
Refrigerate the assembled cake for at least 1 hour before slicing. Chilling helps the cream firm up and makes the cake easier to cut neatly. Use a sharp knife and wipe it clean between slices if you want cleaner layers.
Common Black Forest Cake Mistakes
1. Overbaking the Chocolate Sponge
Don’t rely exclusively on the timer. Start checking early and remove the cakes once they’re baked through but still moist.
2. Decorating Warm Cake
The cake layers must be completely cool before whipped cream touches them. Otherwise, your frosting can melt and the layers may move.
3. Adding Too Much Cherry Filling
More filling doesn’t necessarily create a better cake. Excess filling makes stacked layers slippery. Keep the cherry mixture concentrated toward the centre and leave a narrow cream border.
4. Over-Whipping the Cream
Watch the cream closely once it begins forming peaks. You’re looking for firm but smooth whipped cream.
5. Using Too Much Syrup
The cherry syrup should moisten the chocolate sponge, not turn it soggy. Brush it on gradually.
How to Get Clean Cake Layers
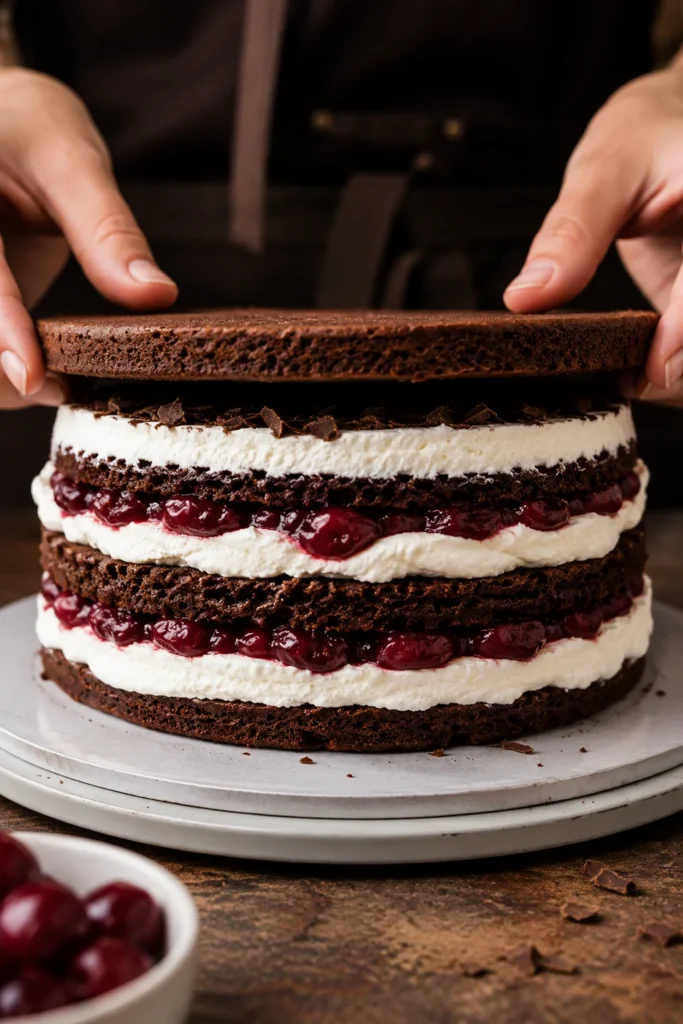
For more professional-looking slices: Make sure the cake, cherry filling, and cream are all cool before assembly. Use approximately equal quantities of cream and cherry filling between layers. Chill the assembled cake before cutting. And don’t press down heavily when you add the top layer. The weight of the cake itself is enough.
Alcohol-Free Black Forest Cake
You can easily make this recipe without alcohol.
Instead of kirsch, use:
- Cherry juice
- Syrup from jarred cherries
- Homemade cherry syrup
The cake will still have the characteristic combination of chocolate, cherries, and cream.
Can You Make Black Forest Cake Ahead?
Yes, and preparing some components in advance can make assembly easier.
One Day Ahead
You can prepare:
Chocolate cakes: Bake, cool completely, wrap well, and store.
Cherry filling: Prepare and refrigerate in an airtight container.
On the Day
Whip the cream and assemble the cake. For the best appearance, add your final cherries and chocolate decorations after the cake is assembled.
How to Store Black Forest Cake
Because the cake contains whipped cream, keep it refrigerated. Store it in a covered cake container or loosely cover the cake without pressing plastic wrap directly against the frosting. For the best texture and appearance, enjoy it within 2–3 days. Do not leave a whipped-cream cake sitting in a warm room for extended periods.
Can You Freeze Black Forest Cake?
Freezing the fully decorated cake isn’t the best option because whipped cream can lose some of its smooth texture after thawing. The unfrosted chocolate cake layers, however, can be frozen separately. Wrap completely cooled layers tightly before freezing. Defrost them while still wrapped so condensation collects primarily on the wrapping rather than directly on the cake.
Troubleshooting
Why Is My Chocolate Cake Dry?
The most likely reasons are:
- Baking too long
- Using too much flour
- Incorrectly measuring ingredients
- Not using enough syrup during assembly
Using a kitchen scale is much more reliable than measuring flour by volume.
Why Is My Whipped Cream Runny?
Possible causes include:
- Cream wasn’t cold enough
- Cream doesn’t contain enough fat for whipping
- It wasn’t whipped long enough
- The cake was still warm
Keep both the cream and mixing bowl cold.
Why Is My Cake Sliding Apart?
Usually there is too much wet filling between the layers. Use thicker cooled cherry filling and avoid spreading it all the way to the outer edge.
Why Did My Cake Sink?
Opening the oven too early or significantly underbaking the centre can contribute to sinking. Wait until the cake has properly set before checking it.
Black Forest Cake Variations
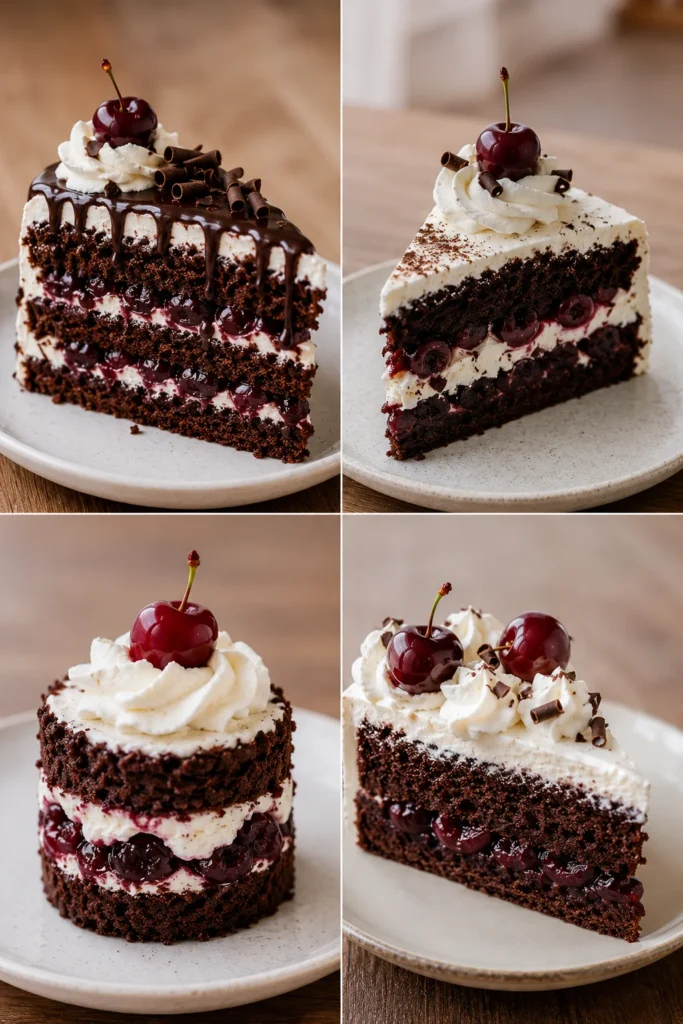
Extra Chocolate Black Forest Cake
Add more shaved dark chocolate between the cake layers as well as on top.
Mini Black Forest Cakes
Bake the chocolate mixture as cupcakes and top each with whipped cream, cherry filling, and chocolate curls.
Black Forest Birthday Cake
Pipe larger cream swirls around the edge and add fresh cherries and chocolate curls for a more dramatic celebration-cake finish.
Alcohol-Free Family Version
Use cherry juice exclusively and leave out kirsch.
Frequently Asked Questions
Why is my Black Forest cake too sweet?
Black Forest cake can become overly sweet when the cherries, cream, syrup, and chocolate are all sweetened. Use slightly tart cherries, such as Morello cherries, to add some acidity. Dark chocolate also helps balance the sweetness. Avoid adding more sugar than necessary to the cream or cherry filling.
Why is my chocolate cake dry?
Chocolate sponge can taste dry if it isn’t given enough moisture during assembly. Lightly brush each cake layer with cherry juice or reserved cherry syrup before adding the filling. This adds moisture without making the cake soggy. Be careful not to soak the layers too heavily.
Why is my cherry filling too runny?
A runny cherry filling can make the cake layers slide and become difficult to cut. Cook the cherries long enough for excess liquid to reduce and the filling to thicken. Let it cool completely before spreading it over the cake. Warm filling can also soften the whipped cream.
Can I make this cake with frozen cherries?
Yes, frozen pitted cherries are a great option for Black Forest cake. They work especially well in the cooked cherry filling because they don’t need to look perfect. Cook them until the juices have reduced and the filling thickens. Cool the filling completely before using it.
What if I don’t have fresh cherries?
You can easily use canned or jarred cherries instead of fresh ones. Drain them well before adding them to the cake, but save the juice or syrup. The reserved liquid can be brushed over the chocolate sponge for extra moisture and cherry flavor. Tart cherries are particularly good for balancing the rich chocolate.
How can I make Black Forest cake without kirsch?
You can make a completely alcohol-free version by simply leaving out the kirsch. Replace it with cherry juice or the syrup from canned or jarred cherries. This still gives the cake plenty of cherry flavor. It also makes the recipe suitable for serving to the whole family.
Why are my cake layers sliding when I assemble them?
Cake layers can slide when the whipped cream or cherry filling is too soft or when too much filling is added. Make sure the cake, filling, and cream are cool before assembly. Use an even, moderate layer of filling rather than piling it too high. Chill the assembled cake before cutting.
Can I make Black Forest cake the night before?
Yes, this cake can be assembled the day before and kept refrigerated until serving. Chilling gives the layers time to set and makes the cake easier to slice cleanly. Keep it covered so the cream doesn’t absorb refrigerator odors. Add any delicate finishing decorations shortly before serving if preferred.
Black Forest Cake Recipe Card
Course: Dessert
Cuisine: European-inspired
Servings: 10–12
Prep Time: 45 minutes
Cook Time: 30–35 minutes
Chilling Time: 1 hour
Total Time: About 2½ hours
Ingredients
Chocolate Cake
- 225 g plain flour
- 75 g cocoa powder
- 300 g caster sugar
- 1½ tsp baking powder
- 1½ tsp bicarbonate of soda
- ½ tsp salt
- 2 large eggs
- 240 ml buttermilk
- 120 ml vegetable oil
- 2 tsp vanilla
- 240 ml hot coffee
Cherry Filling
- 500 g pitted cherries
- 80 g caster sugar
- 1 tbsp lemon juice
- 15 g cornflour
- 30 ml cold water
Cream
- 600 ml double cream
- 60 g icing sugar
- 2 tsp vanilla
Decoration
- 120 ml cherry juice or syrup
- 75–100 g dark chocolate
- Fresh or preserved cherries
Instructions
- Heat the oven to 180°C / 160°C fan / 350°F and prepare two 20 cm cake tins.
- Combine flour, cocoa, sugar, baking powder, bicarbonate of soda, and salt.
- Whisk eggs, buttermilk, oil, and vanilla separately.
- Mix the wet and dry ingredients together.
- Gradually stir in hot coffee.
- Divide between the tins and bake for 30–35 minutes.
- Cool completely.
- Cook cherries and sugar until juicy.
- Add lemon juice and cornflour slurry and cook until slightly thickened.
- Cool the filling completely.
- Whip cold cream with icing sugar and vanilla until firm peaks form.
- Brush the first cake with cherry syrup.
- Add whipped cream and cherry filling.
- Top with the second cake.
- Cover with remaining whipped cream.
- Decorate with chocolate shavings and cherries.
- Chill for at least one hour before serving.
Conclusion
This Black Forest Cake Recipe combines everything that makes a homemade celebration cake memorable: soft chocolate sponge, juicy cherries, fluffy whipped cream, and plenty of dark chocolate. More importantly, the recipe doesn’t depend on complicated decorating skills. Getting the fundamentals right—accurate measurements, properly baked cake, completely cooled components, thick cherry filling, cold cream, and careful assembly—does most of the work.
And this is the direction I’ll keep for your recipe articles going forward: less filler written only for keyword density, and more genuinely useful recipe information that gives the page a reason to rank. That matches what we identified from the stronger competitor content yesterday.
